Equicizer Equestrian Exercises

Welcome to the Equicizer Equestrian Exercise Page! Here you will find some great exercise tips created by equestrian fitness expert, Heather Sansom, using the Equicizer.
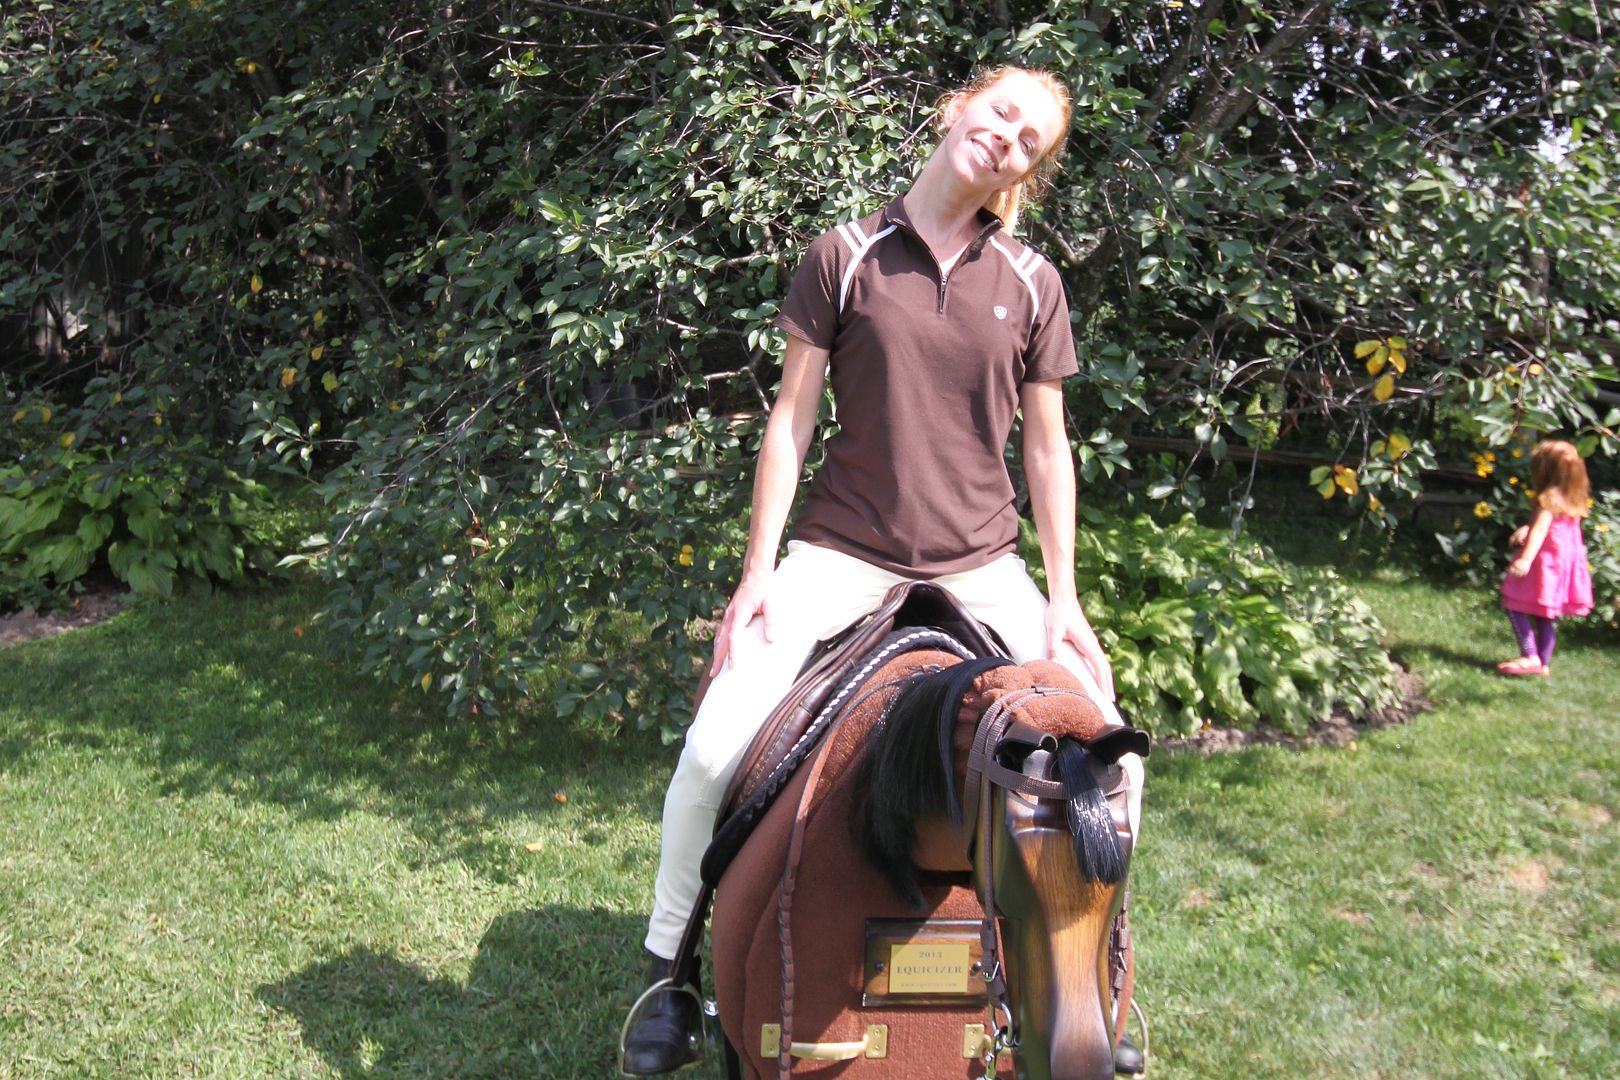
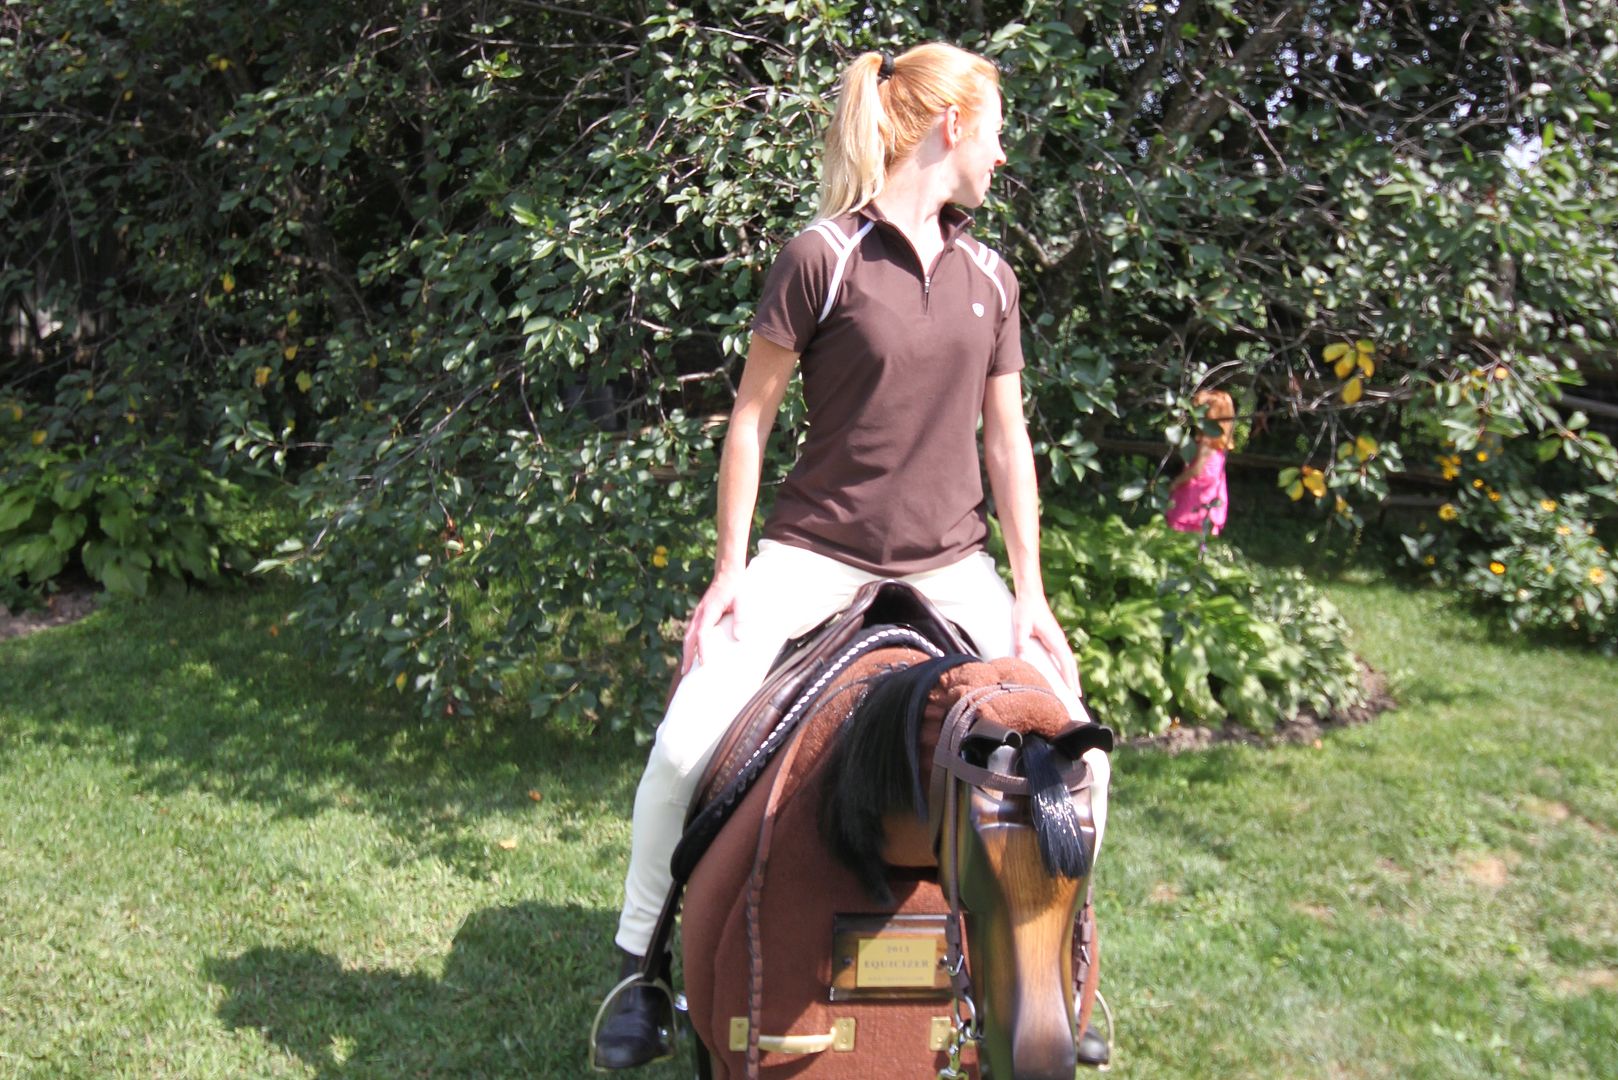
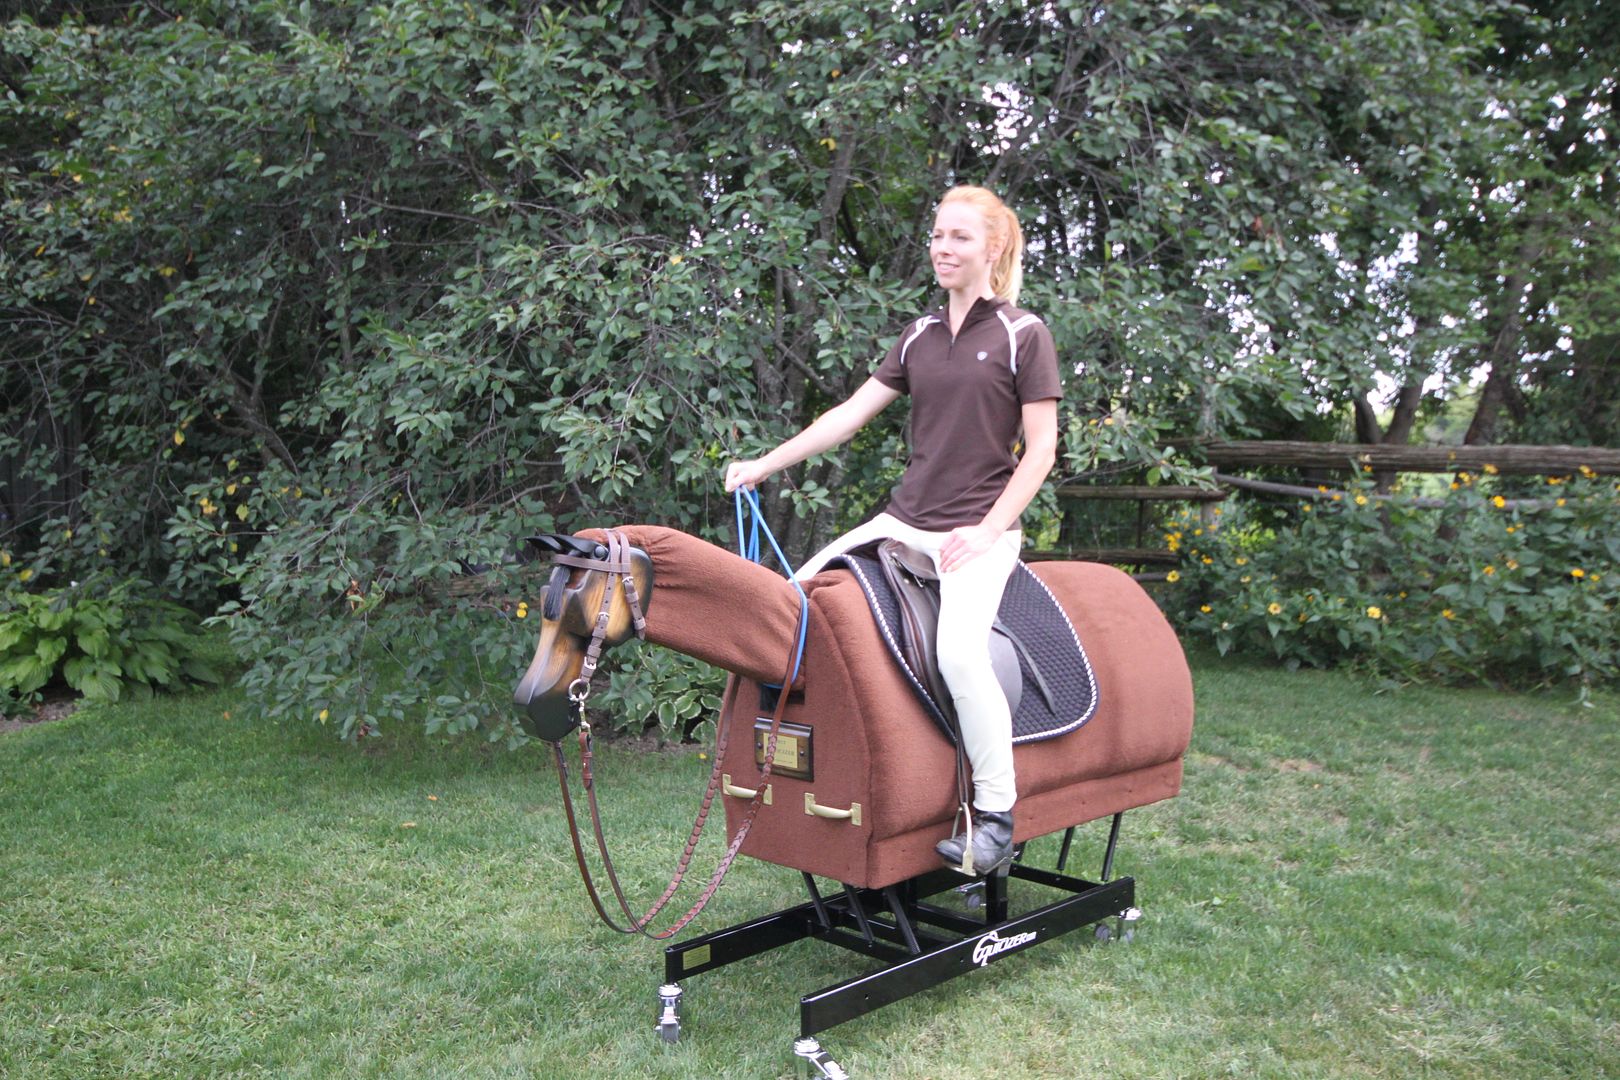
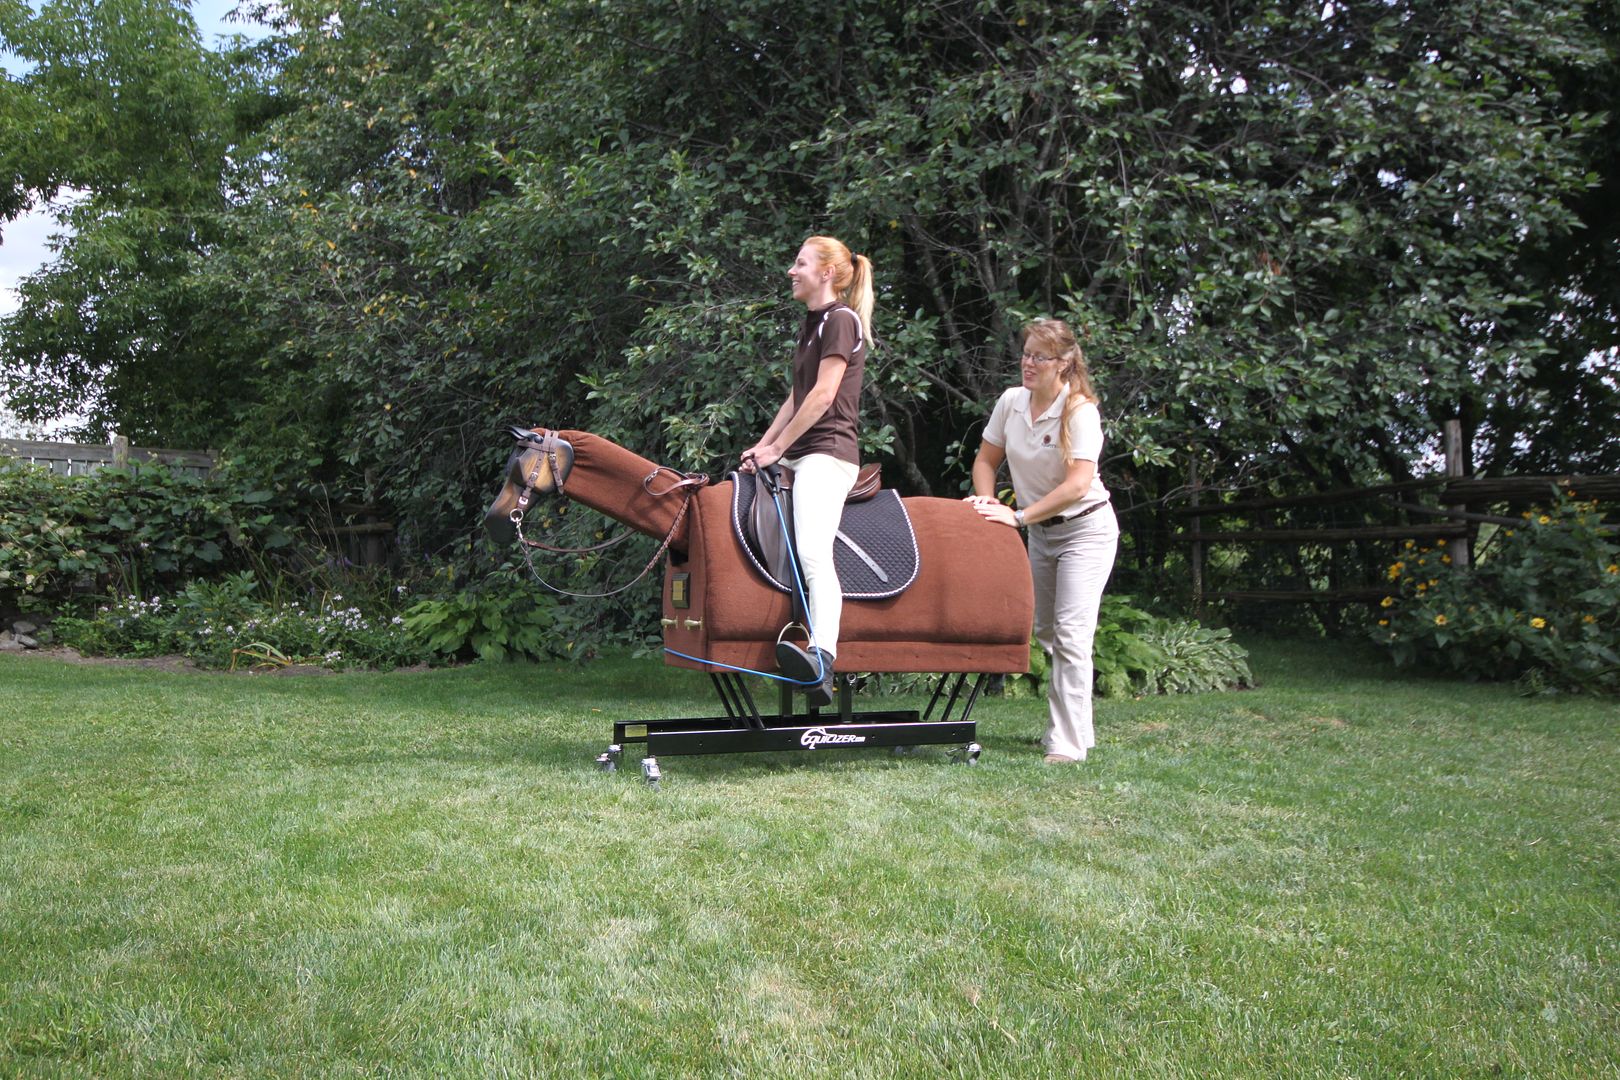
(Photo: Heather also works with clients personally on their Equicizer via email or skype. For more information, visit Equifitt.com or email Heather at personaltraining@equifitt.com
Click here to learn more about exclusive training offers for Equicizer owners through Equifitt!
Be a Better Fitter Rider with the Equicizer!
Exercise Descriptions for Home Exercises, specially designed for the Equicizer by rider biomechanics and fitness specialist Heather Sansom.
Warmup & Cooldown: Stretches and Posture Work
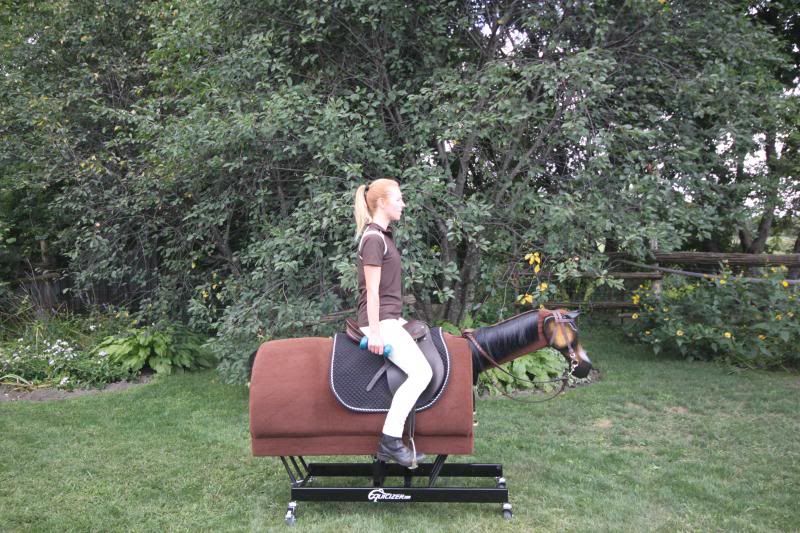
- ‘Be Tall’
- Hip Reach Rotations
- Sitting ‘Cat’ (Upper Back Flexion)
- Sitting ‘Dog’ (Upper Back Extension/Chest Opener)
- Side Stretches
- Shoulder Rolls
- Backwards Leg Circles (Hip Loosener)
- Hip Rotator Stretch
- Front Hip Opener (quadriceps and hip flexor stretch)
- Backline Stretch (hamstring and calf)
- Shoulder Opener
- Neck Stretch
Core Strength, Postural and Co-ordination Improvement Exercises
- Straight Arm Press Backs (latissumus dorsii and triceps)
- Opening Rein (rotator cuff, core and aid separation skills)
- Rear Leg Aid (external leg rotators, hamstring and leg aid muscle memory)
- Giving Forward (core, muscle memory for following head motion)
- Around the World (spine stabilizers, shoulders, balance)
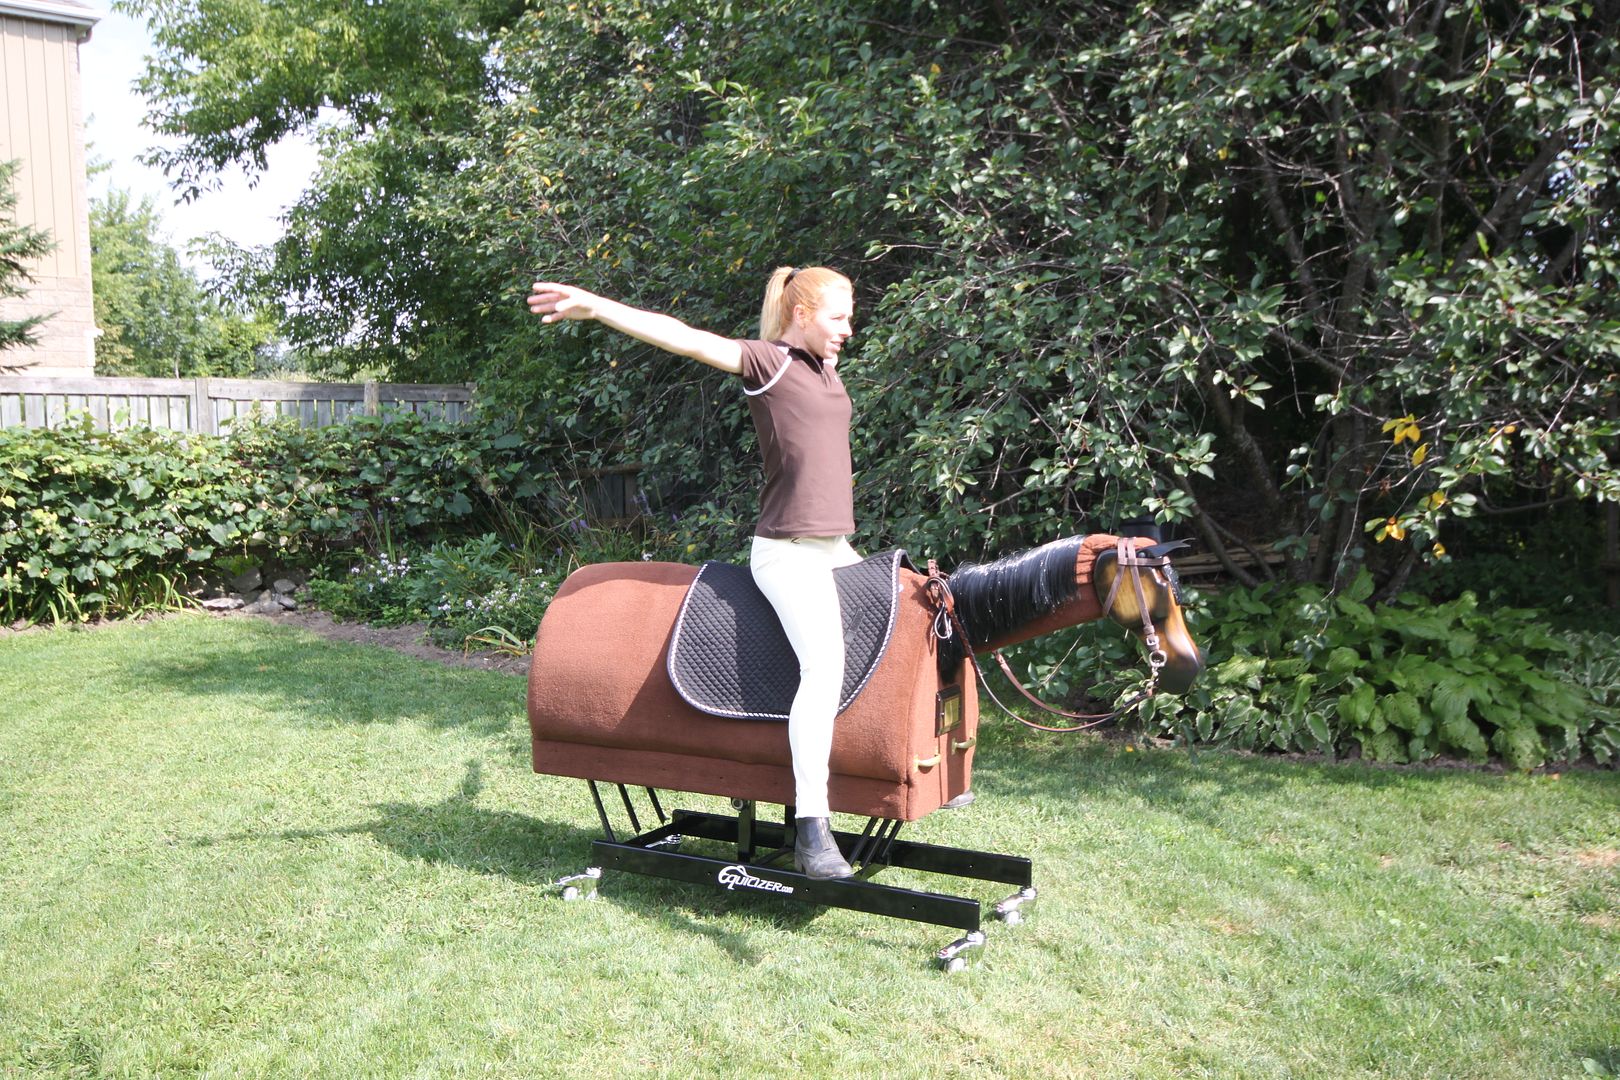
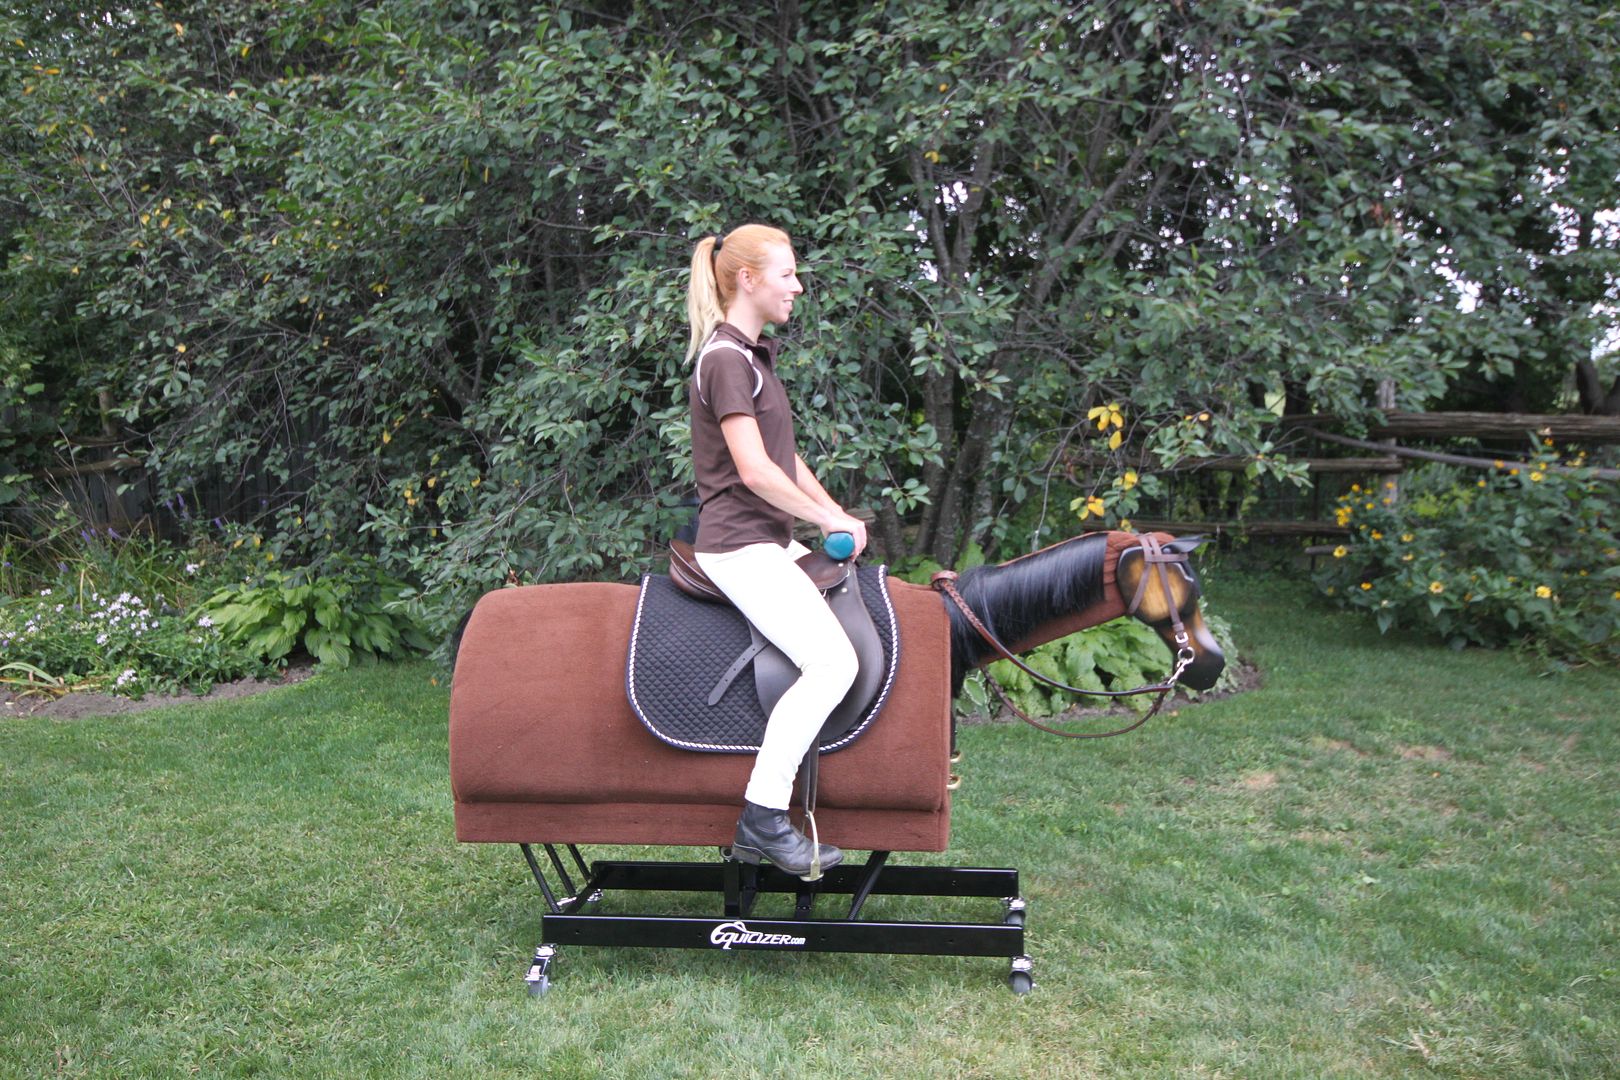
- Single Arm Raise (asymmetrical balancing, core stabilization, shoulder)
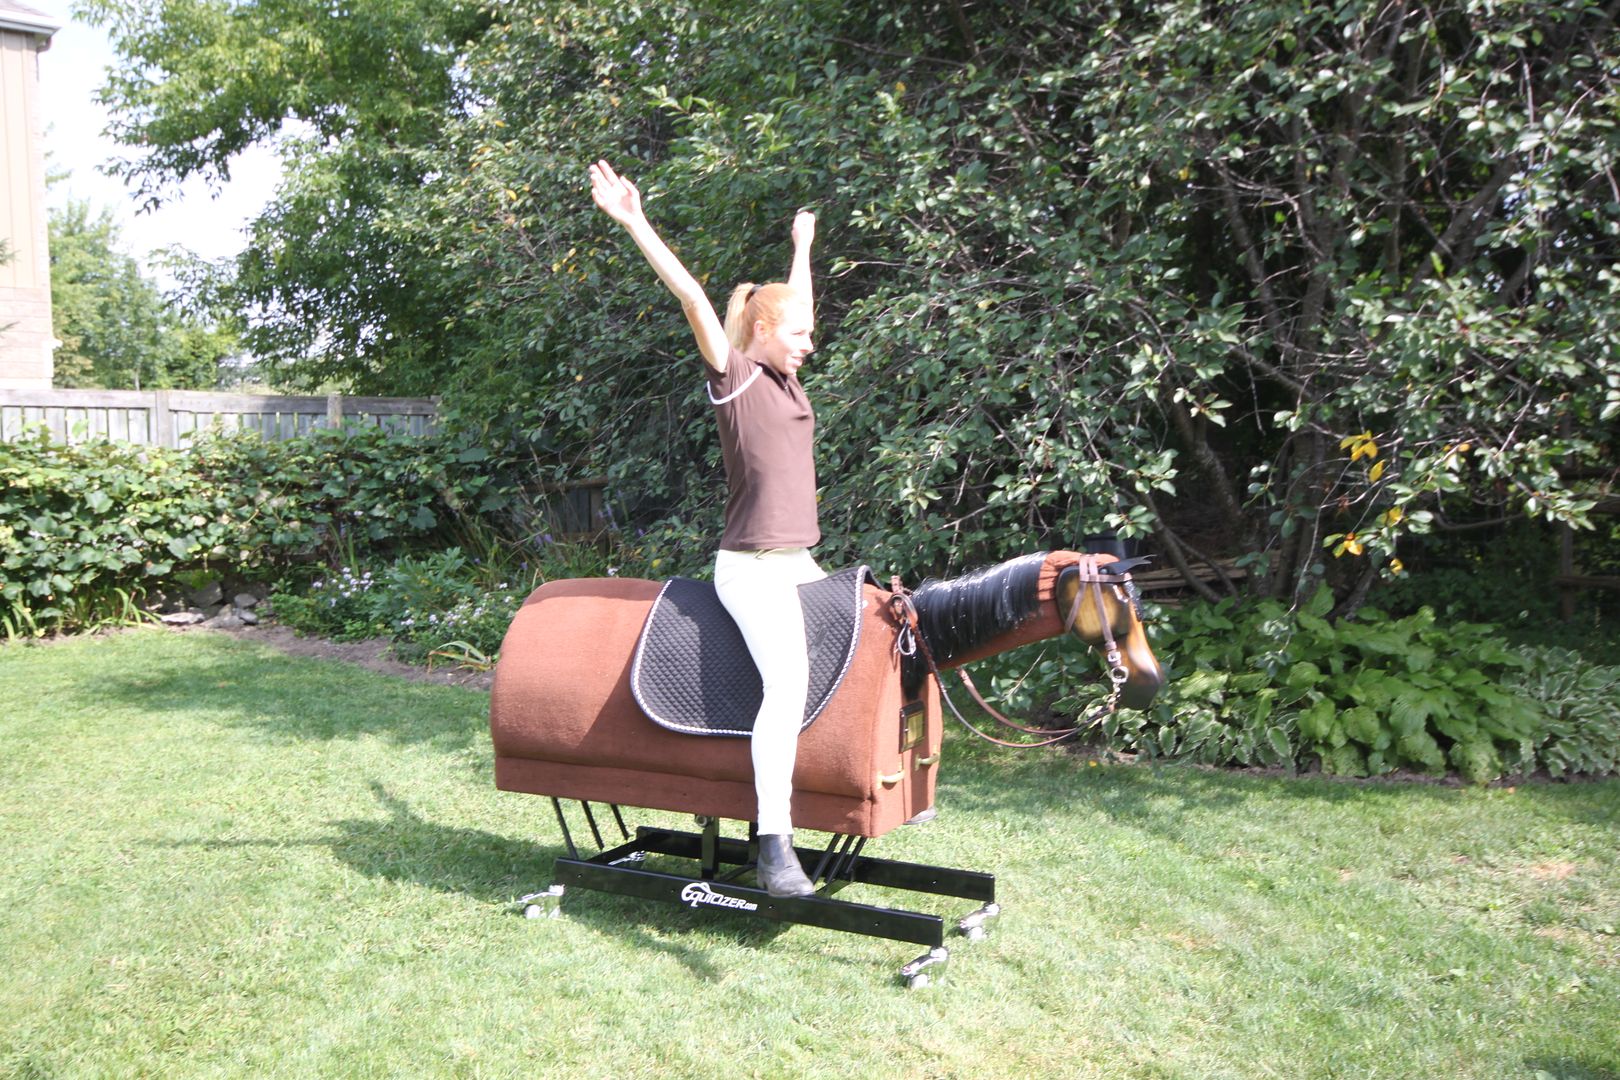
- Single Arm Overhead Press (posture stabilizers, shoulder, core)
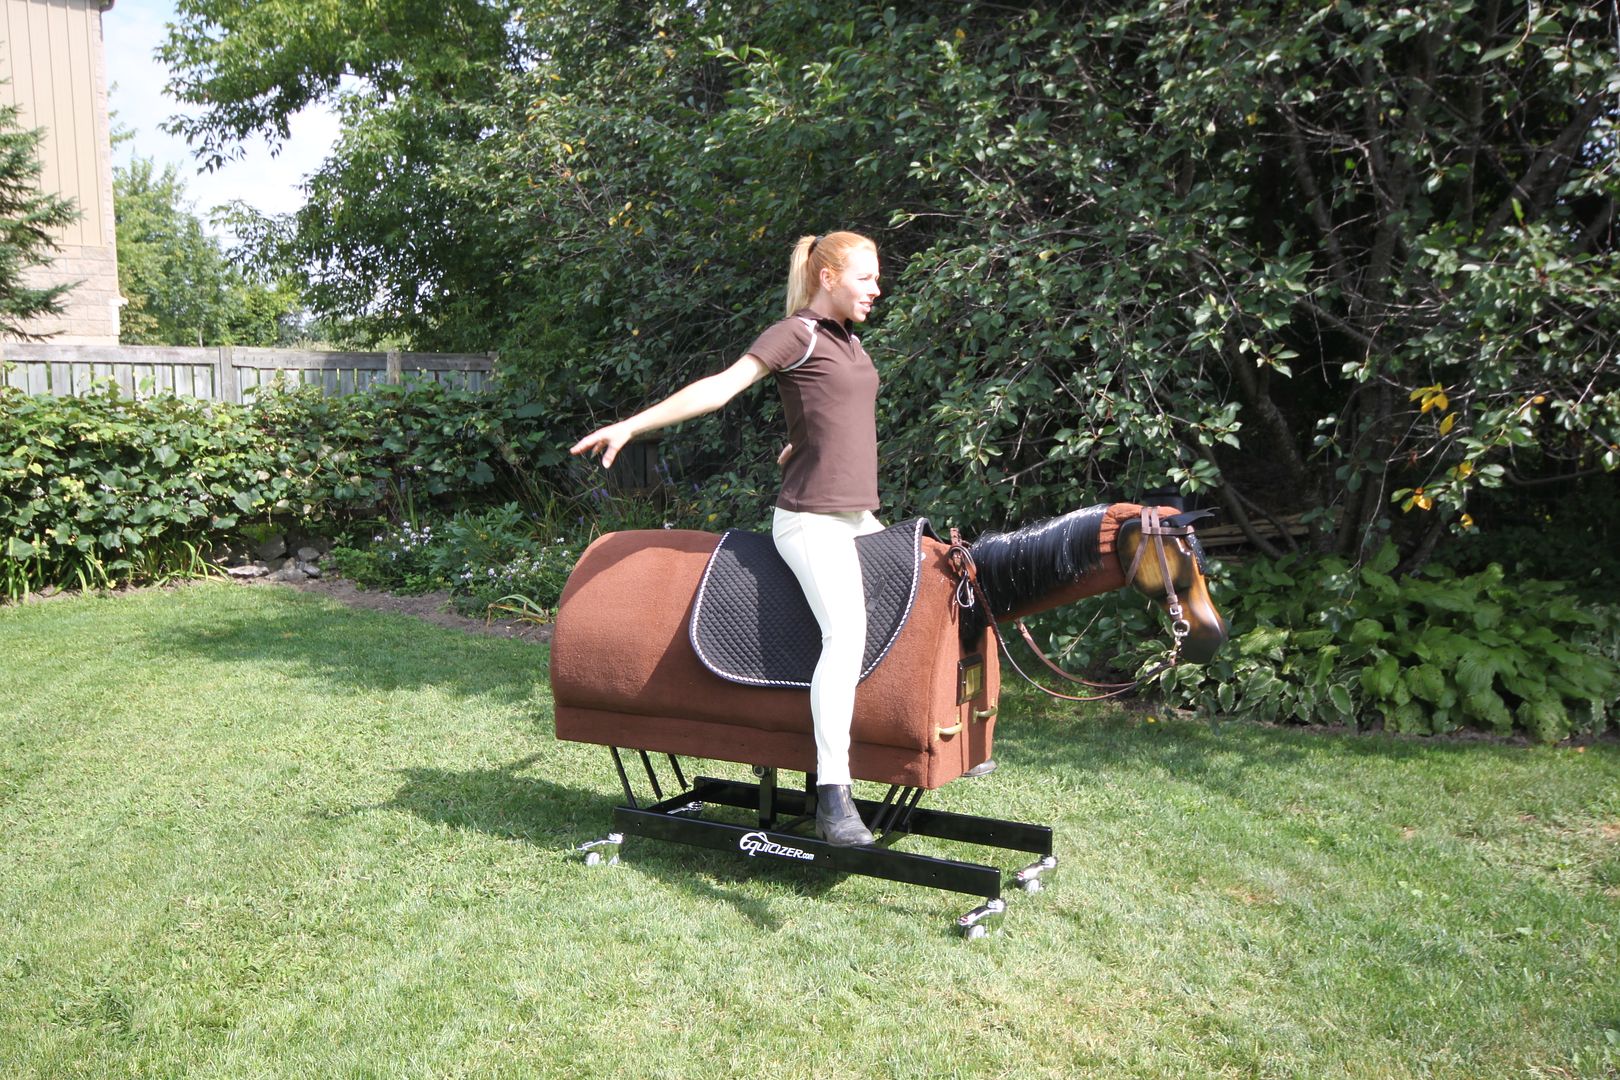
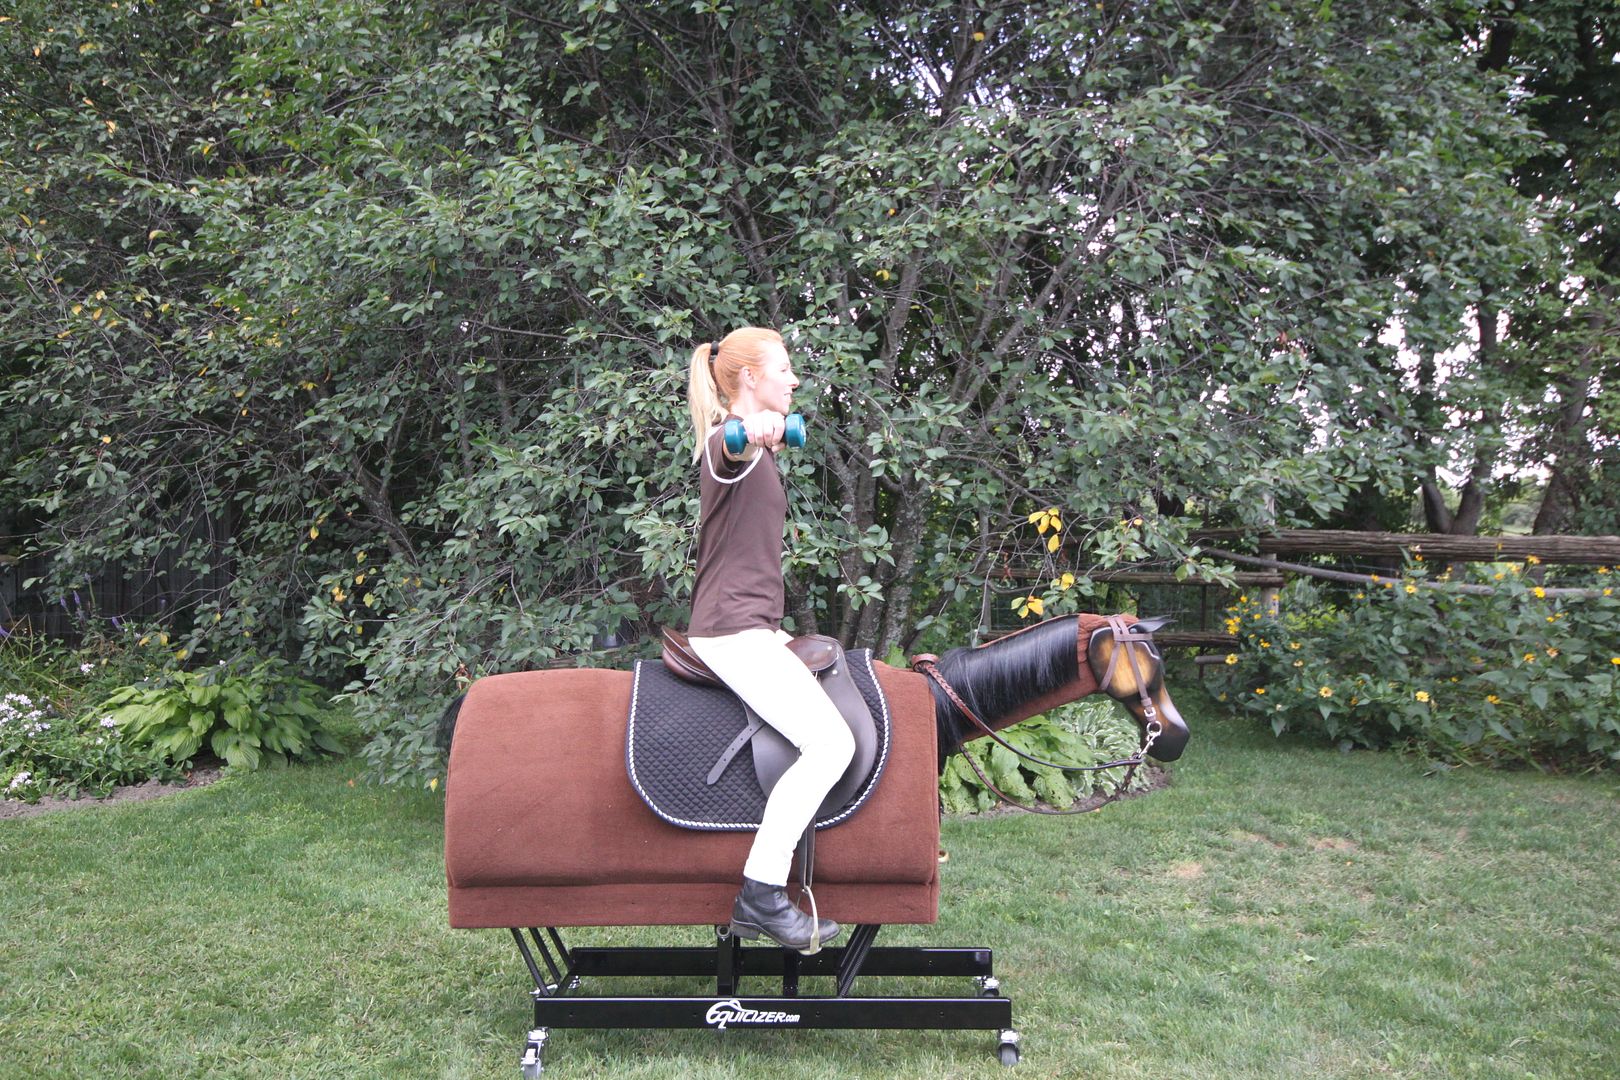
- Forward Weight Raise (front and back postural stabilizers, co-ordination and muscle isolation)
- Egg on Spoon Posting (muscle isolation, controlled upper body relaxation, muscle memory for correct posting and better hand contact, thigh strength)
- Posting While Rocking (co-ordination, improved rein contact, balance, thigh strength)
- Posting with Bean Bag (balance, posture, muscle-memory)
- No Hands Ma! (posting to improve balance through core and heel position)
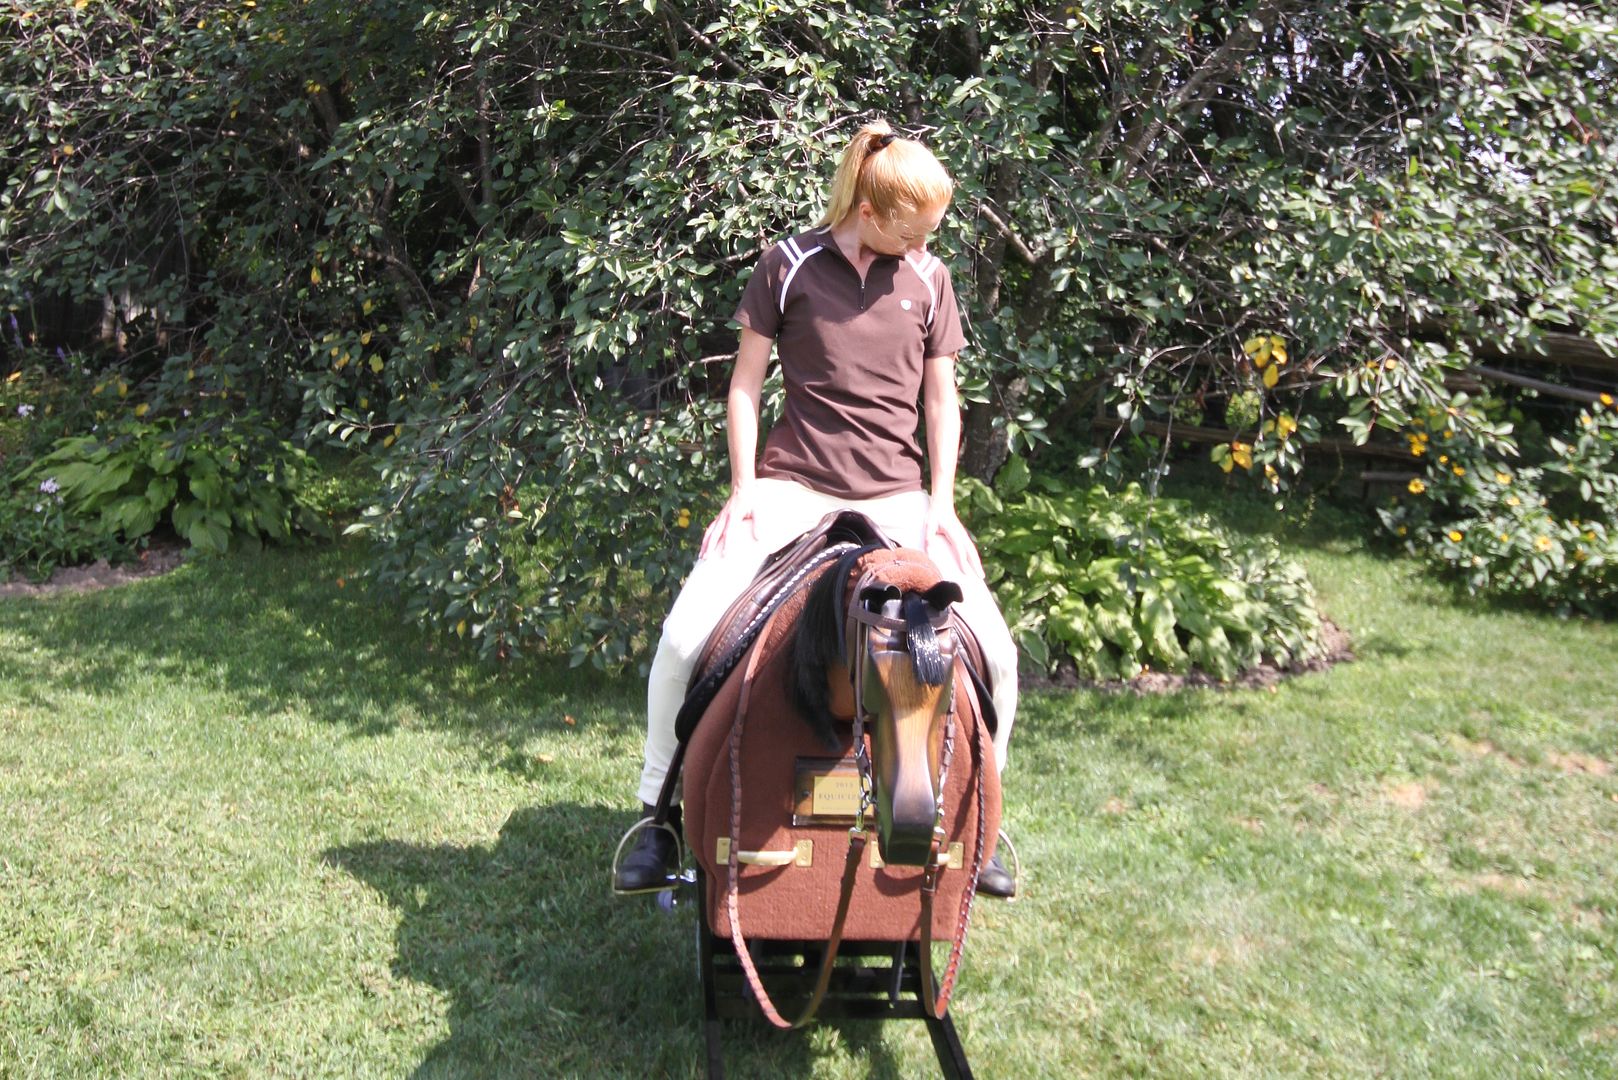
- Mini Hip Hinge (modified dead-lift for building base of support for posture)
- Standing Tubing Forward Pull (balance, core strength and integration)
- Rocking Fly (co-ordination, upper back strength, muscle isolation, core and posture)
- Kneeling Limbo (balance, core strength)
- Weighted Side Bends (balance, core strength)
- Weighted Warrior Overpass (balance, co-ordination, posture, shoulder and back strength)
Recommended Method: choose 4-6 warmup exercises, and 4-6 strengthening exercises. Cycle through the routine one to three times depending on your exercise requirements. Next time, select a different series to keep things fresh. These exercises are beneficial for posture, core strength and co-ordination for riders in any discipline. A good rule of thumb for the strength exercises is to repeat them 4-10 times before switching to a different exercise.
EXERCISE DESCRIPTIONS
Warmup and Cooldown Stretches and Posture Work
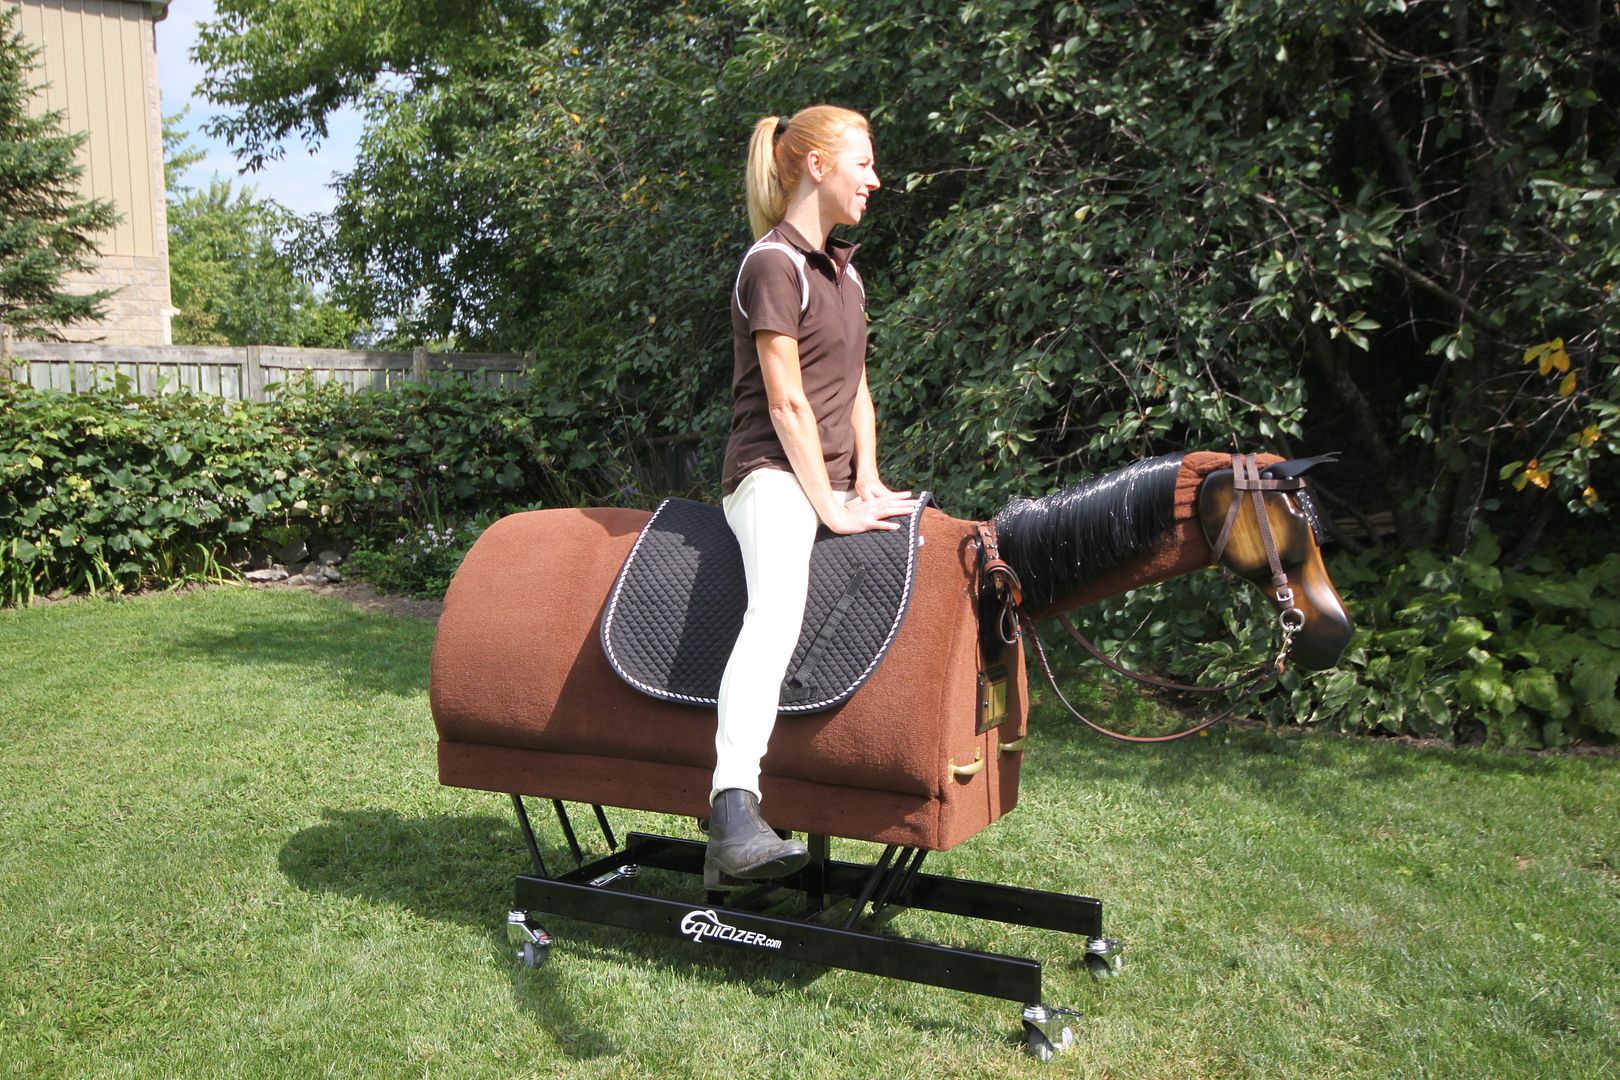
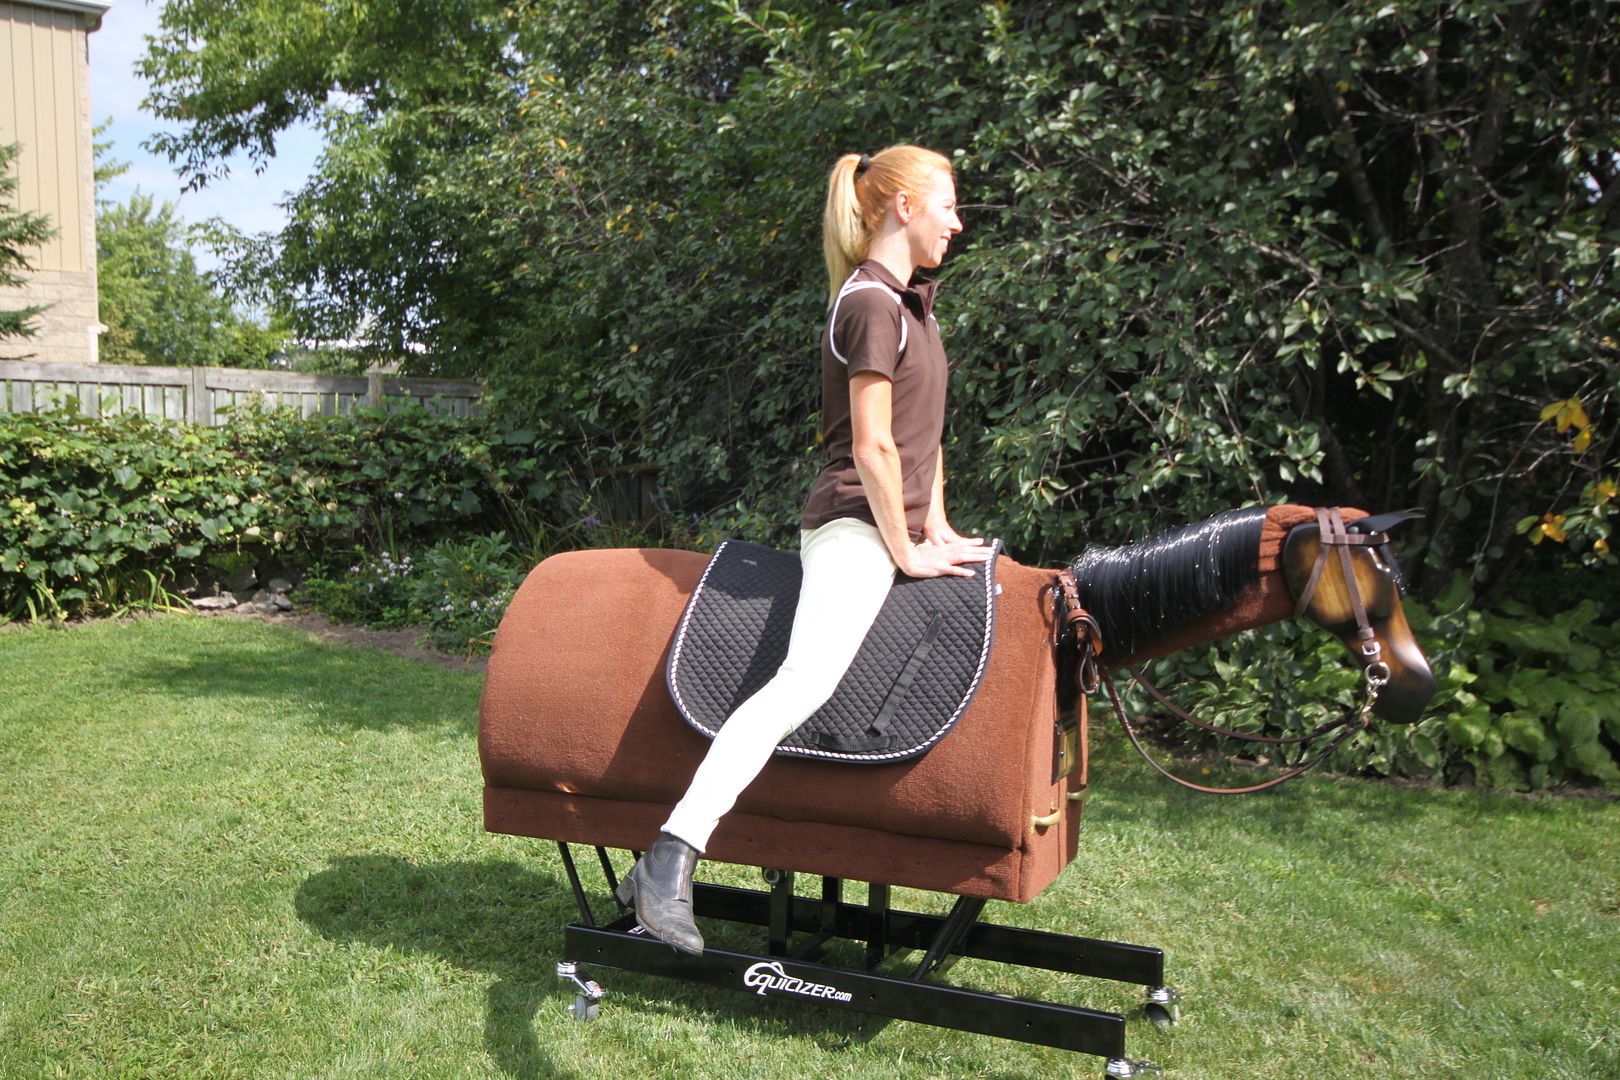
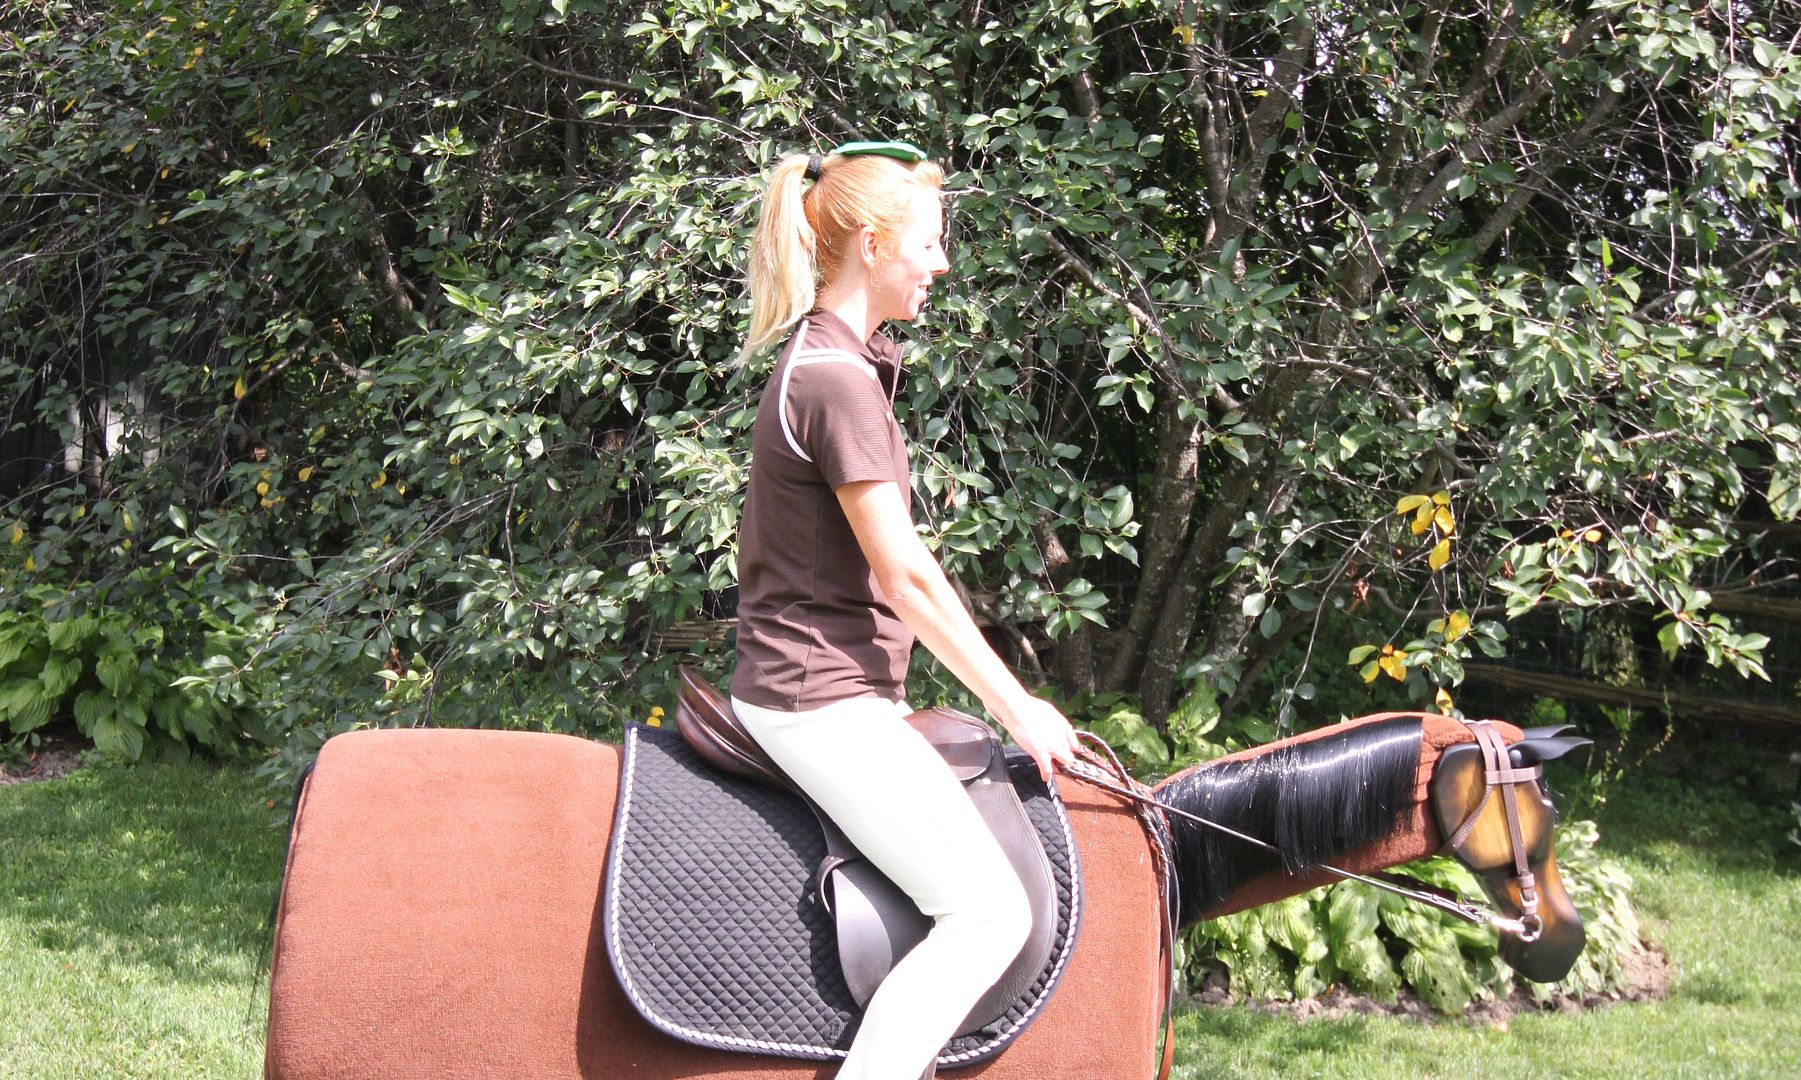
- ‘Be Tall’
 Sit with a good pelvis neutral position: you should be able to feel both seat bones in contact with the saddle-pad or saddle. Align your shoulders, hips and heels making sure you are not leaning back or arching your lower back. You will need to engage your abdominals somewhat. Reach one arm up past your ear, toward the sky. If you have an impingement in your shoulder, you will not be able to reach directly past your ear without compromising your spine position. If that is the case, bend your elbow slightly and lift your arm up ahead of your ear.
 The goal of the exercise is to stretch up as tall as you can to assist your body in organizing your postural muscles for good alignment. As you reach up take a deep breath, then let your breath out slowly to ‘settle’ your ribcage into position. Do the exercise on both sides.
- Hip Reach Rotations
Starting with good neutral posture, reach around behind you to touch the Equicizer on each hip. Try and maintain your balance and the forward direction of your hips as you reach.
 This will force you to stretch your abdominal muscles, and train your body to maintain your seat position while changing your upper body position.
3. Sitting 'Cat' (Upper Back Flexion)
 This exercise is adapted from the yoga pose ‘cat and dog’. While sitting, slouch or round your upper back- without slouching your lower back. You do not want to completely collapse, so keep a little bit of abdominal tone. The goal is to help the upper part of your spine flex.
4. Sitting 'Dog' (Upper Back Extension/Chest Opener)


It can be helpful to think about opening out your chest and squeezing your shoulder blades together. To get the right opening effect in your shoulders, hold your hands palm forward and then turn your thumbs back as if you were trying to get your hands to go palm toward the sky. Lift your chin at the same time to increase the curve in your upper back.
5. Side Stretches
 Start by reaching tall toward the sky as you did in the ‘sit tall’ exercise. Engage your abdominals to support your lower back as you bend your ribs over to one side. Reach your arm over your head.

The goal of the exercise is to stretch the muscles along your ribs and between your ribs and hip. If you fold forward, hollow your back or otherwise lose your straight alignment, you will not achieve stretching these muscles.

Do not worry about how far over you can bend. It is more important to have a true stretch with alignment, than to go further but cheat by popping your hip out. The reason this exercise is done without stirrups is so that you cannot cheat by standing your weight in a stirrup.
- Shoulder Rolls
Starting in a spine neutral sitting posture, roll your shoulders forward, up, around and back and down. The motion should go from front to back because this promotes a ‘collection’ action of the muscles in your back. Rolling from back to front would put you ‘on the forehand’. Rolling backwards helps your body organize your postural muscles correctly, while opening up your chest.
- Backwards Leg Circles (Hip Loosener)
Starting in a spine neutral sitting position, place your hand on the pommel area. Next, lift your legs to the sides as far as you can go. Circle them out, back, then in toward the horse. This exercise opens up your hips, and also lightly engages muscles in the back of your legs which are needed to keep a neutral leg position while riding.

-
 Hip Rotator Stretch
 Hip Rotator Stretch
Pick up one leg, bending the knee and placing your ankle on the pommel area. Make sure you start by sitting up straight. When you have your balance, lean forward as if you were trying to move your chest toward the Equicizer’s ears.
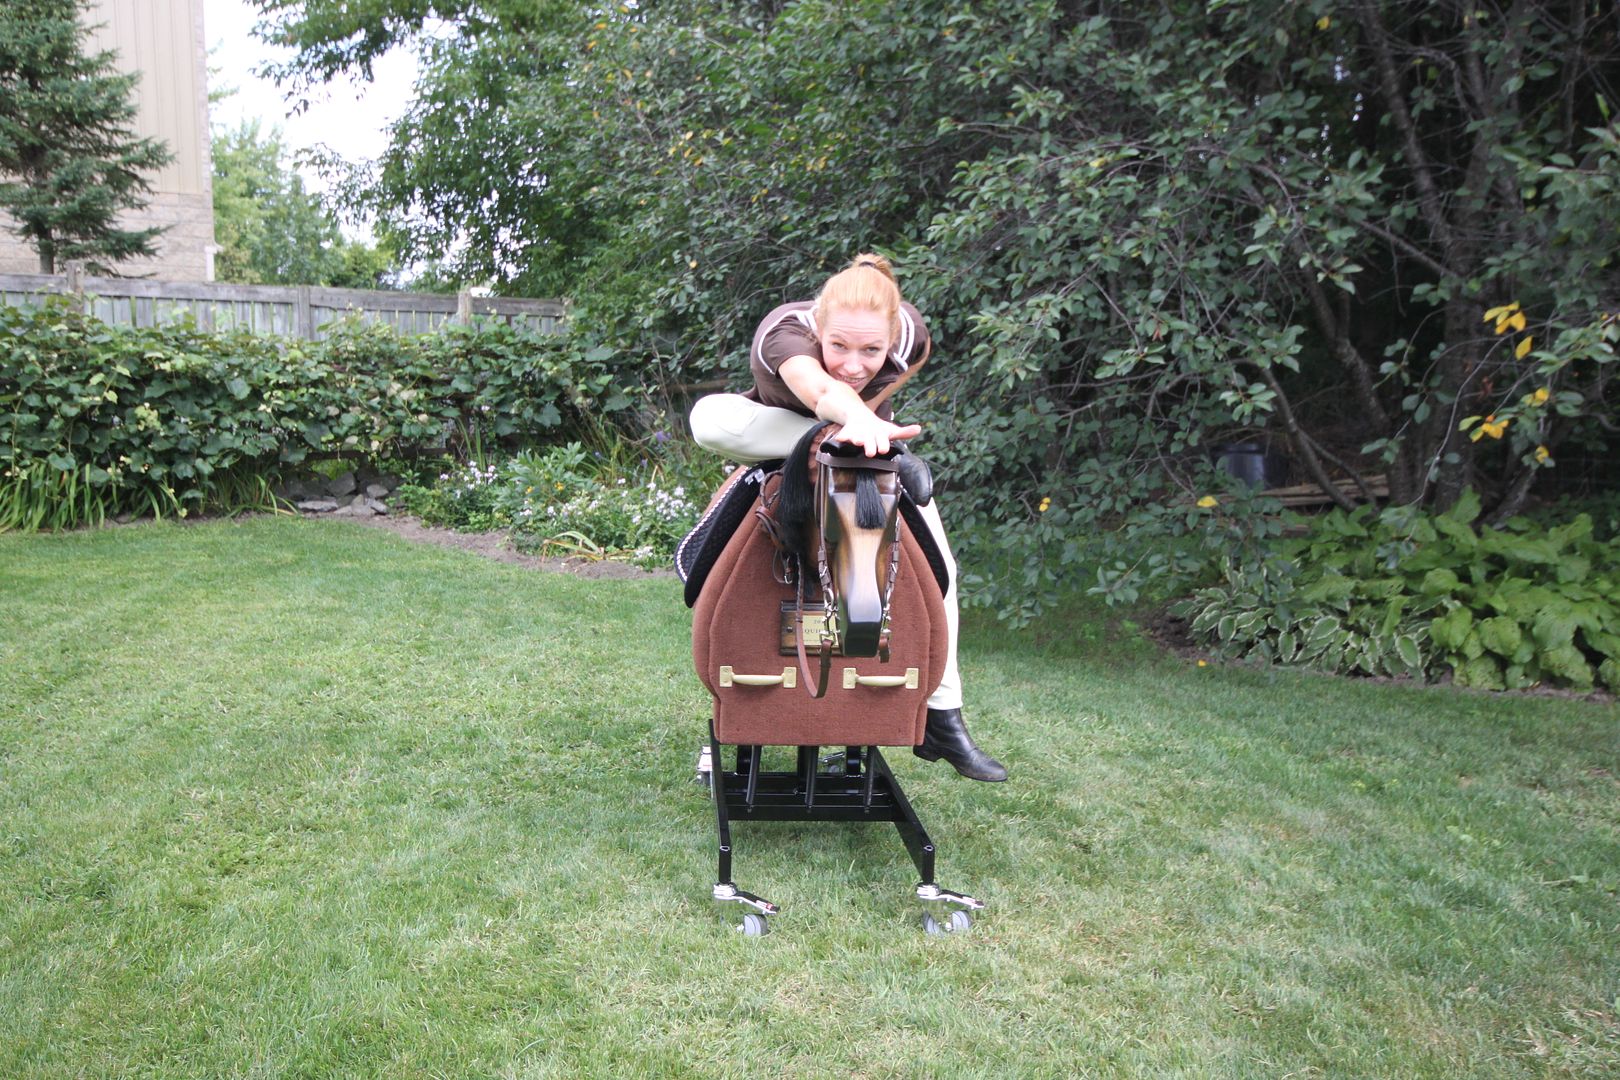
Watch out for the common error of rounding your back or slouching. Keep your chest up and forward will cause the correct fold in your hips which is needed to stretch your gluteals and piriformis muscles.
 Front Hip Opener (quadriceps and hip flexor stretch)
 Front Hip Opener (quadriceps and hip flexor stretch)
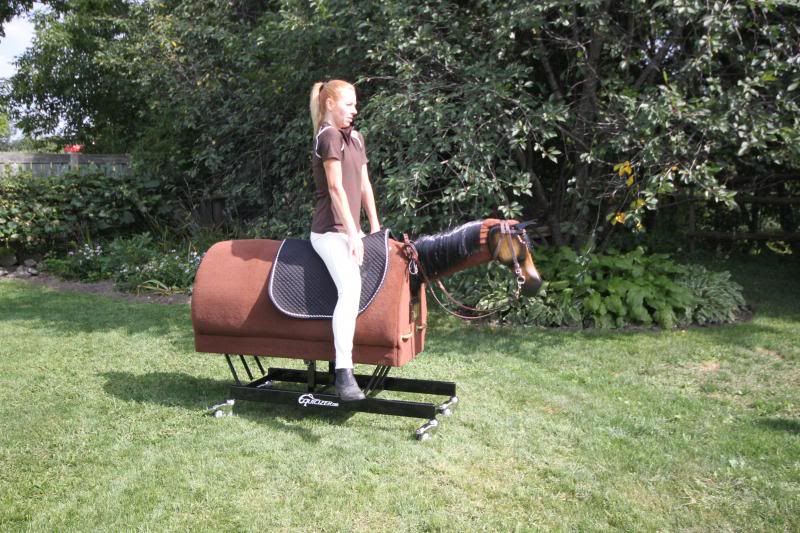
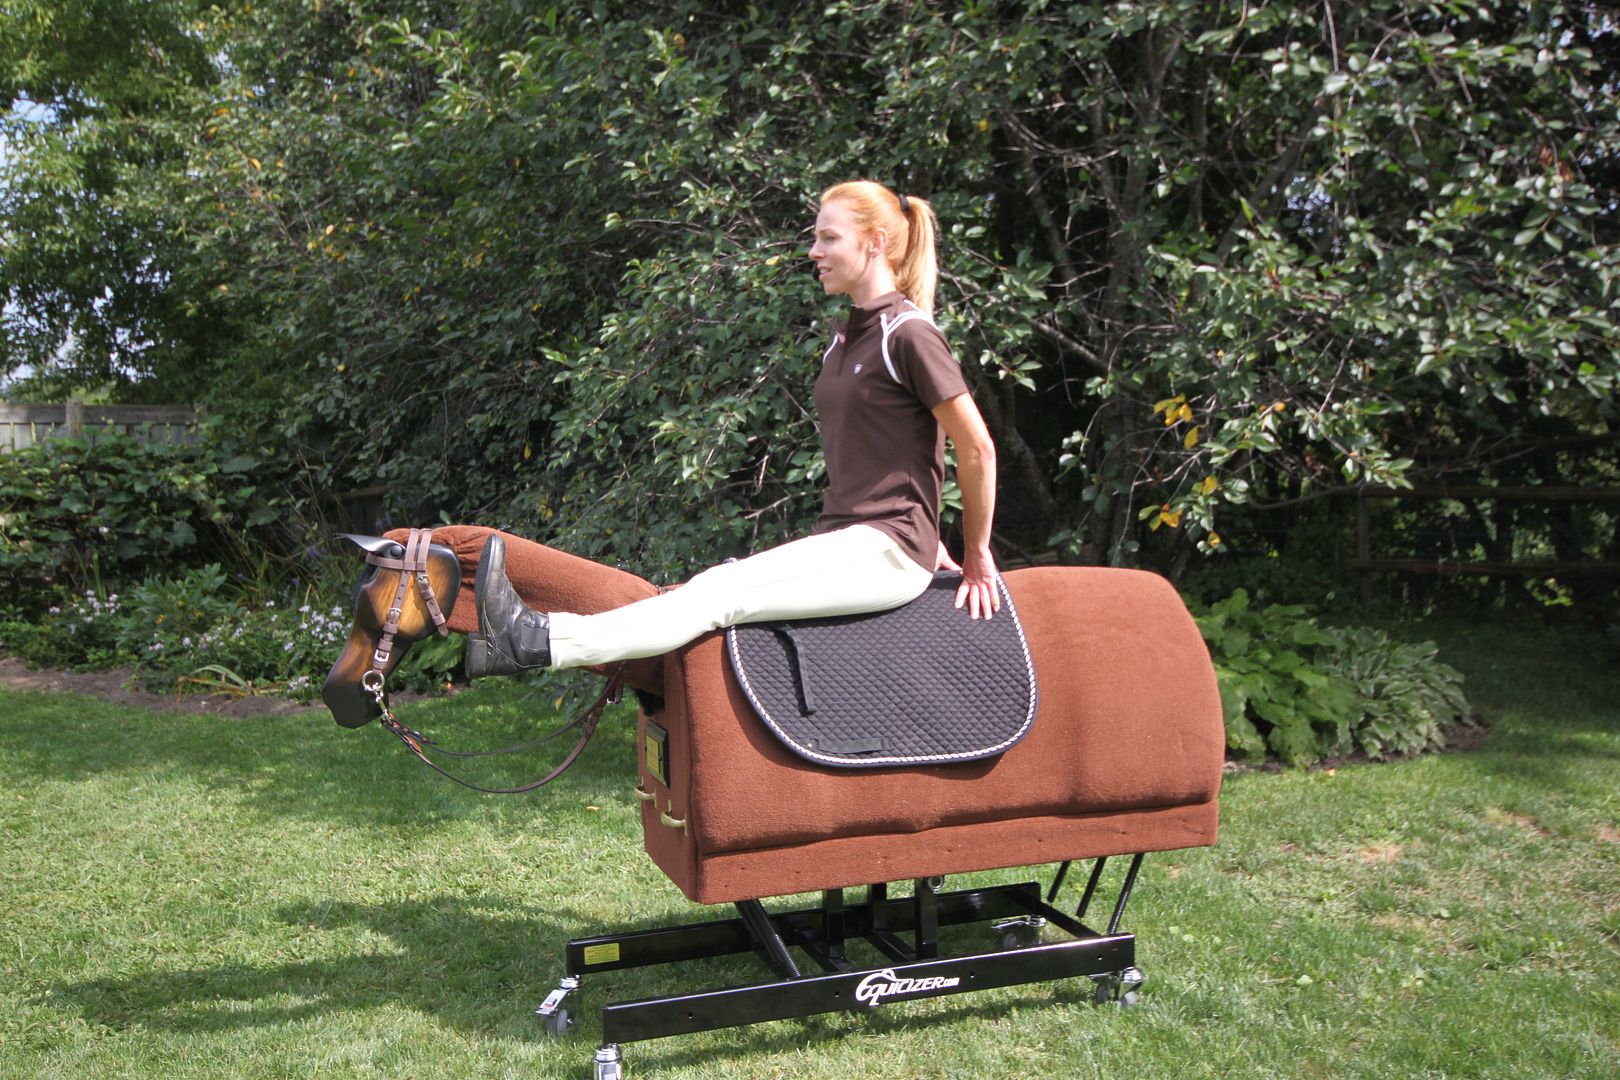
Starting in a spine neutral sitting position, pick up your ankle and draw your knee down and back. You will need to maintain some core tone so that your hip does not pop forward causing your low back to hollow. If that happens, it is likely that you have extremely tight hip flexors.
If that is the case, modify the exercise by tying a lead to your ankle and drawing your leg back more slowly, always keeping an upright hip. The goal of the exercise is to stretch the muscles between the bony part of your hip bone just under your waist, and your knee. Allowing your back to hollow would undermine the exercise by allowing the muscles to stay short as they pulled your hip and back forward. Hold the stretch for at least 10-20 counts.
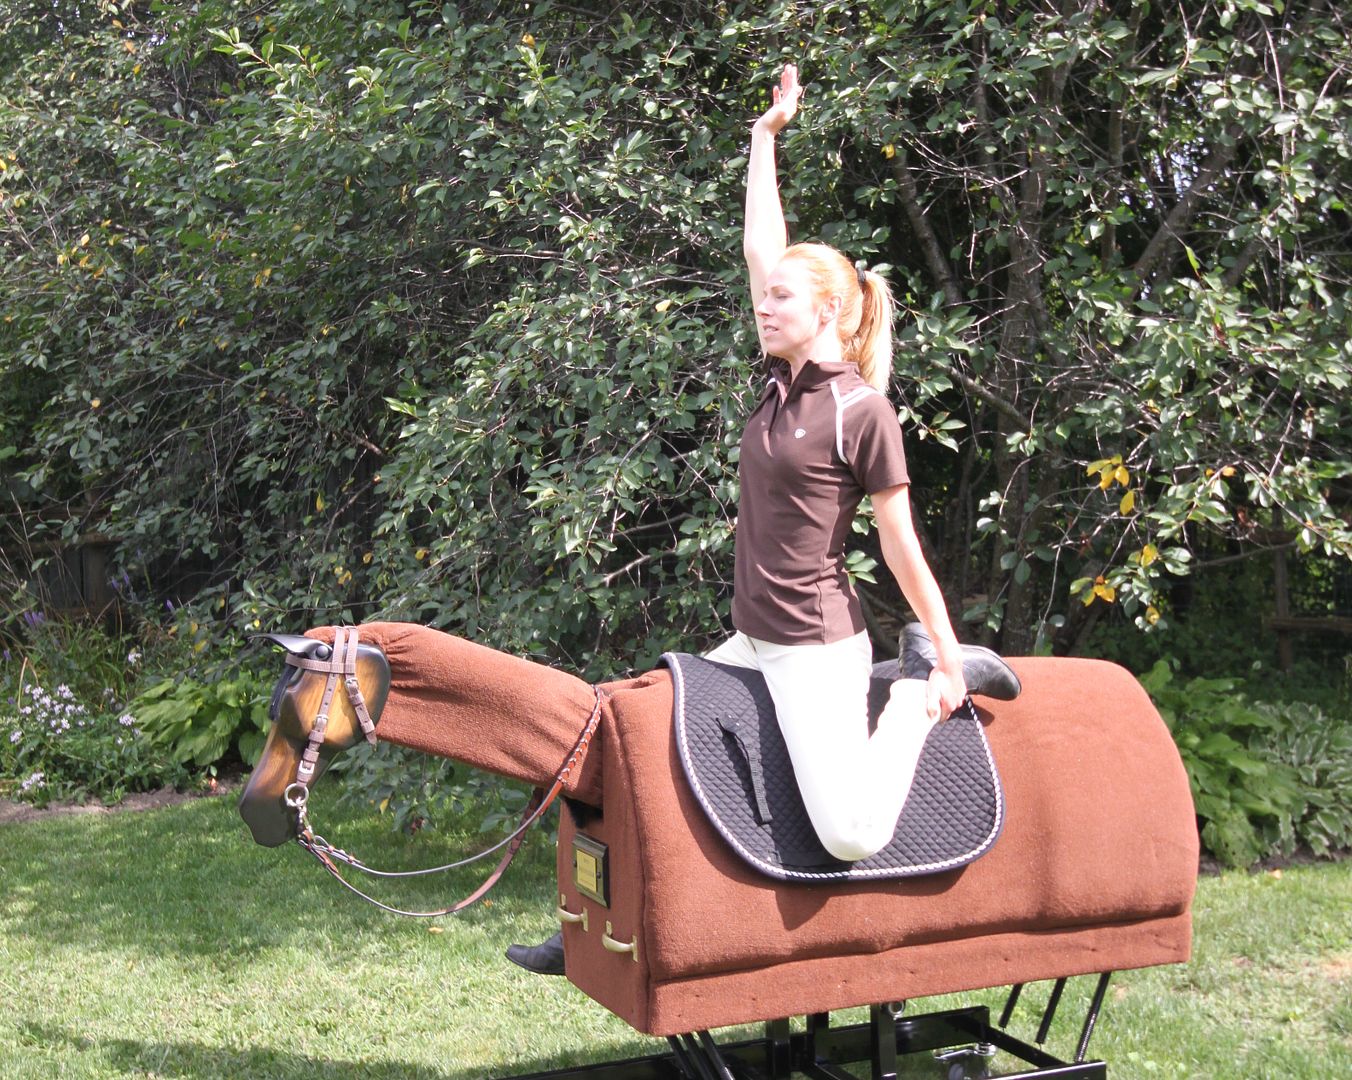
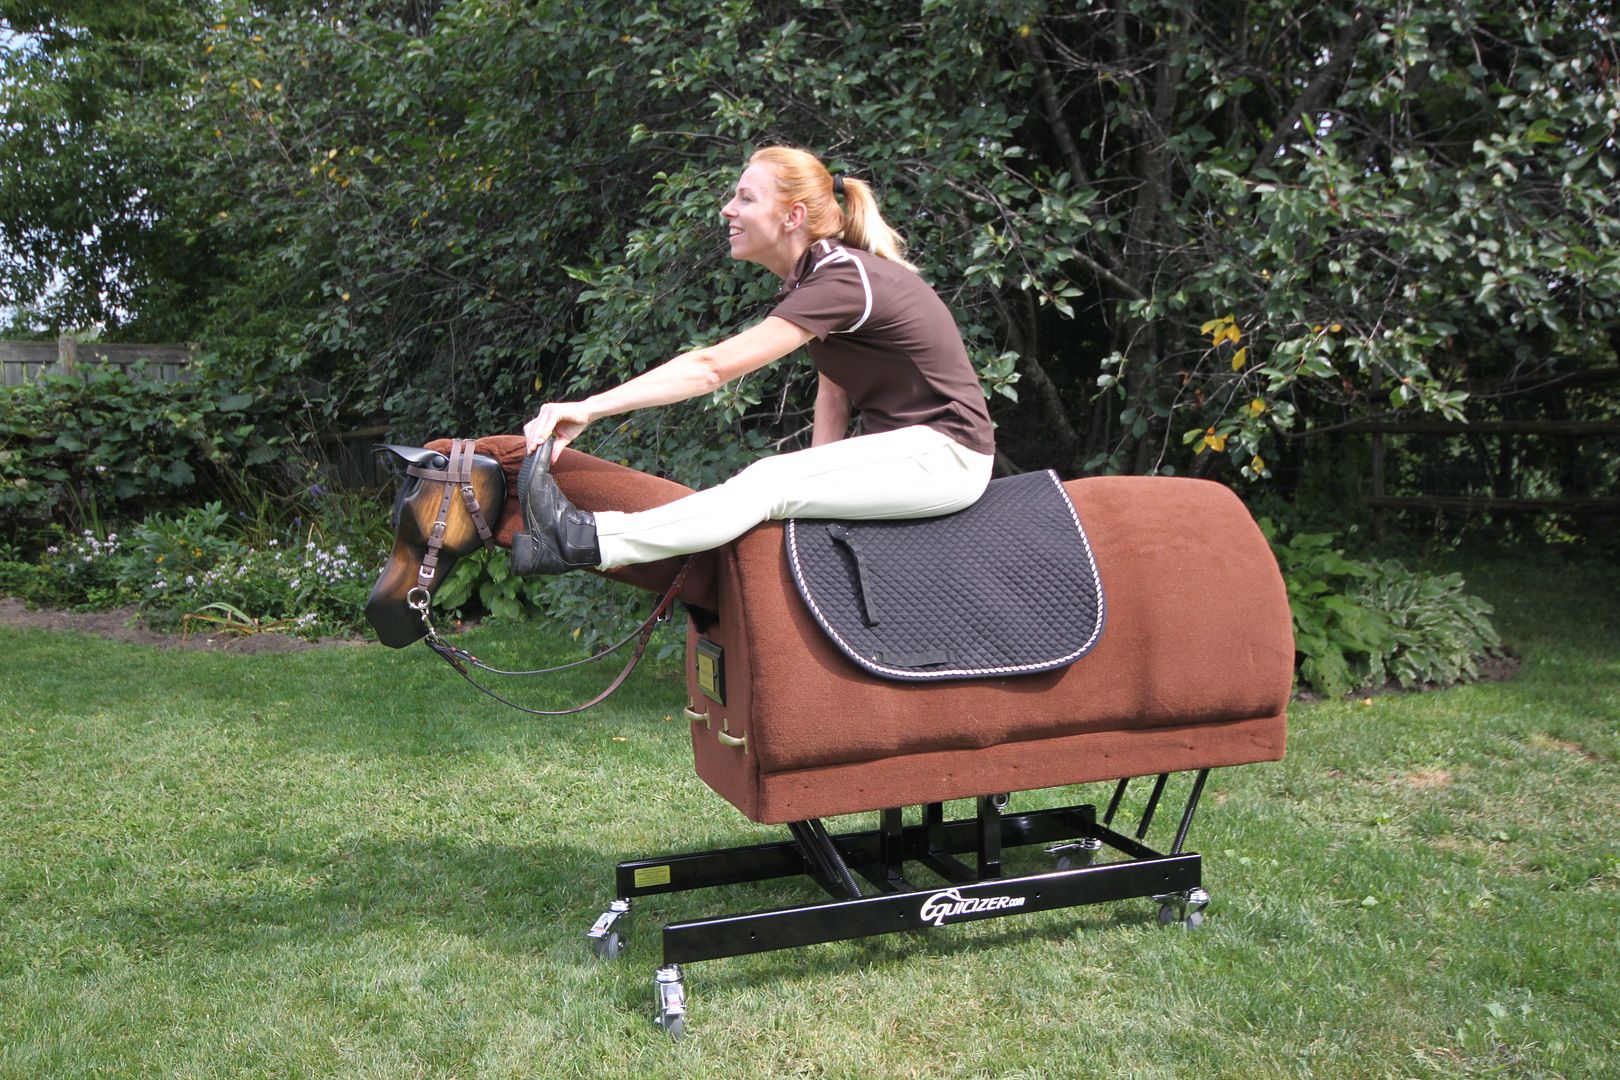
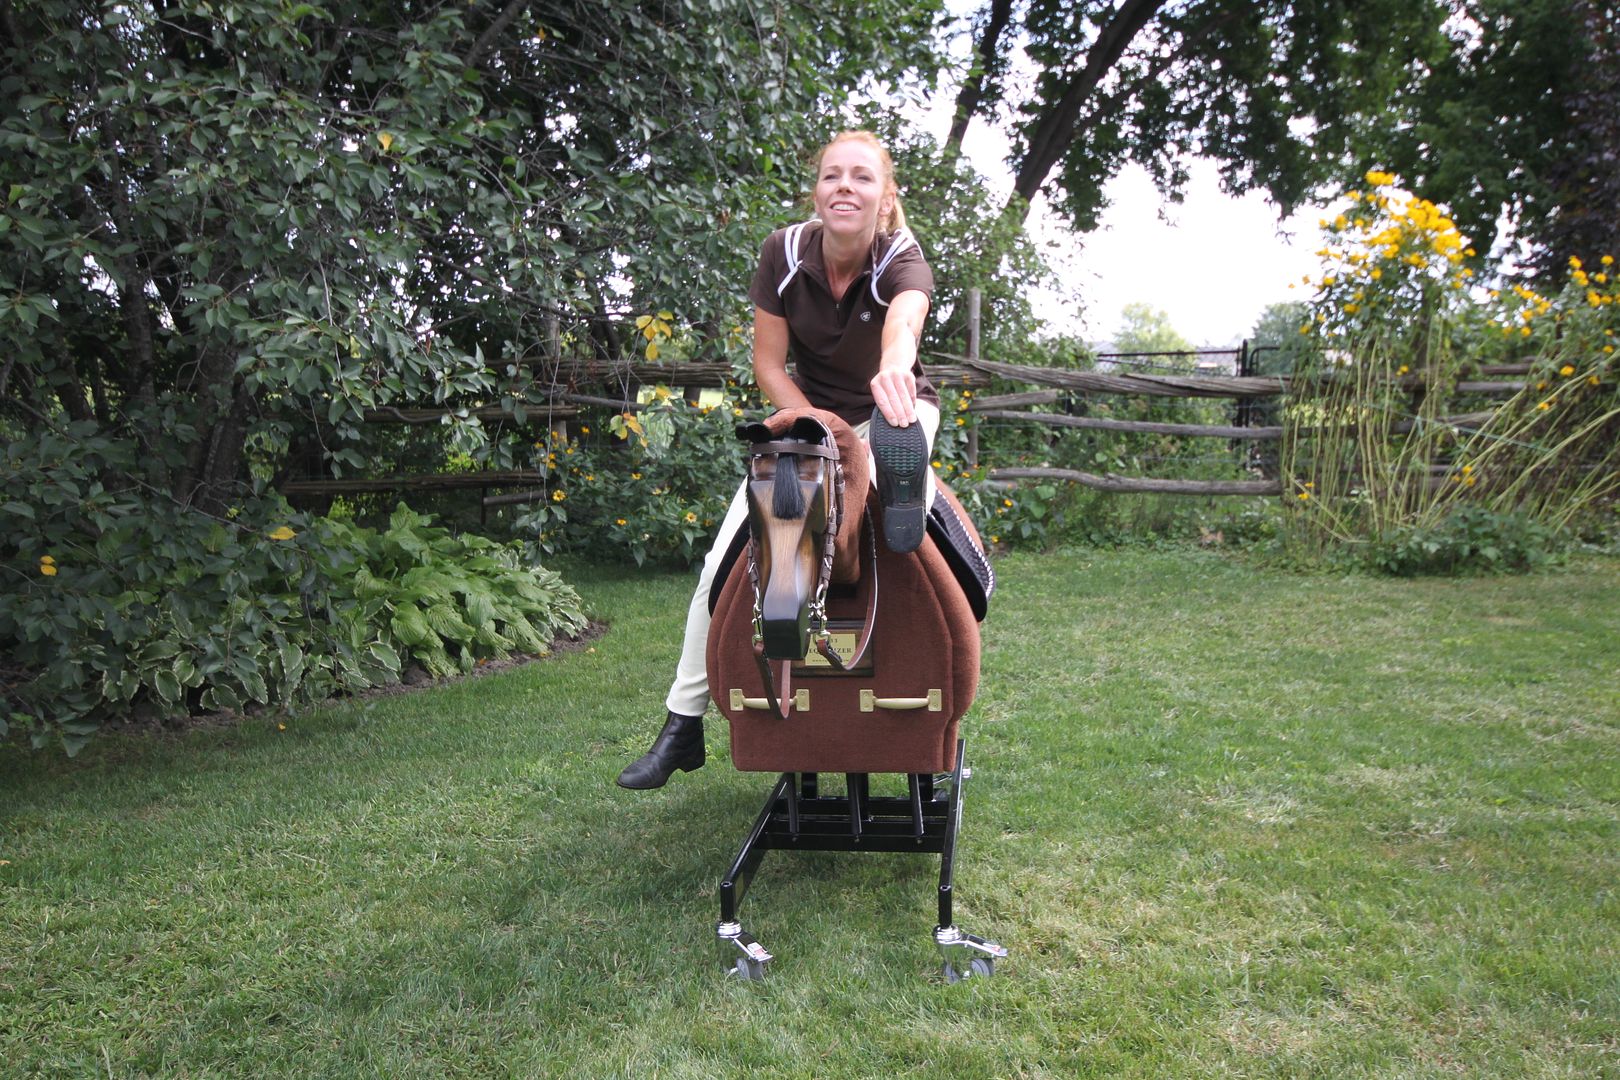
- Backline Stretch (hamstring and calf)
Lift your leg up onto the pommel area. Sit up nice and tall, and reach forward toward your toes. Do not worry if you cannot reach your toes. As long as you can stretch forward to the point where you feel stretching happening in the back of your leg or calf, you are doing the exercise correctly. Make sure that you stretch both sides.
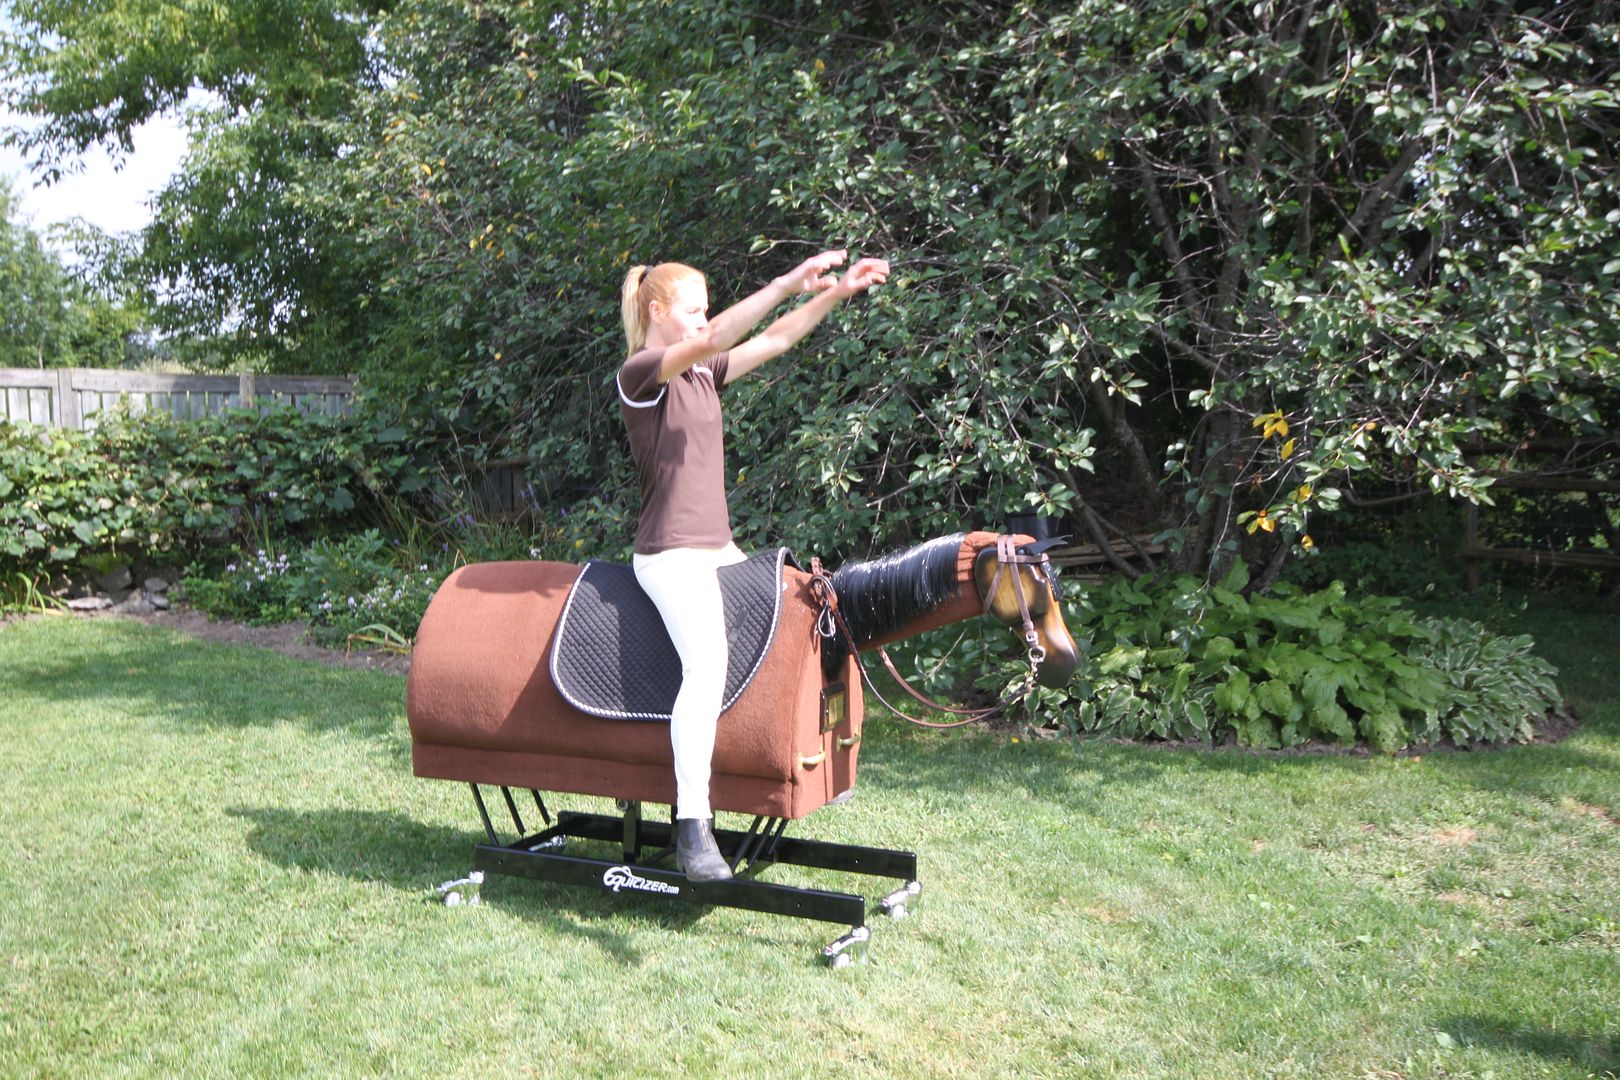
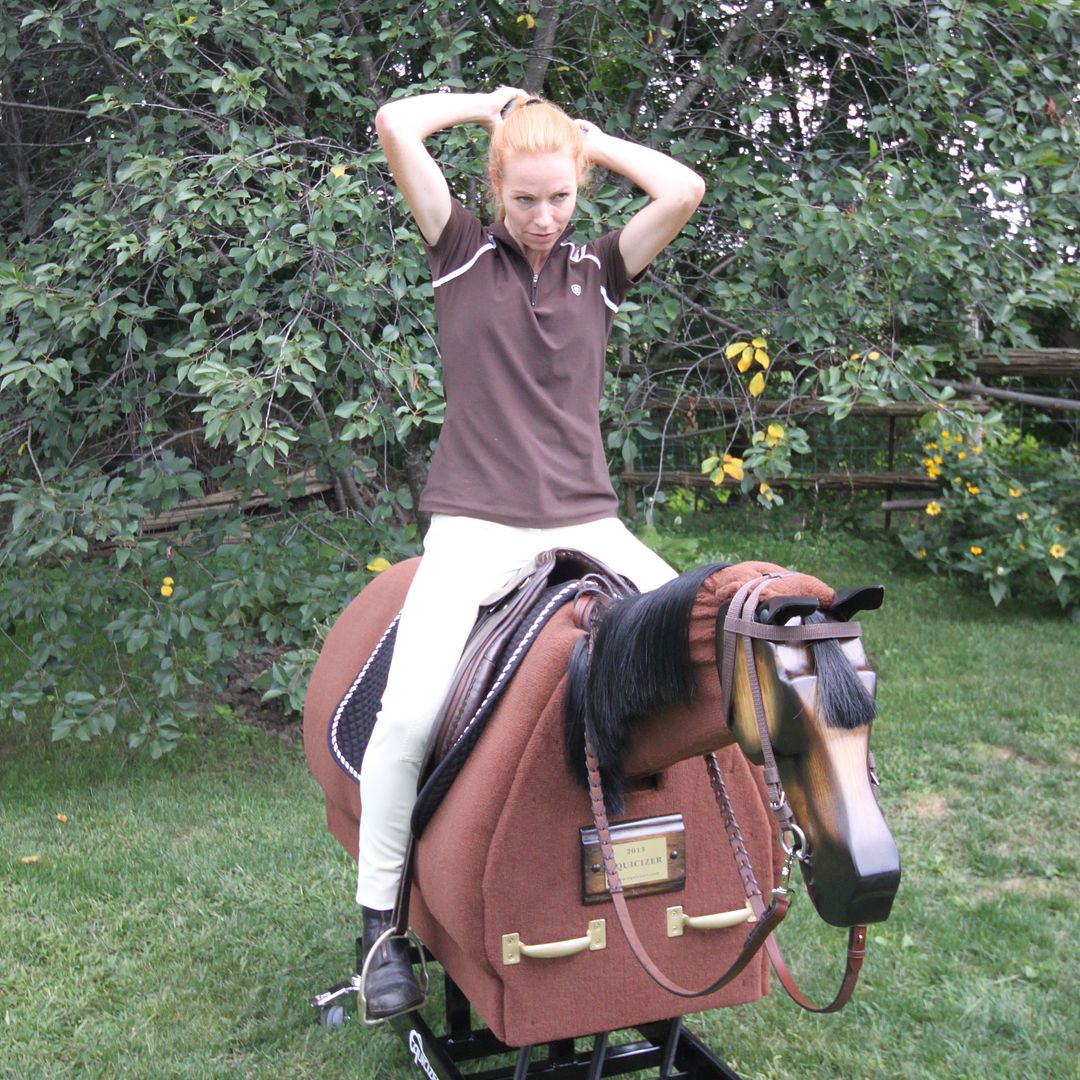
11. Shoulder Opener
To open the shoulder area and loosen your back even more, start in a spine neutral seated position. You can hold a leadshank, or just imagine you are holding one. Reach your arms forward, then up and rotate them back behind you. If you have to widen the distance between your arms, or wriggle a little bit to get your arms behind you, that is ok. The goal of the exercise is to improve mobility in your shoulders, because lack of mobility in your shoulders locks down your back and prevents you from following the motion of the horse. As long as you are doing the exercise, you will be improving from where you started. That is more important than whether or not you achieve the same flexibility as the fitness model.
12. Neck Stretch
This exercise is a bonus three-in-one. Starting in a spine neutral sitting position, you can choose any or all of the three neck stretching options: tilting your ear to your shoulder, looking behind you, and looking under one arm-pit. Whichever exercise you choose, keep your body facing forward and keep your torso from collapsing. Do both sides, and always roll your head to the front only if you are going to roll from side to side. Never roll your head around to the back. Doing so puts un-necessary pressure on your neck bones. Especially do not do neck mobilizing exercises on a live horse. A sudden spook could cause a jolt which could put you at risk for serious spinal injury.
Core Strength and Postural Co-ordination Exercises
- Straight Arm Press Backs (latissumus dorsii and triceps)
 Loop an exercise tube or Theraband or other stretchy material around the front of your Equicizer, with the band passing just underneath the front handles. From a neutral seated position, engage your abdominals as you press your hands downward and back. It is very important to press your hands down, as this will engage your latissumus muscles which are important for good posture.
A common error with riders is to scrunch the shoulders and create negative tension in the trapezius muscle, which causes hard hands while riding. Pressing down and back against the pressure of the tubing, you will need to engage your core muscles more and more each second to maintain your good posture. This will strengthen your postural muscles. Once you have pressed the tubing back as far as you can without losing good posture, hold that position for 3-6 counts.
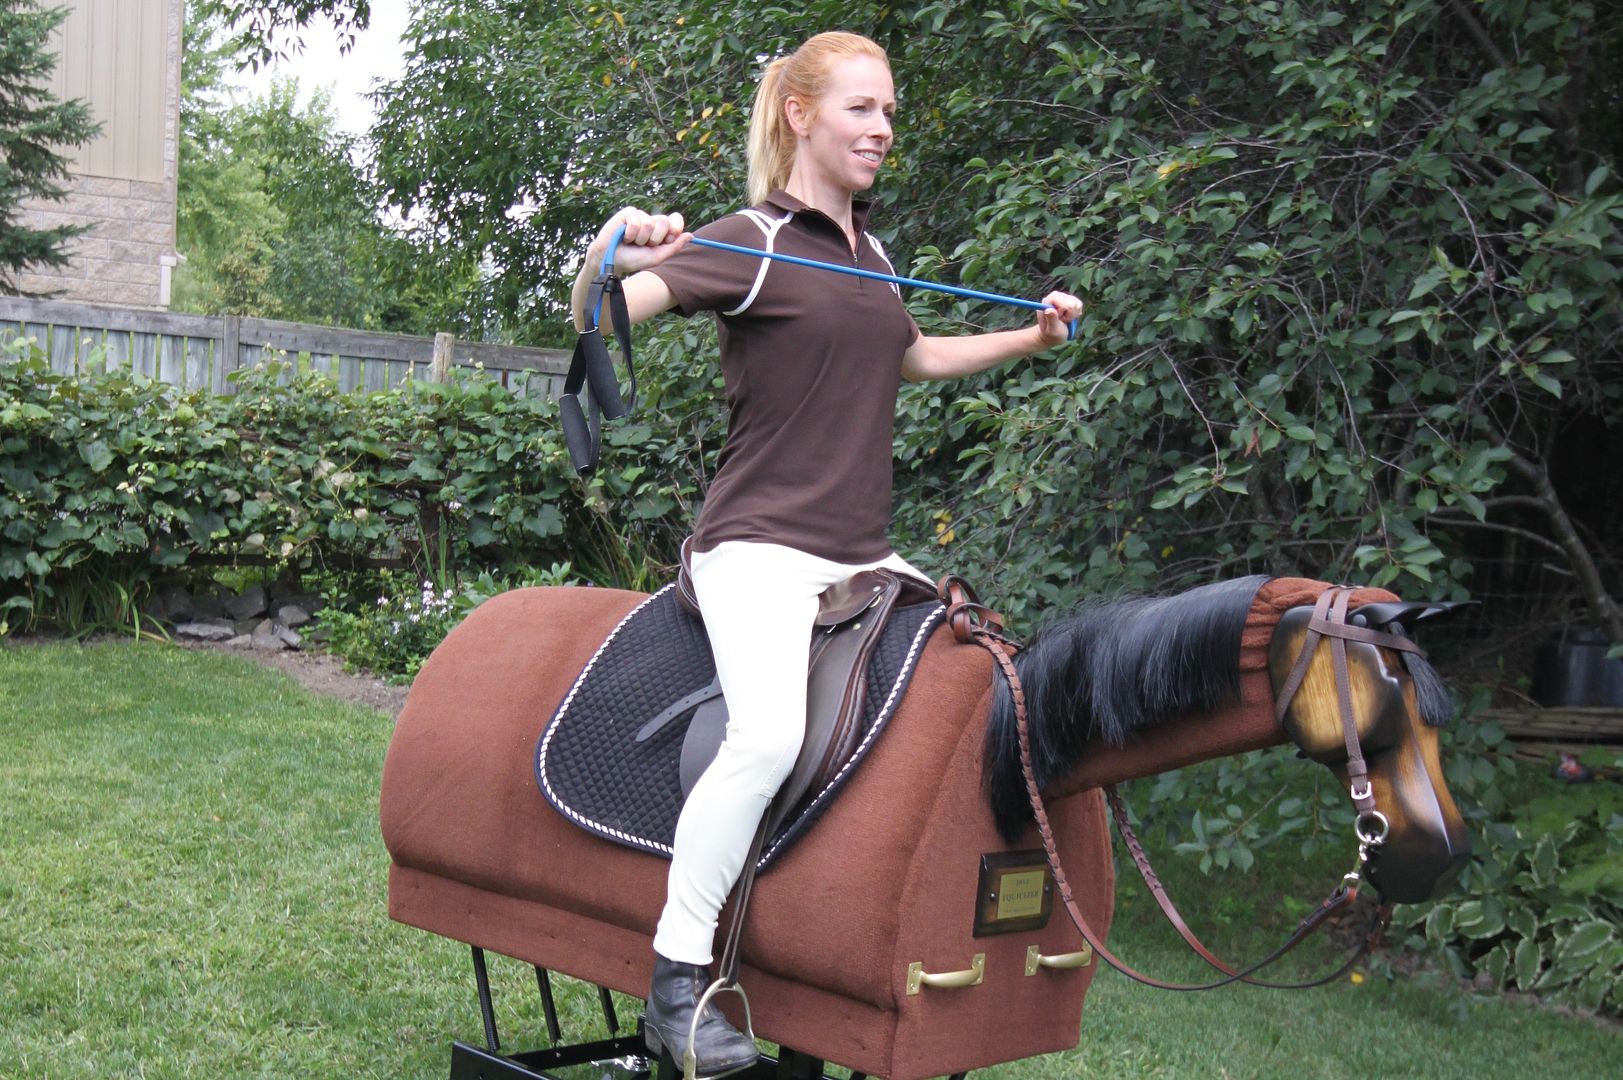
- Opening Rein (rotator cuff, core and aid separation skills)
 This exercise will really challenge your core with cross-body loading. Starting in a spine neutral position, engage your abdominals and press your shoulders and elbows down. Keep a feeling of pressing your shoulders and elbows down as you draw the exercise tubing out to the side. The more resistance you feel on the tubing, the more your core will be challenged to prevent your torso from collapsing.
Hold the position for several seconds before release. Do all your repetitions on one side before switching hands to do the other side. If you are collapsing your shoulders or rib-cage while doing the exercise, then you have too much resistance on the tubing for your core fitness level.
 Rear Leg Aid (external leg rotators, hamstring and leg aid muscle memory)
 Rear Leg Aid (external leg rotators, hamstring and leg aid muscle memory)
This exercise is similar to the leg circles from your stretching routine, except that in this case you add resistance from the tubing. Pass the tubing in front of the Equicizer and hold the handles. Hook your feet into the tubing as if they were in a stirrup.
While keeping your straight posture (no hollowing in your back), open your legs out to the side and draw them backwards. You will be challenged to keep good posture, as the resistance will tempt your body to collapse at the waist. Repeat until you feel a burning in your thighs, or until you can no longer maintain good posture.
- Giving Forward (core, muscle memory for following head motion)
In a nice seated riding position, loop the resistance material from your hands around behind the Equicizer. The goal of the exercise is to get your core to engage while pushing forward, without leaning forward. By keeping a feeling of dropping your shoulders and elbows while you do this exercise, you should feel more as if your hands are pushing forward from your belly. You should not feel tension in your neck muscles.
- Around the World (spine stabilizers, shoulders, balance)
In a neutral seated position, lift a weight or object up to chest height with your elbows bent. Move the weight around your head slowly. You will need to adjust your arm position and elbow bend so that you arms clear your head, and you will need to tilt your head slightly this way and that. Keep your basic body and spine posture straight. This exercise stimulates the smaller stabilizing muscles in your spine. Repeat the exercise several times in both directions. If you feel fatigue in your lower back or any part of your spine, you have done enough for one set.
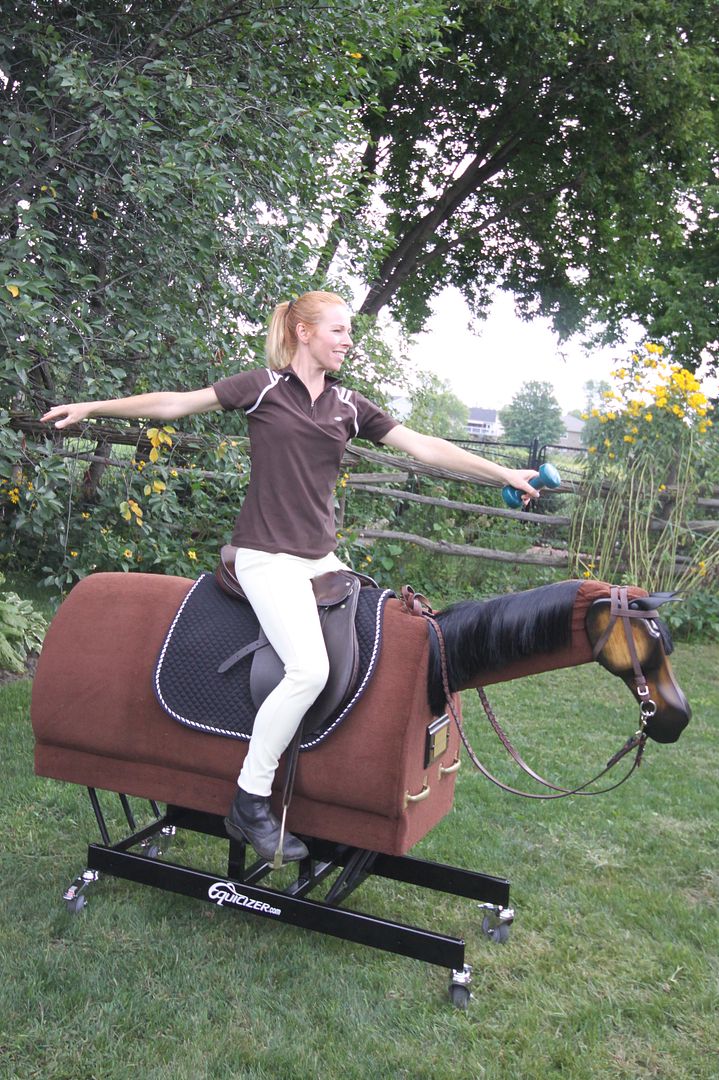
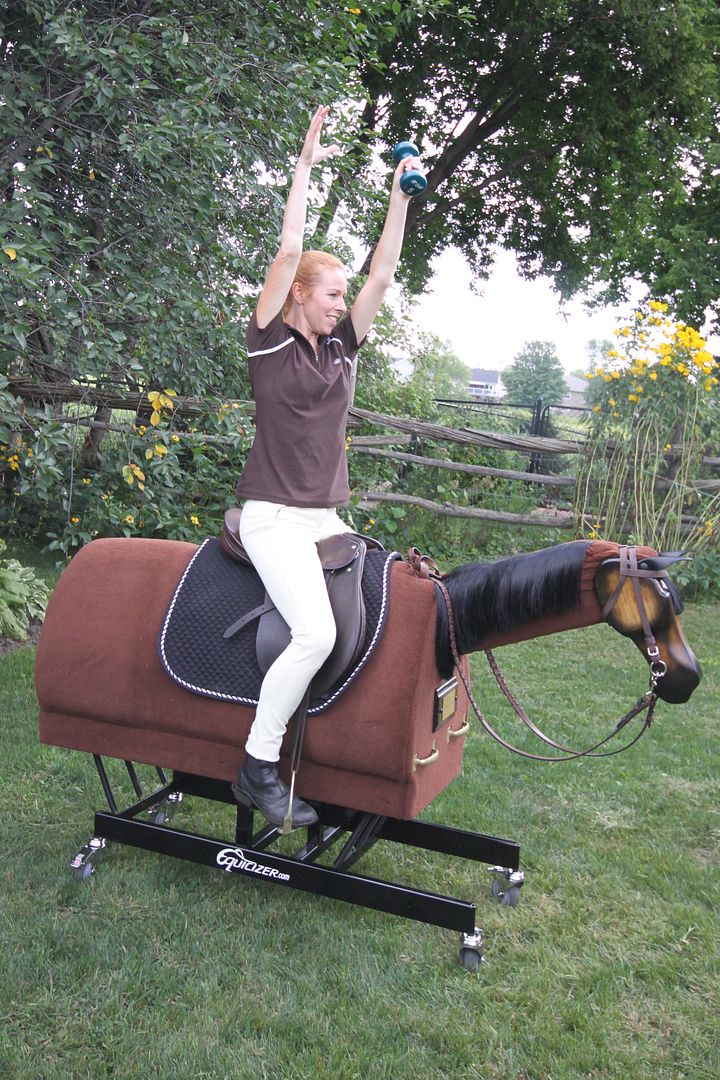
- Single Arm Raise (asymmetrical balancing, core stabilization, shoulder)
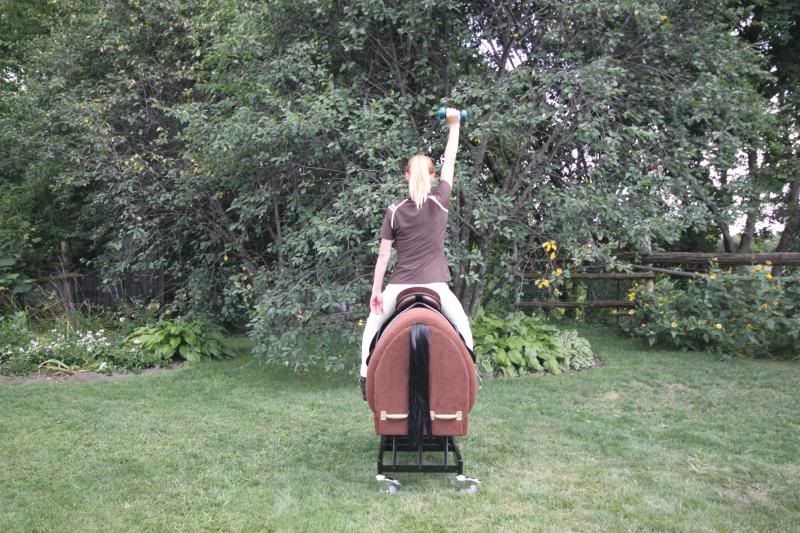 The goal of this exercise is to increase the asymmetrical loading to your spine. While you do not raise your arms when you are riding, your spine experiences asymmetrical loading all the time from the gait of your horse.
This exercise will help strengthen your lower back, as the lower back area on the opposite side from the arm being raised, acts as a kind of anchor for the arm being raised.
Use a weight that you can lift comfortable without compromising your body posture, but which still has a tiring effect by the 15th repetition. Do all your repetitions on one side before switching to the other, and do the exercise slowly. A good rule of thumb for all strength exercises is to do them to a slow count of three: three into the exercise, pause, and three out.
Since this exercise is primarily a core training exercise, make sure you have good abdominal engagement while you do it. Note the very straight alignment of the model in the pictures: hip to shoulder to heel.
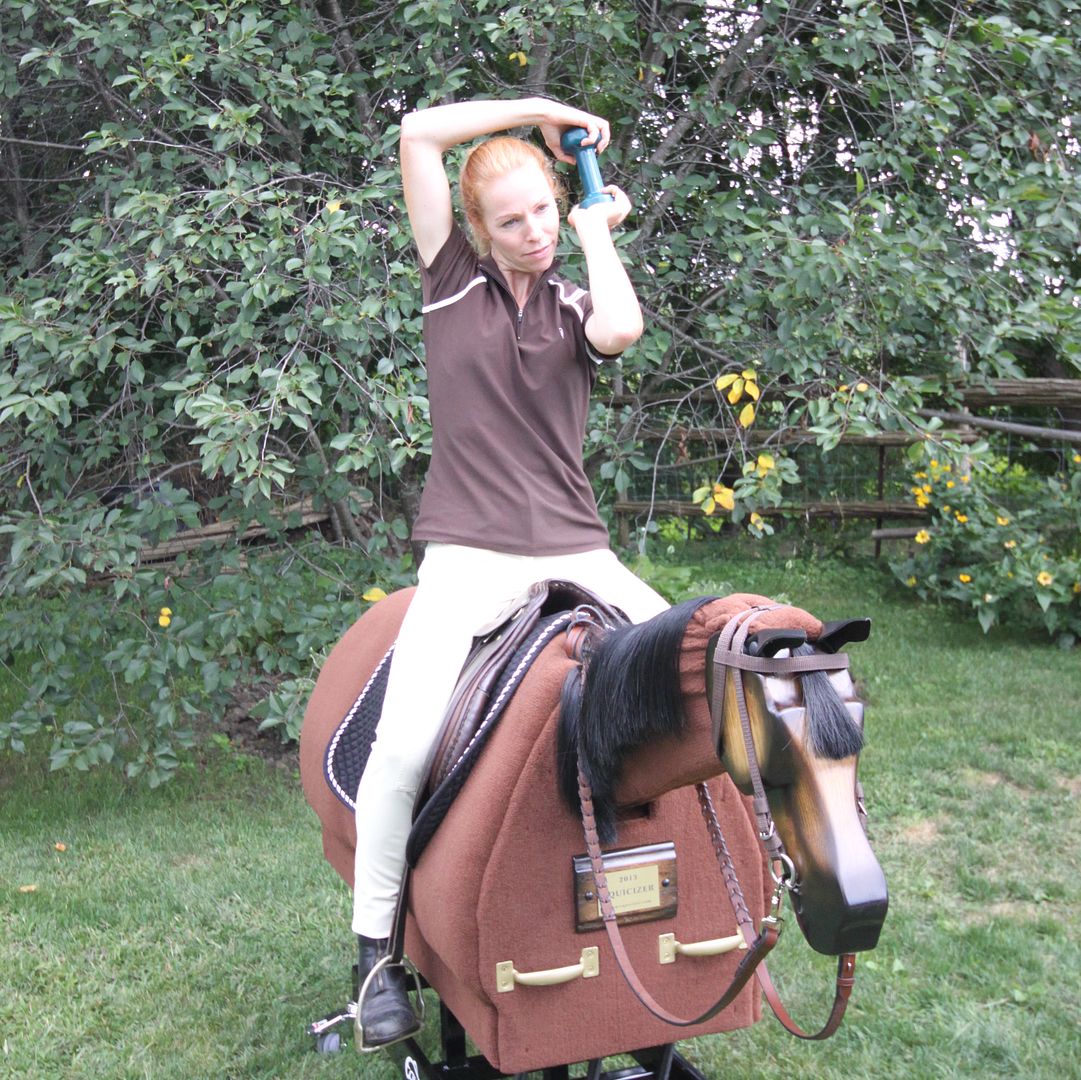
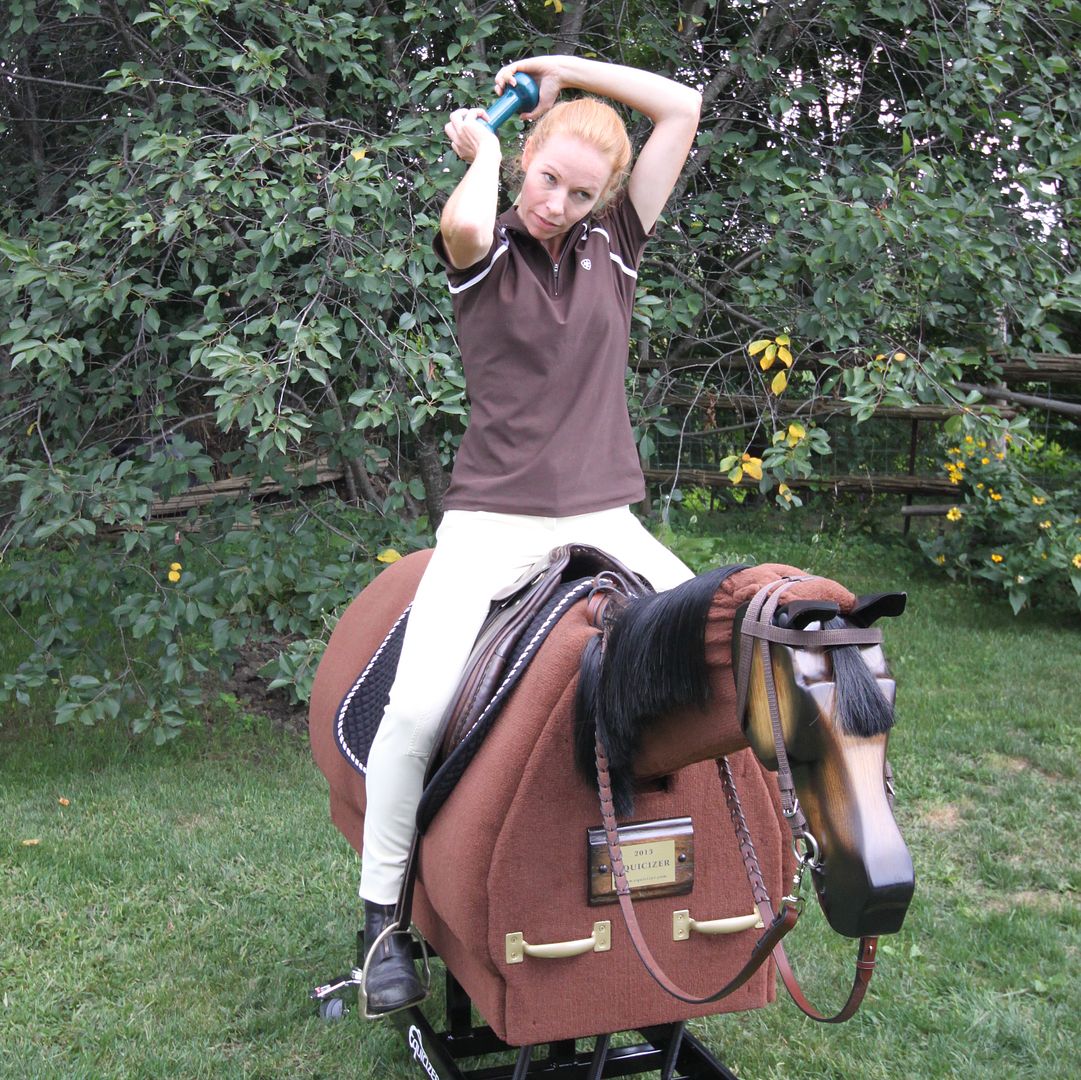
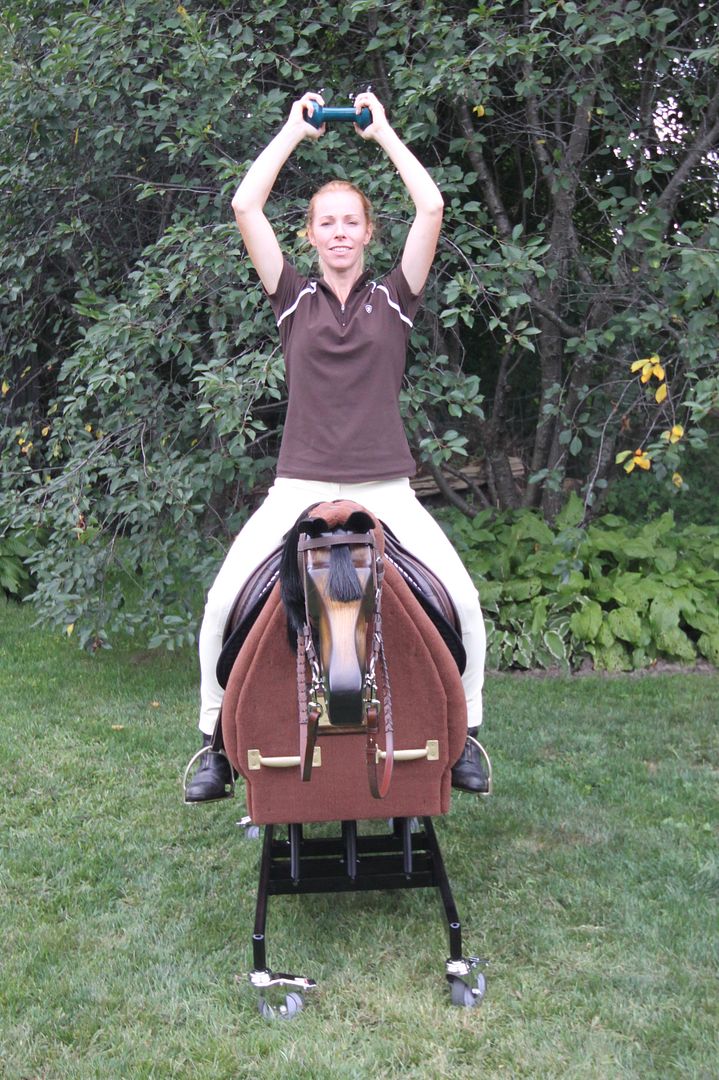
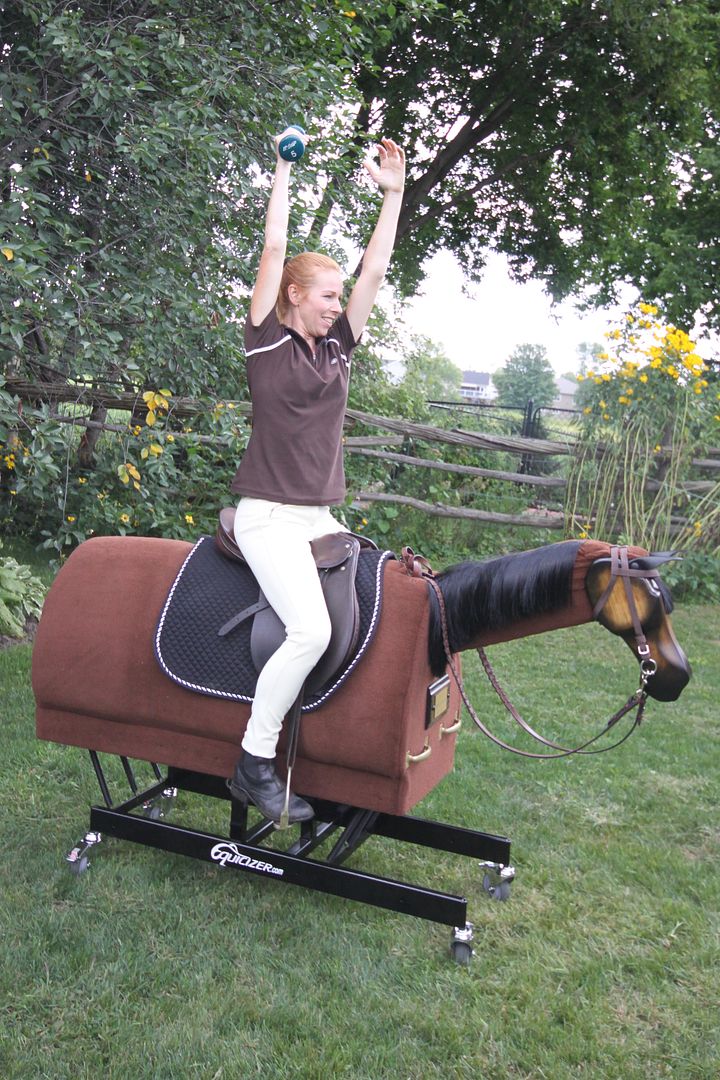
- Single Arm Overhead Press (posture stabilizers, shoulder, core)
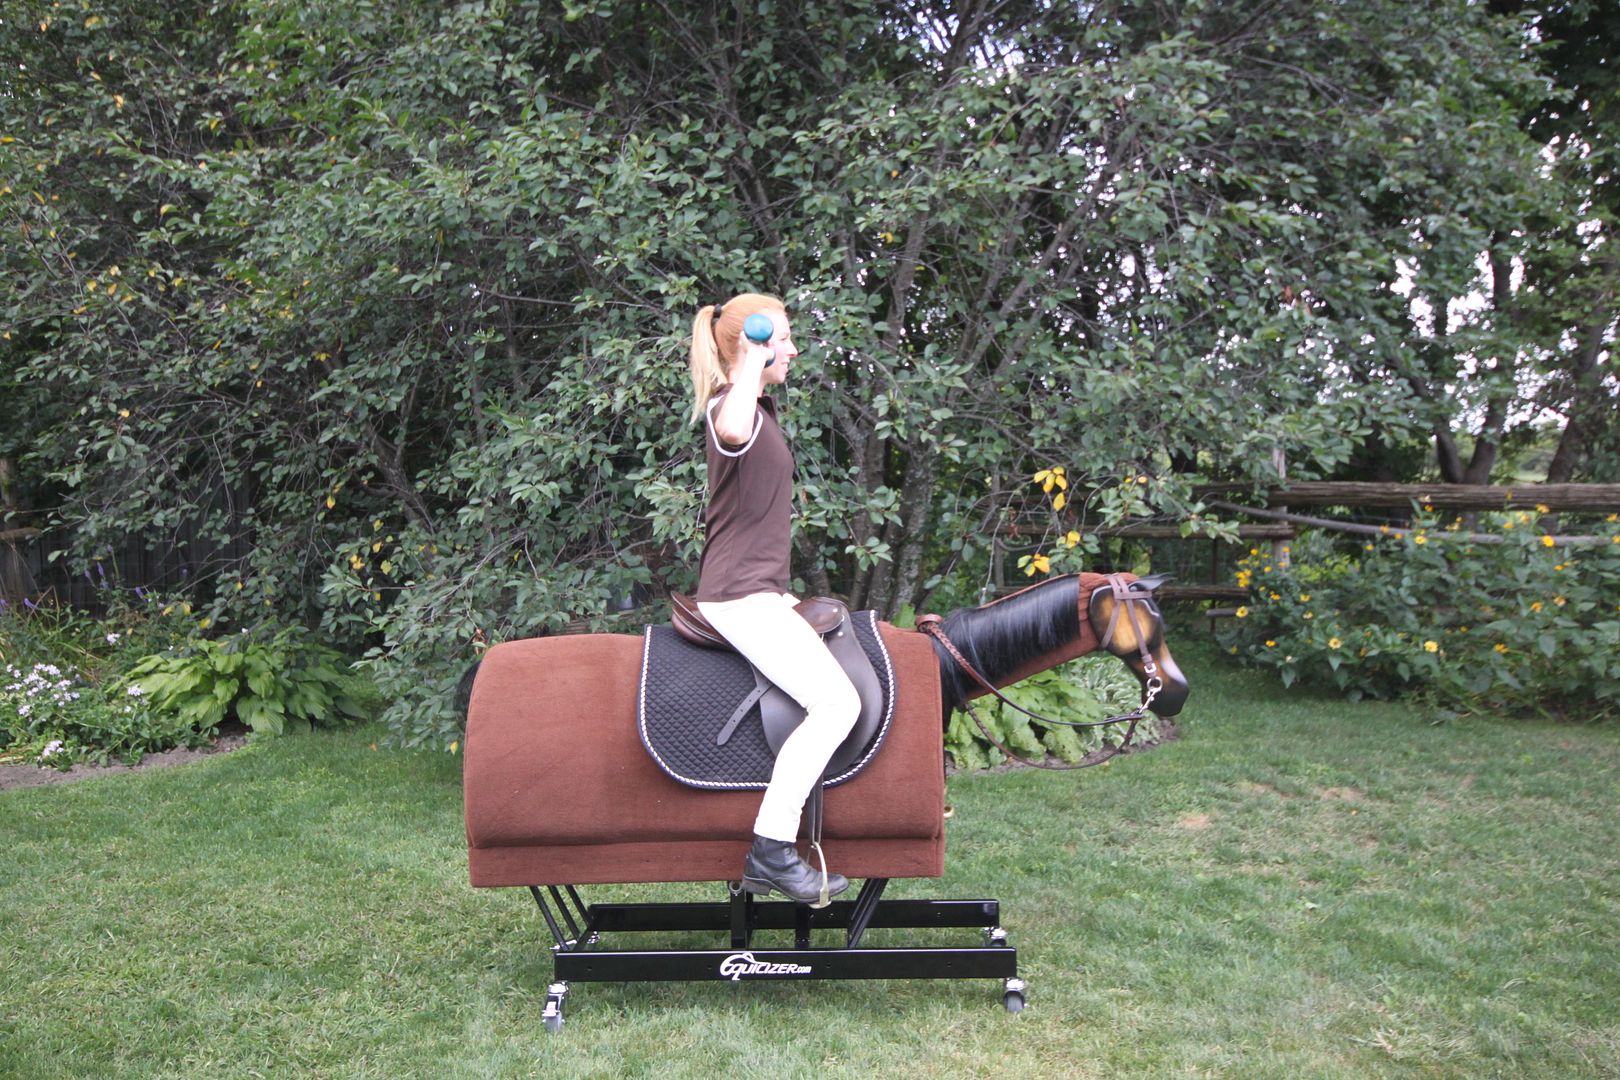 This exercise is very similar to the single arm raise, except that you are doing an overhead press. The exercise works shoulder muscles slightly differently, and also challenges you to keep good posture by preventing any leaning back. If you have locked up shoulders and cannot push the weight directly up past your ear, push it up slightly in front of your face. However, do not allow your back to hollow or shoulders to lean back.
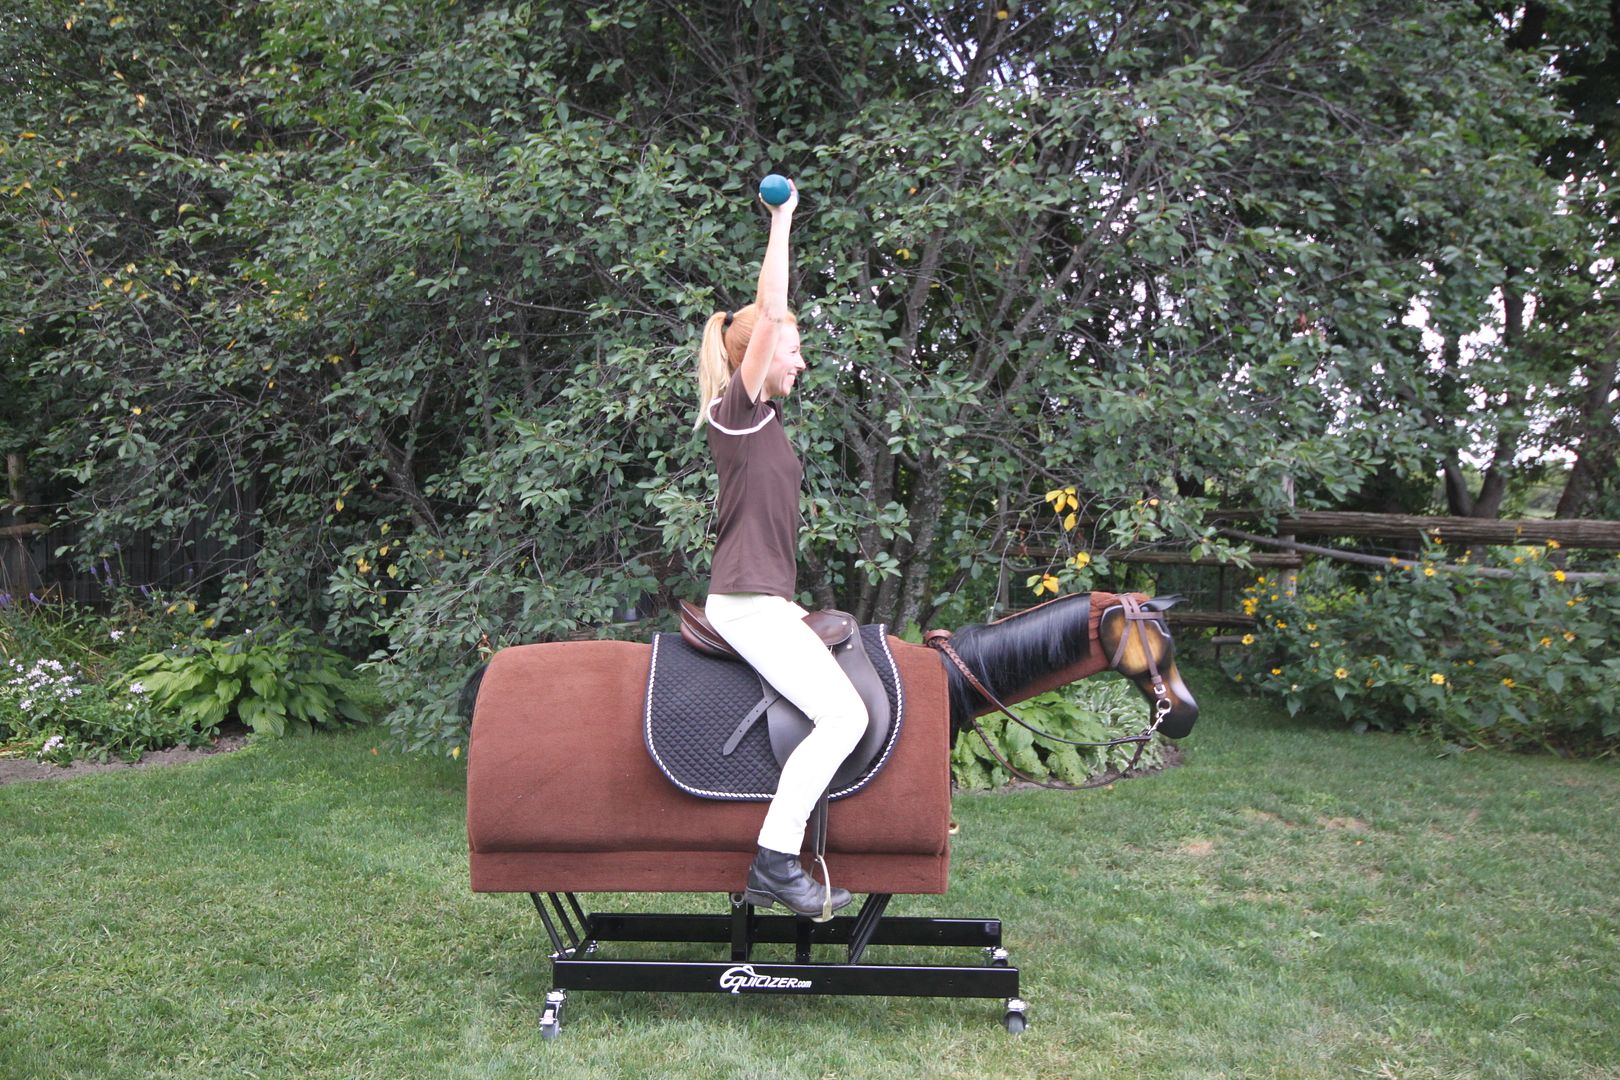
It is more important to do the exercise with good torso posture, than it is to press a heavy weight. These shoulder exercises have an added bonus benefit of building shoulder strength which will prevent injury while you are performing barn and other horse chores.
- Forward Weight Raise (front and back postural stabilizers, co-ordination and muscle isolation)
This is another exercise that uses your shoulders, but the goal is different. With both hands holding the weight or object, lift it in front of you to shoulder height and hold it there for several counts. While you are lifting the object, press your shoulders down.
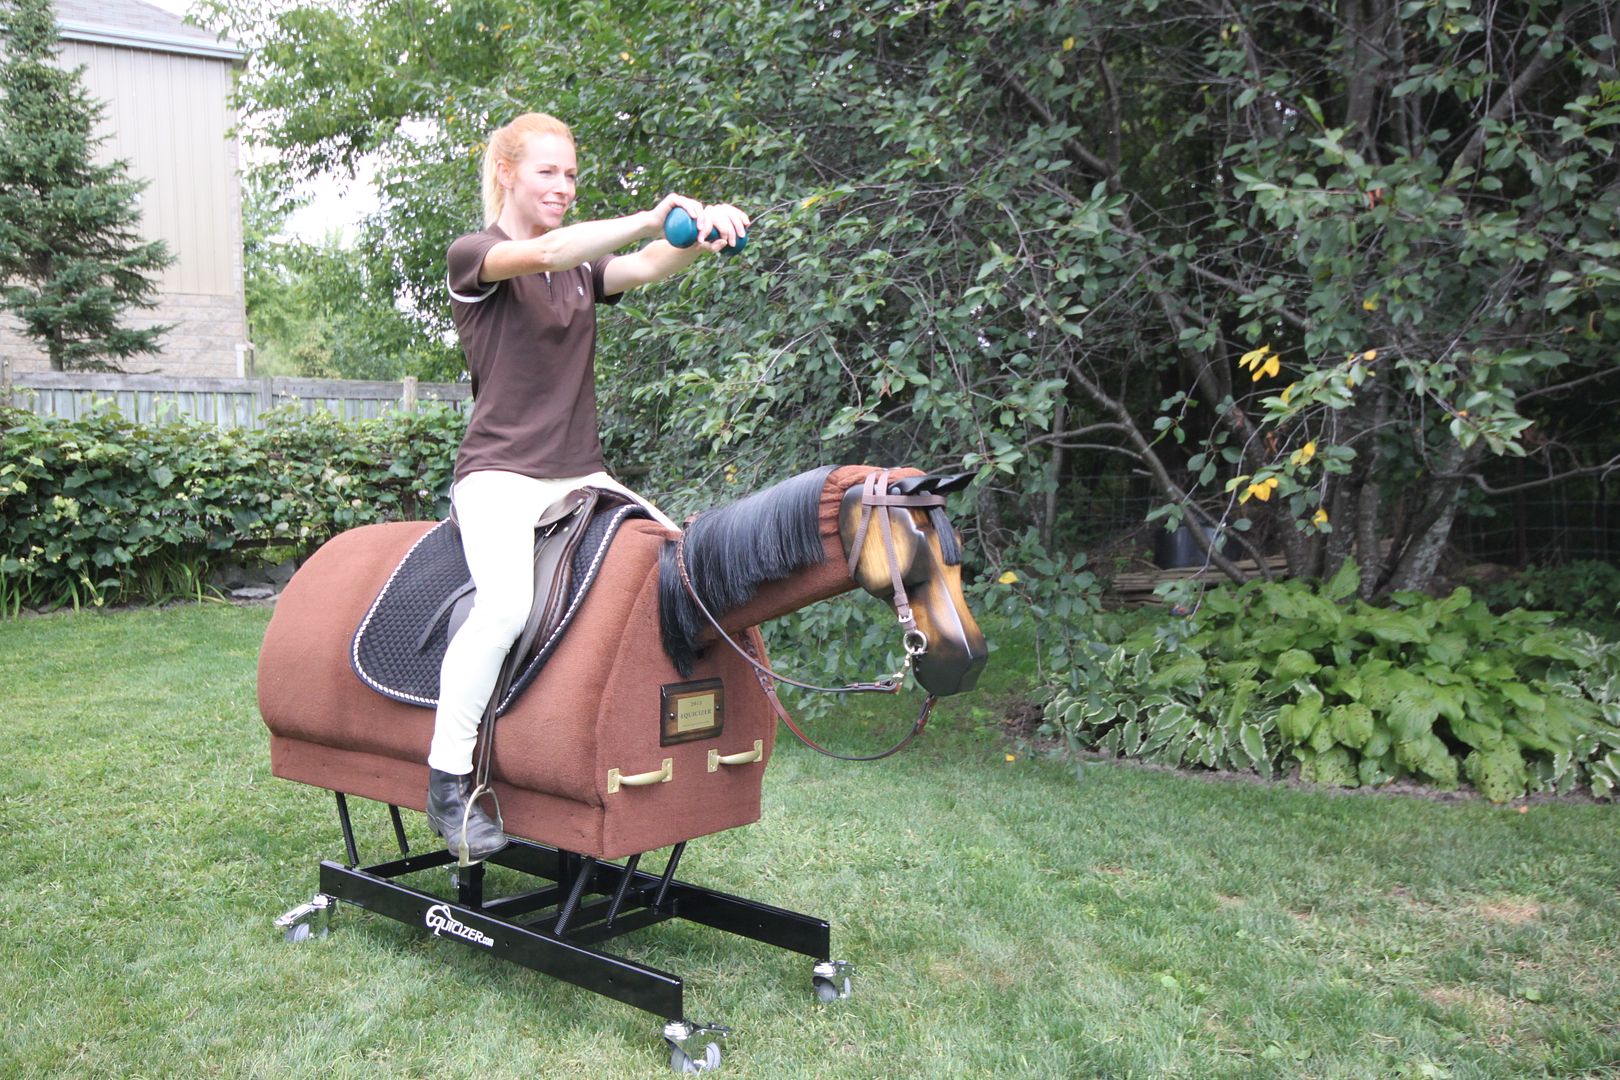
Do not allow them to hunch up. Also do not use so much weight that you feel tempted to throw your shoulders back. Preventing your shoulders from being thrown back is what will help you build the posture muscles needed.
- Egg on Spoon Posting (muscle isolation, controlled upper body relaxation, muscle memory for correct posting and better hand contact, thigh strength)
This is a fun exercise many who have done Pony Club will remember. Posting on the Equicizer is excellent for building correct posting muscle memory. It feels very strange at first, and can even seem impossible to do, especially if you have a tendency to rely on your horse to bounce you in and out of posting instead of using your body to carry yourself properly.
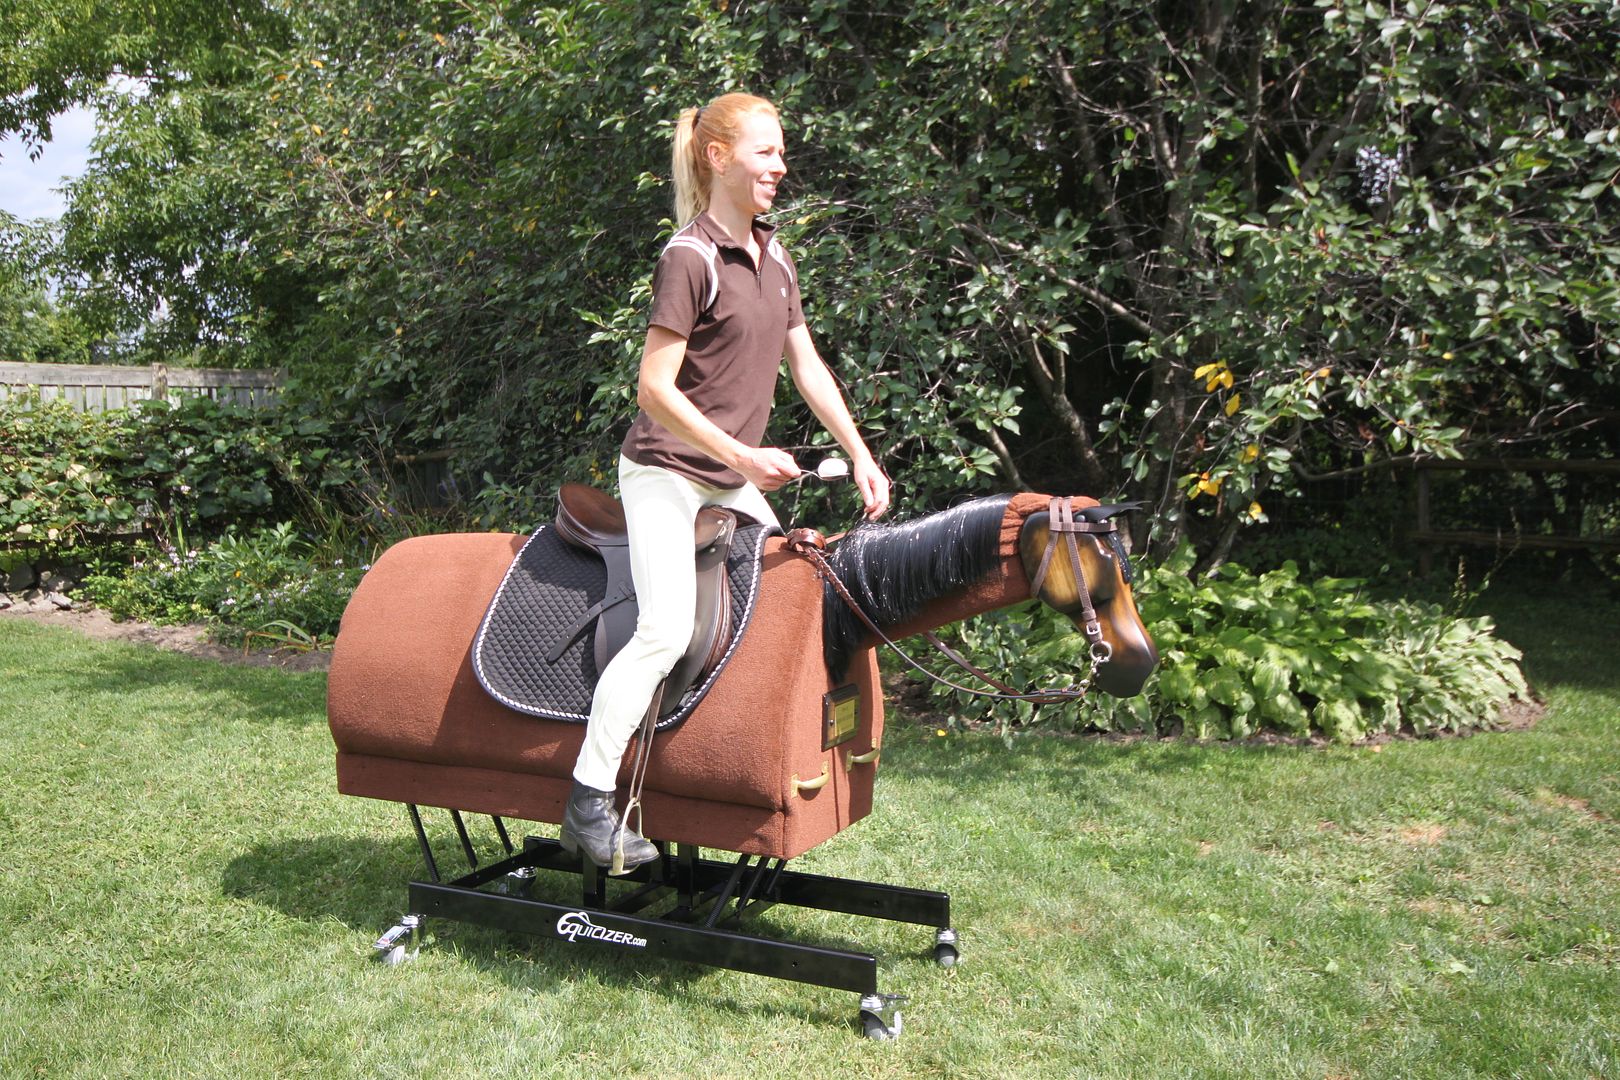
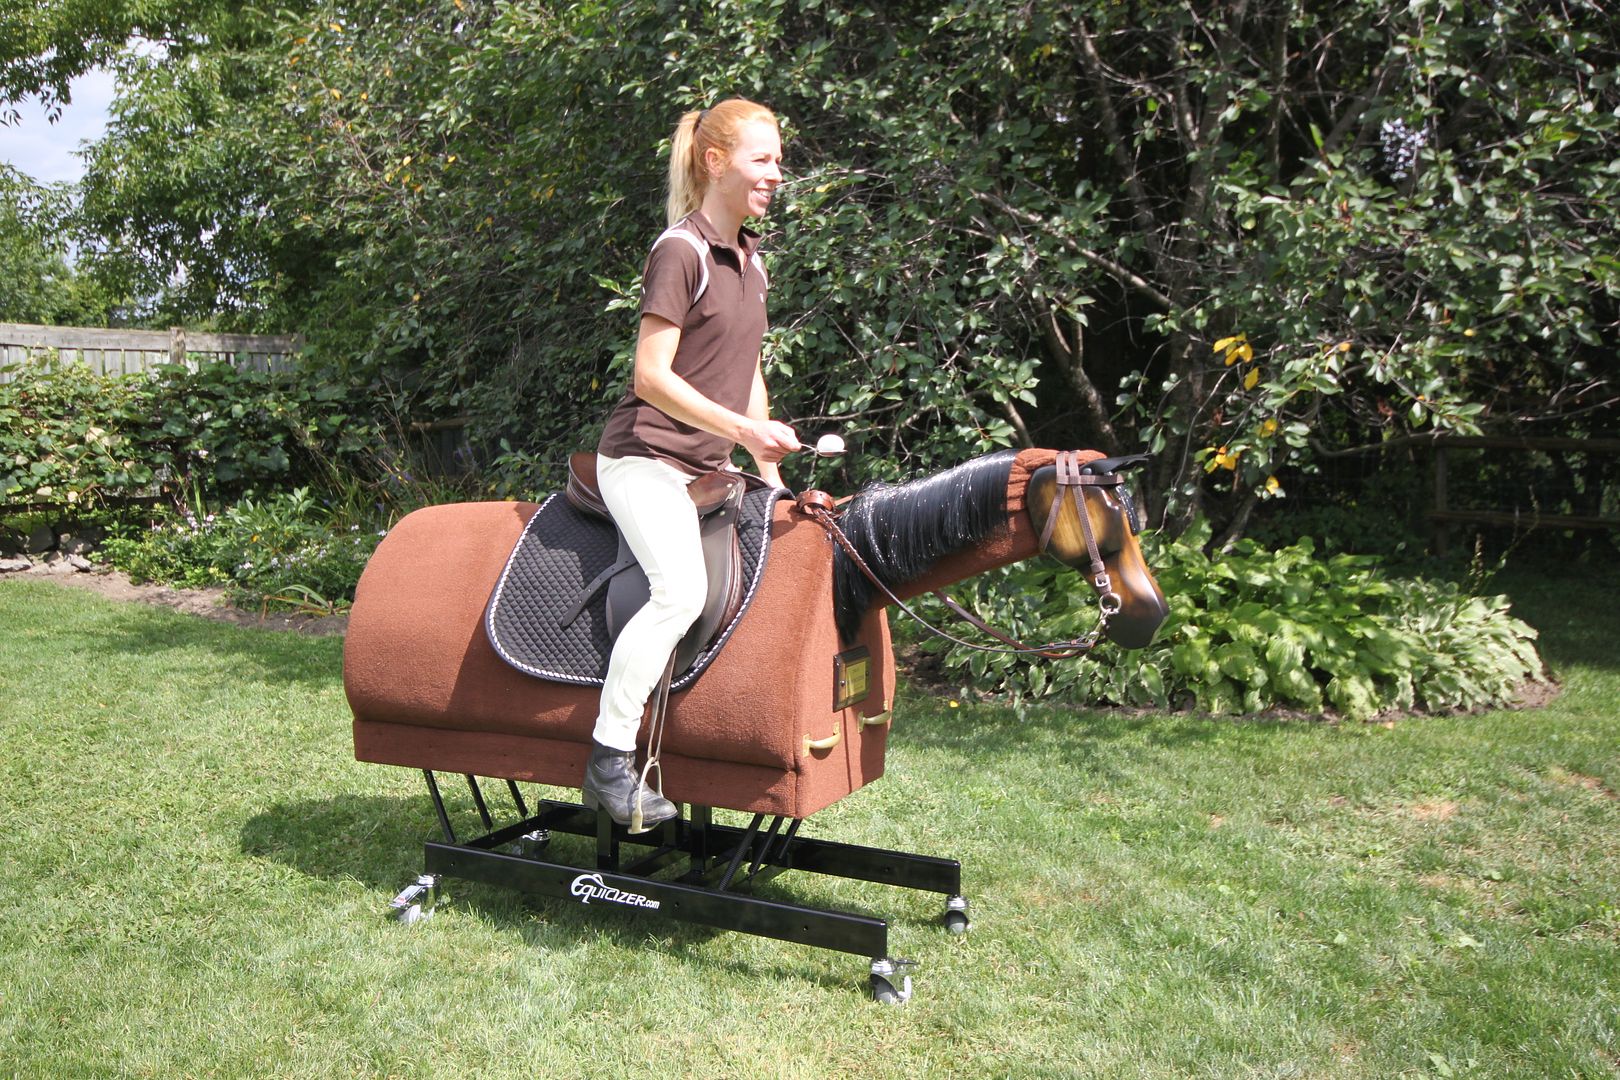
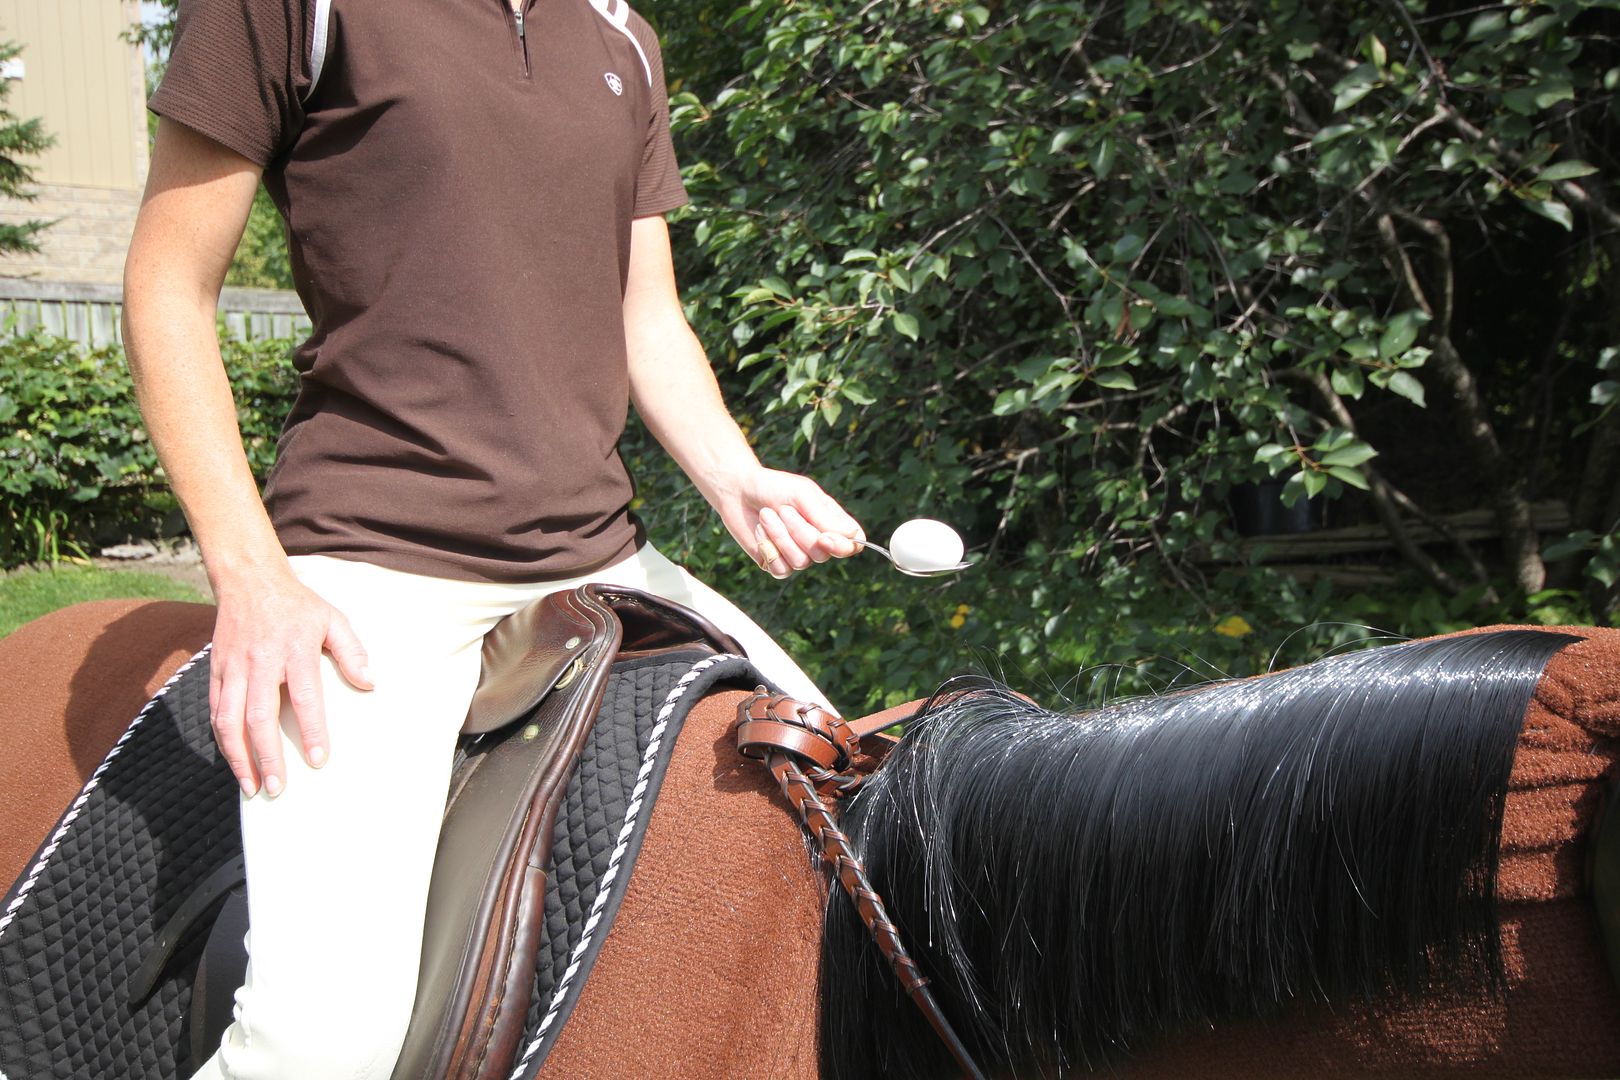
As you master posting on the Equicizer, doing it with the egg and spoon, or a full cup of liquid, will train you to have soft elbows that allow your hands to stay with your horse’s mouth. The exercise will also train balance and awareness.
22. Posting While Rocking (co-ordination, improved rein contact, balance, thigh strength)
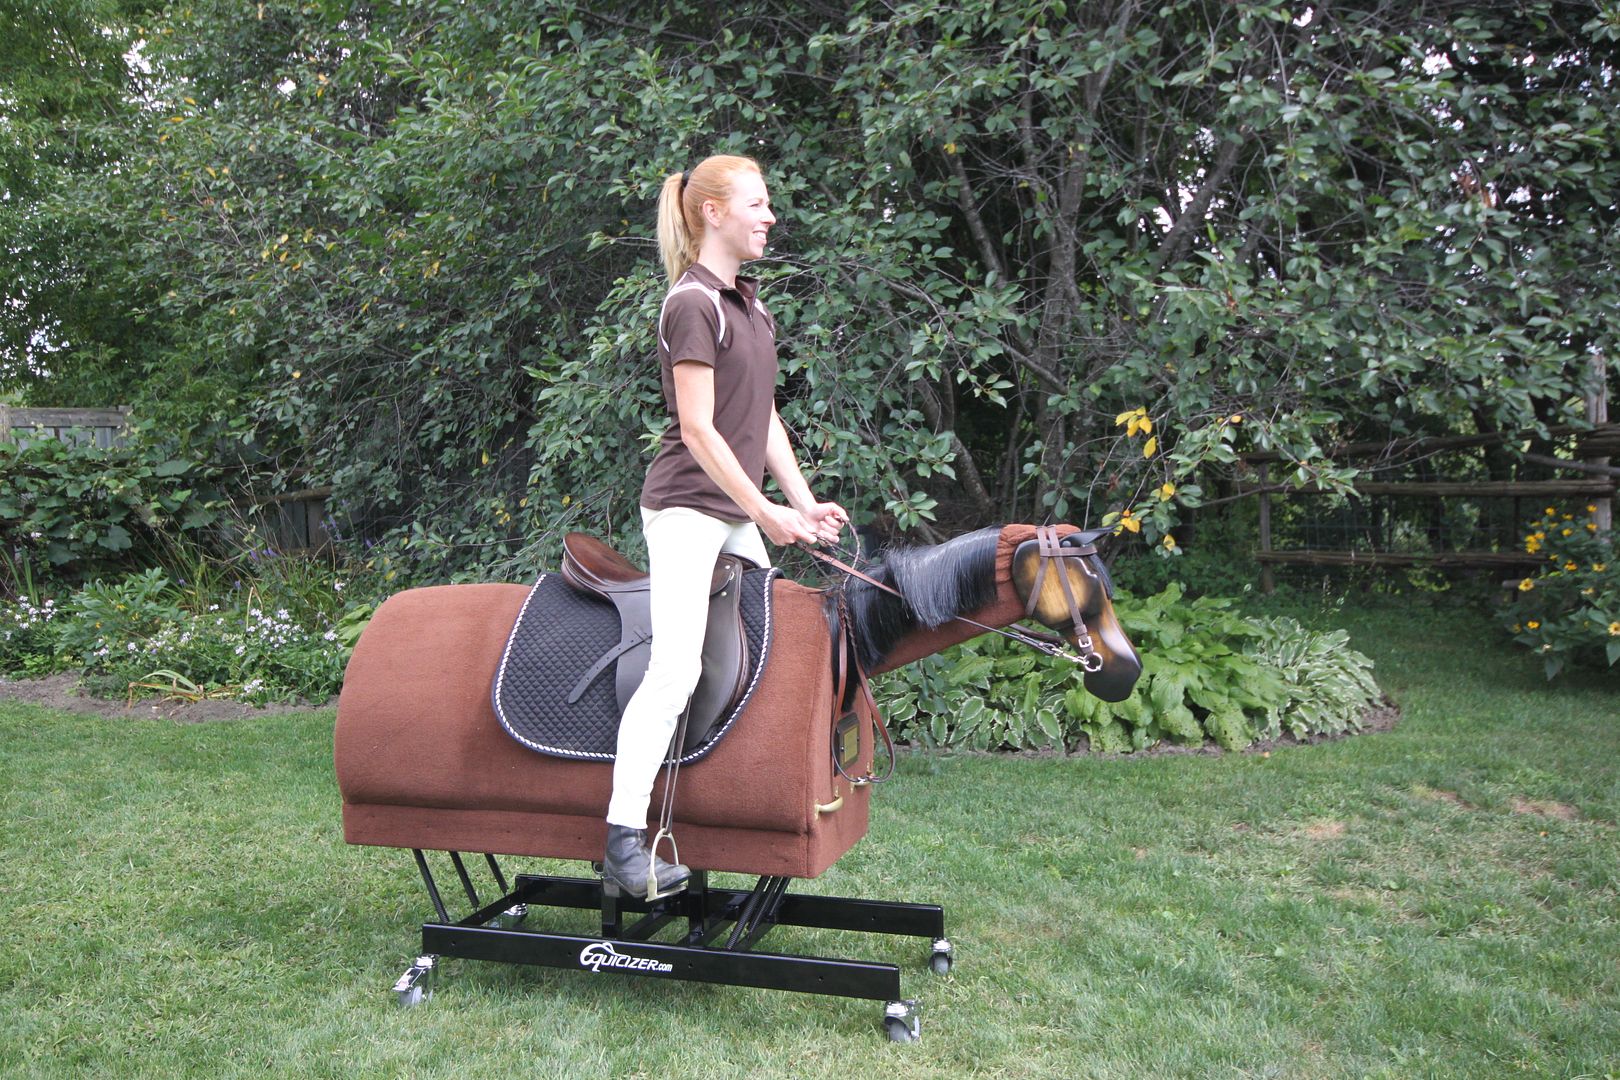
Starting in a spine neutral sitting position, get your Equicizer to rock nicely using your pelvis. Make sure that you can have good rein contact: constant contact with soft hands that follows the mouth and allows movement through the Equicizer. When you can do that, start to post and see if you can maintain the same soft following hands while your body is working hard to keep the Equicizer rocking as you post.
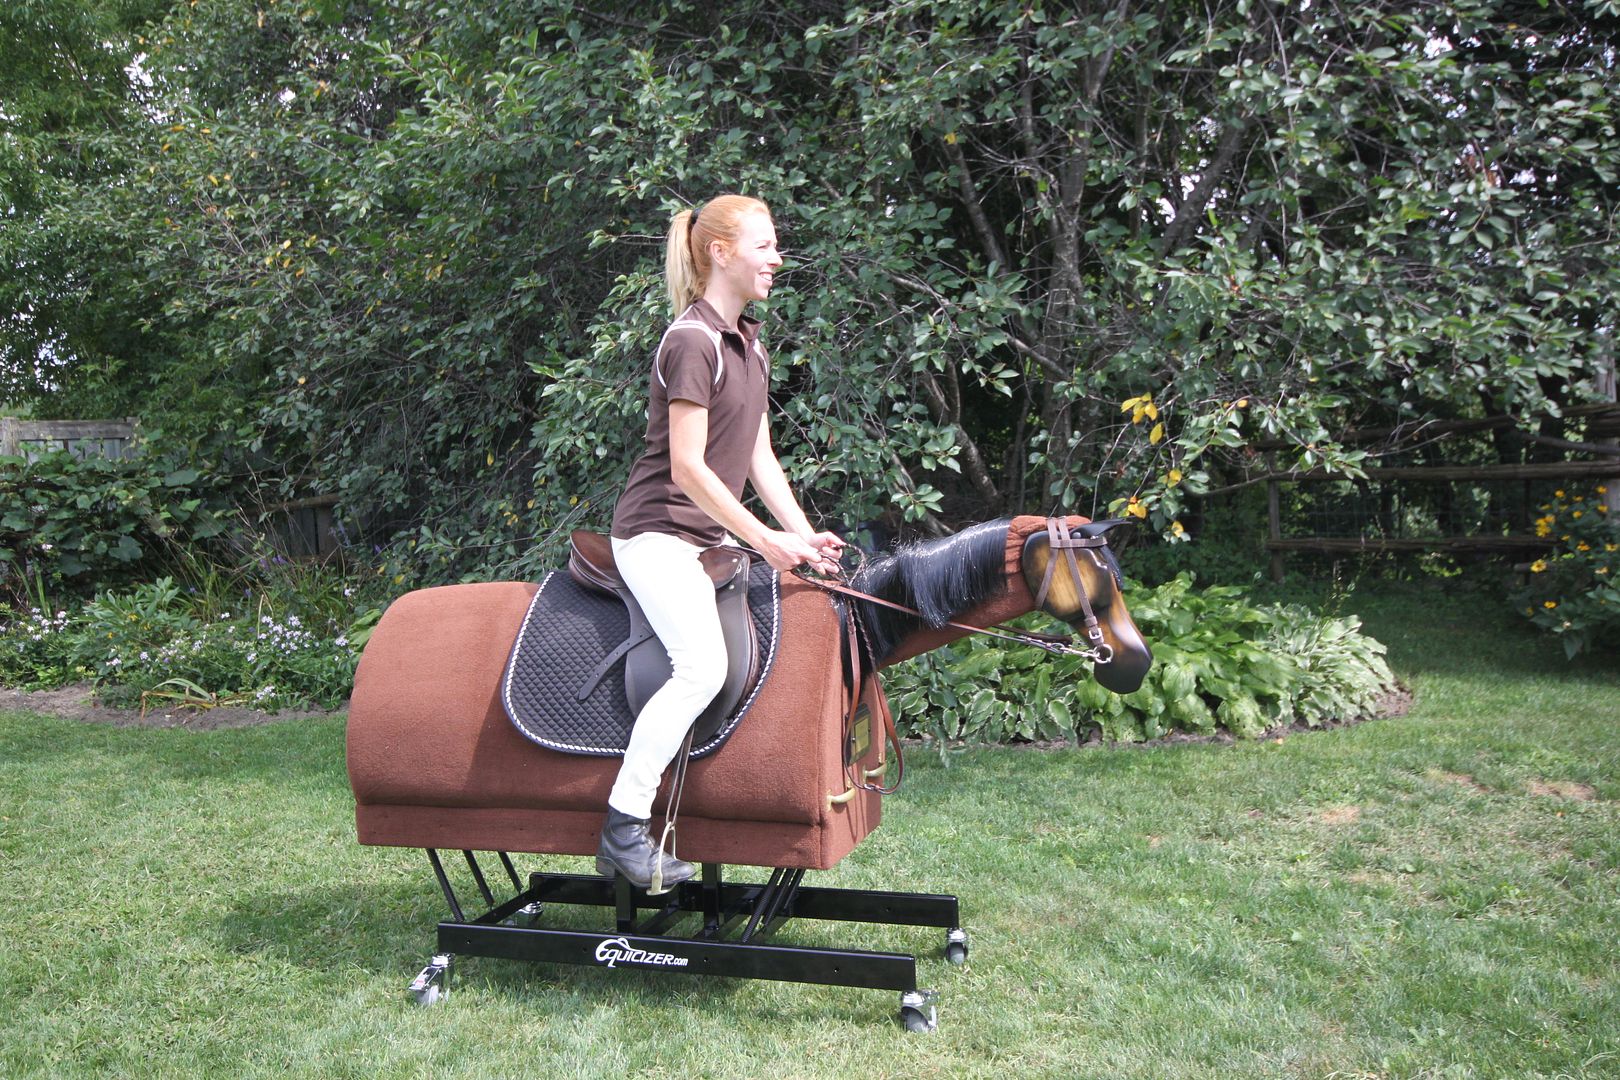
This is an advanced exercise that looks deceptively simple. It takes a lot of ability to separate muscle groups and co-ordinate actions for you to do this exercise well.
- Posting with Bean Bag (balance, posture, muscle-memory)
Post with a bean bag on your head! It will make you maintain correct posture in your back, which you can only do if you also achieve correct folding through your hips, knees and ankles. Many riders stiff in the joints do not fold correctly, and a lot of their posting results in collapsing or blocking the horse’s movement without the rider realising it. Once you can do this exercise easily, get someone to rock the Equicizer for you to add a balance challenge.
- No Hands Ma! (posting to improve balance through core and heel position)

Whether mounted on a longe or unmounted, posting with no-hands is a great way to really build up your balance. You will find out how much you might tend to grab at your horse’s mouth if you have trouble doing this exercise. To add an advanced variation when you have mastered the exercise, try doing different things with your arms while keeping your same basic rhythm. Someone can rock the horse for you to help you keep the rhythm if you are having difficulty keeping rhythm on your own.
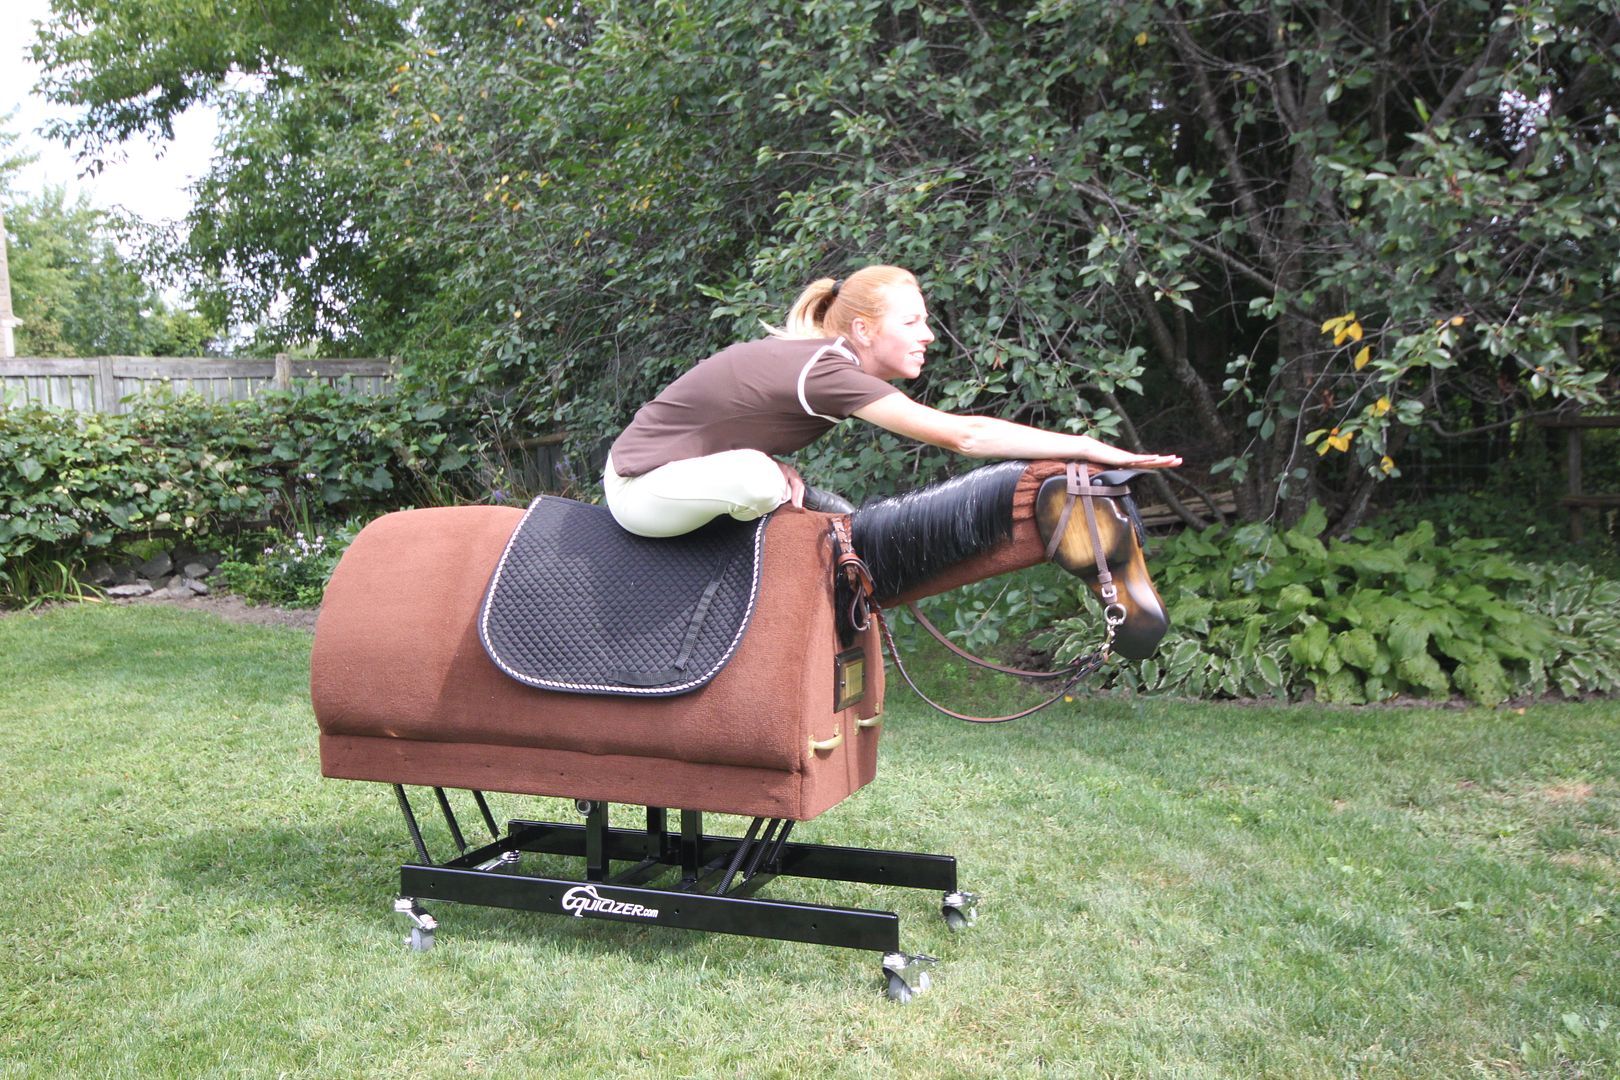
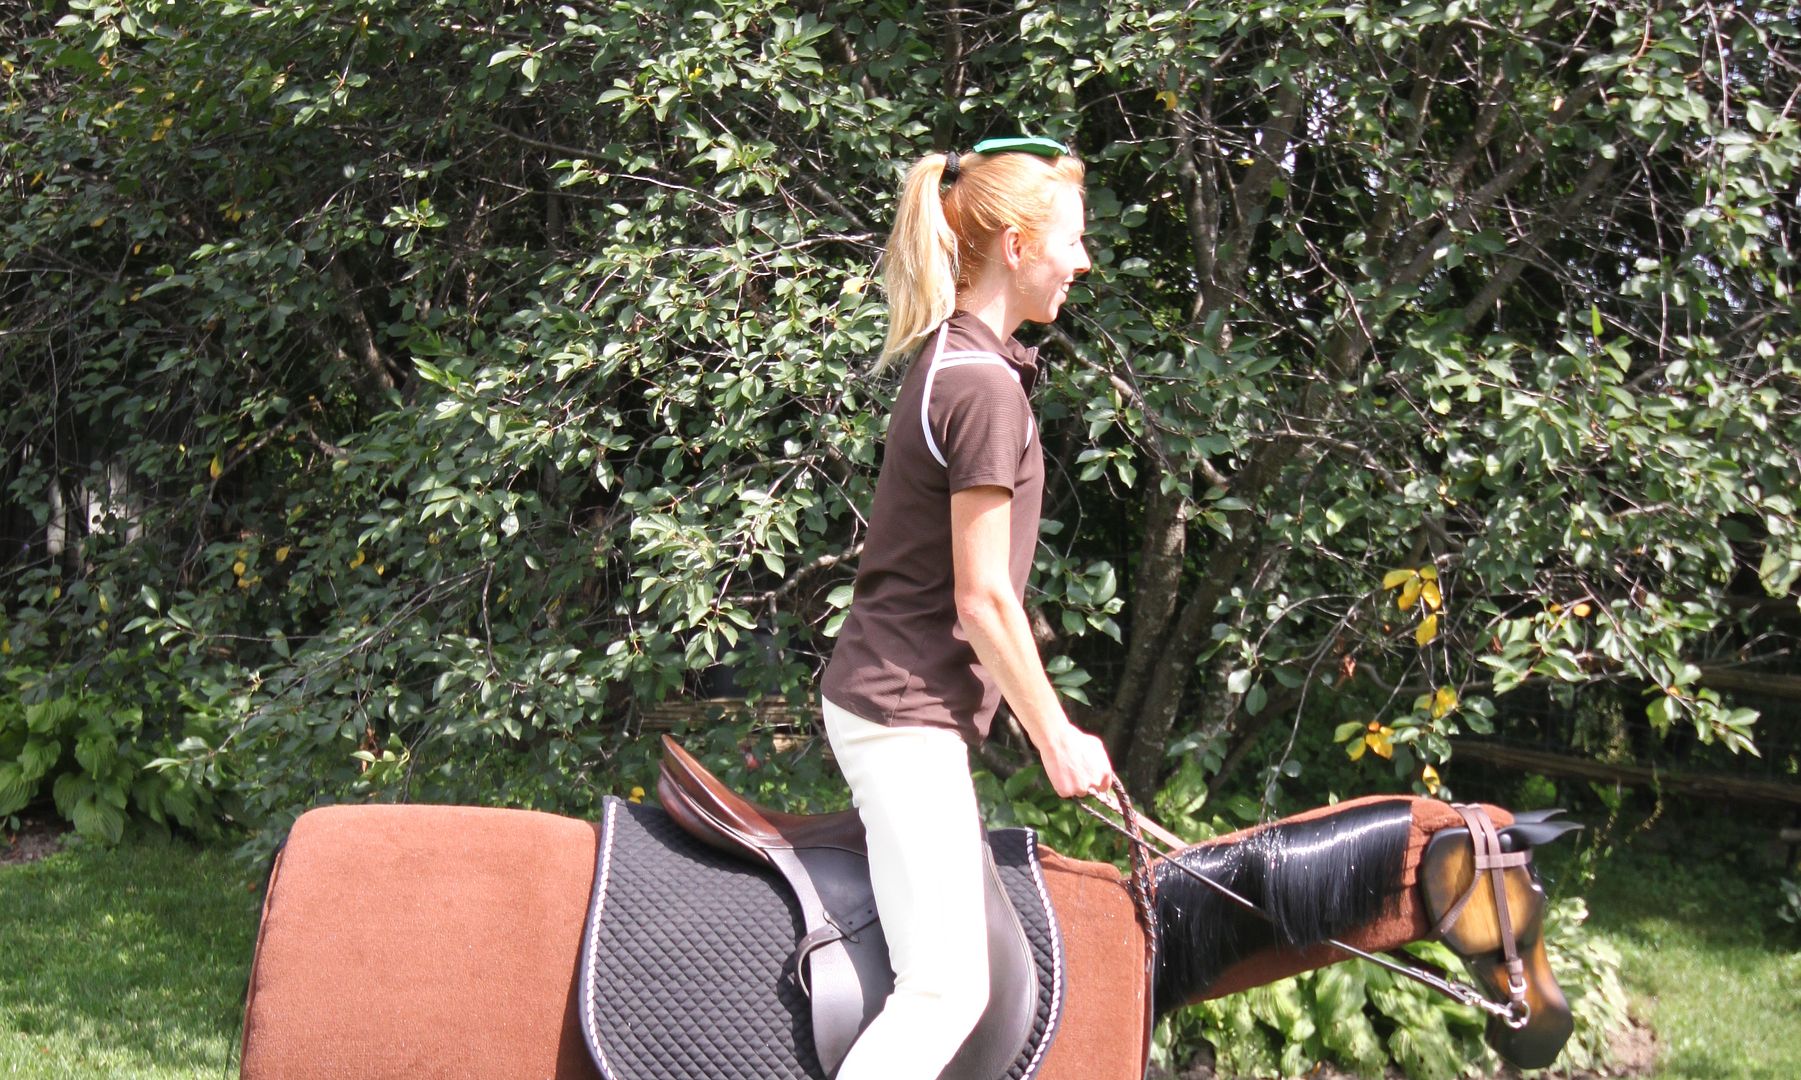
- Mini Hip Hinge (modified dead-lift for building base of support for posture)
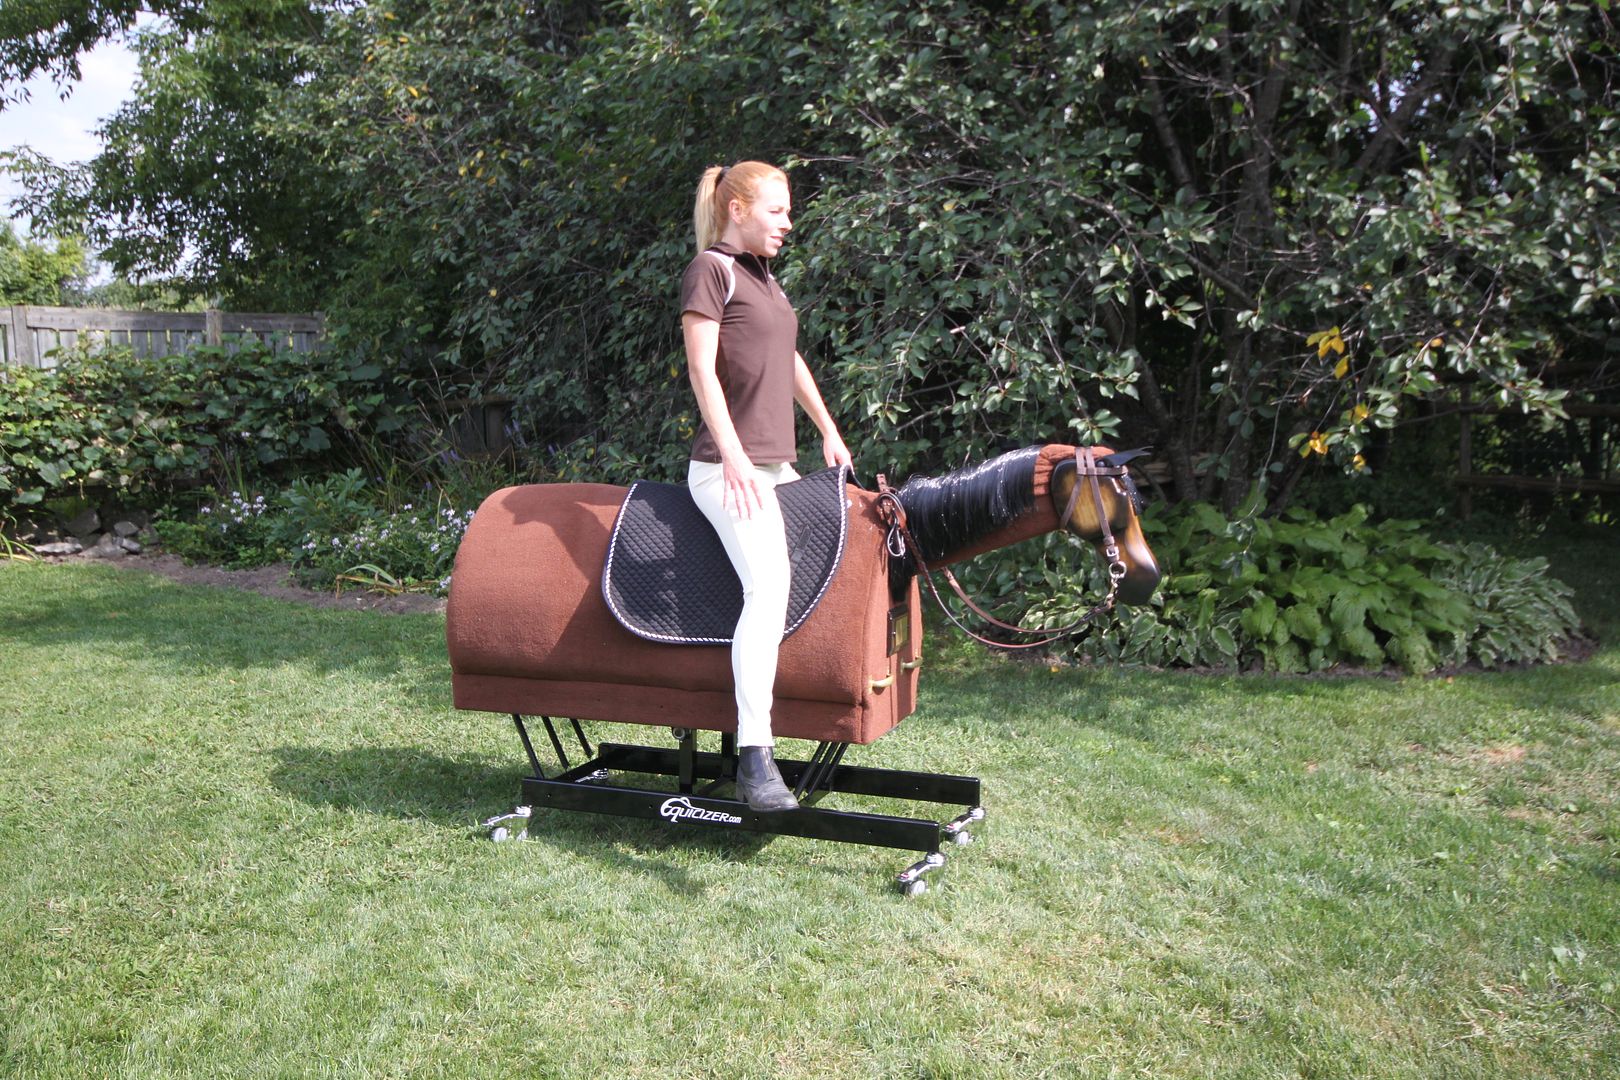
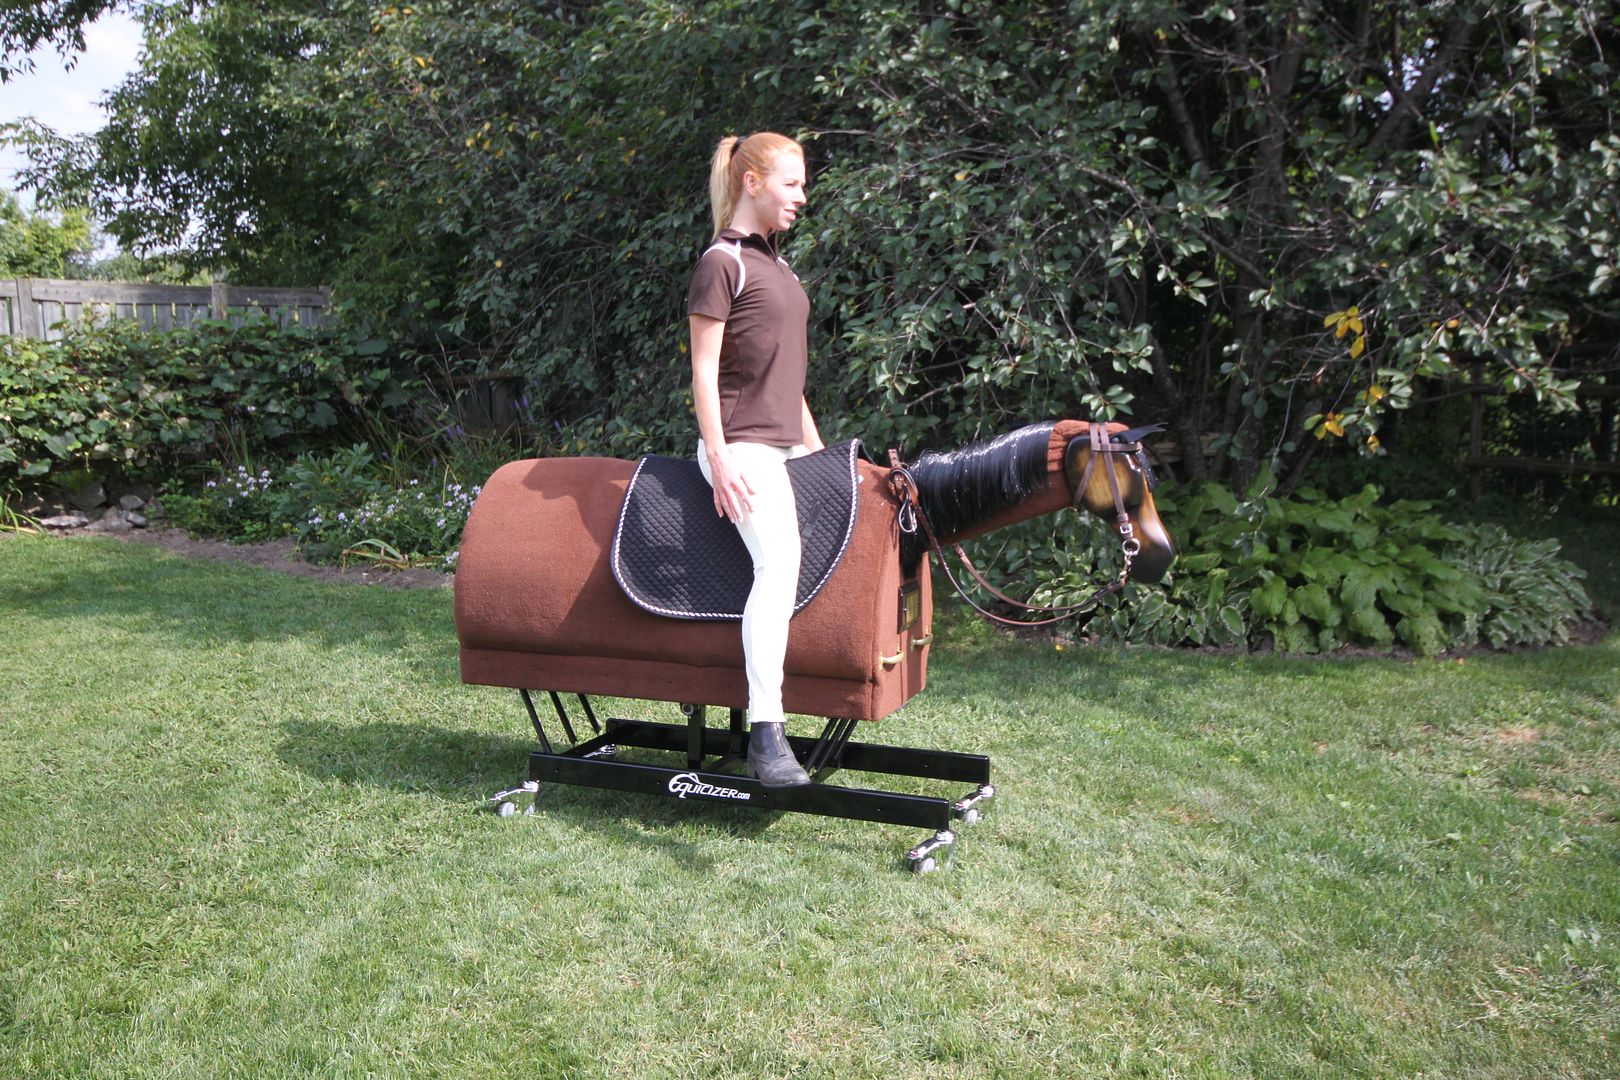
This exercise is a modification of a classical gym exercise called a Dead Lift. Stand up in your stirrups with a slightly bent knee and ankle. Next, fold at your hip keeping your back as flat as possible. As you lower your back toward the Equicizer’s neck, you will need to poke your seat out behind you more.
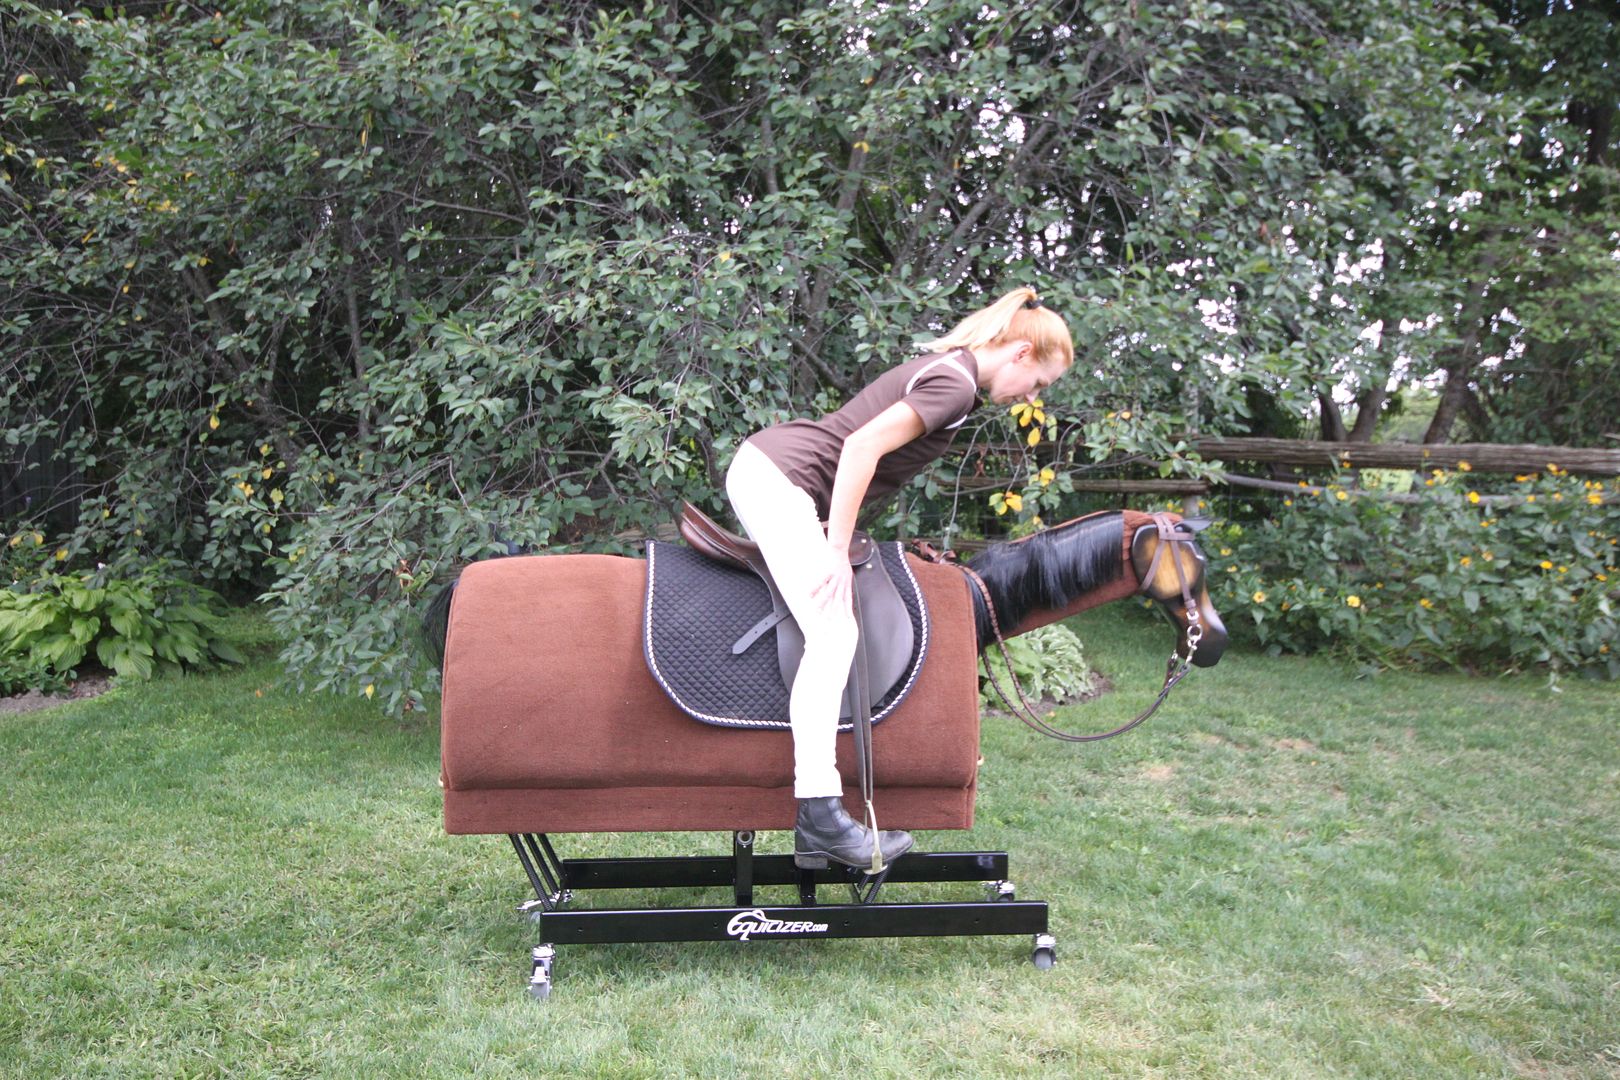
To stand up again, make sure you have a feeling of starting the movement from the muscles in your seat (gluteals) which lift your lower back, and then the rest of you. This is an excellent exercise for balance, and building strength in the base of support for your torso posture.
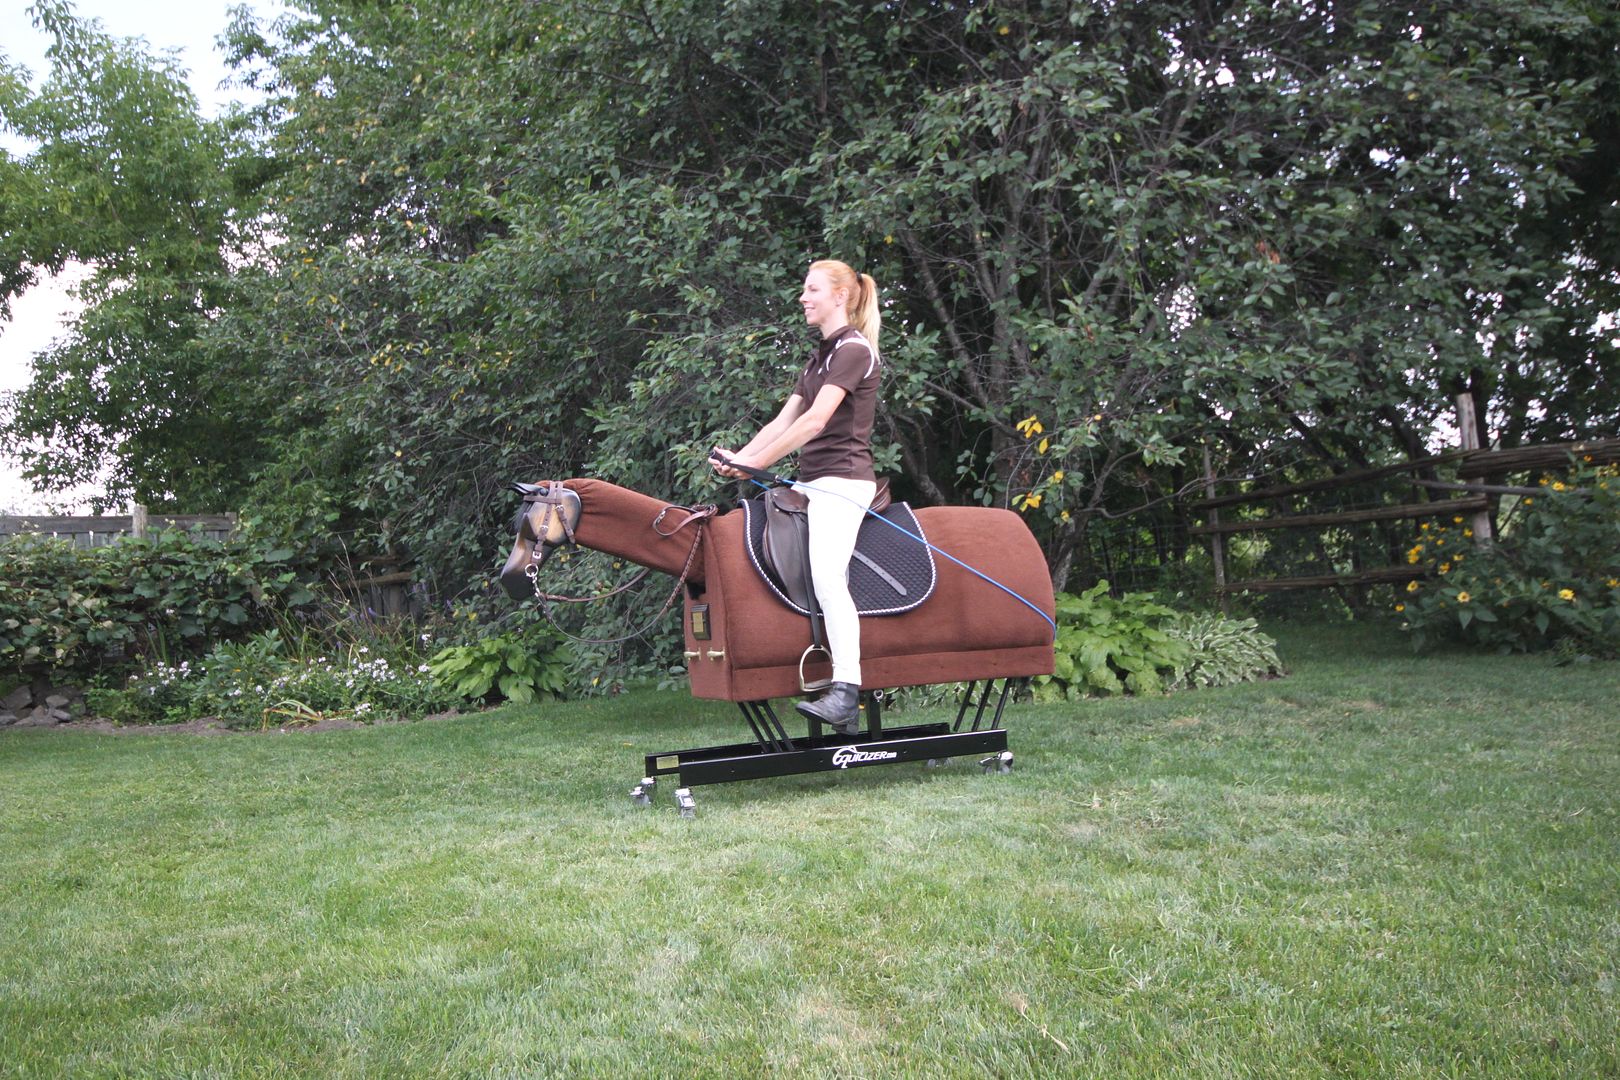
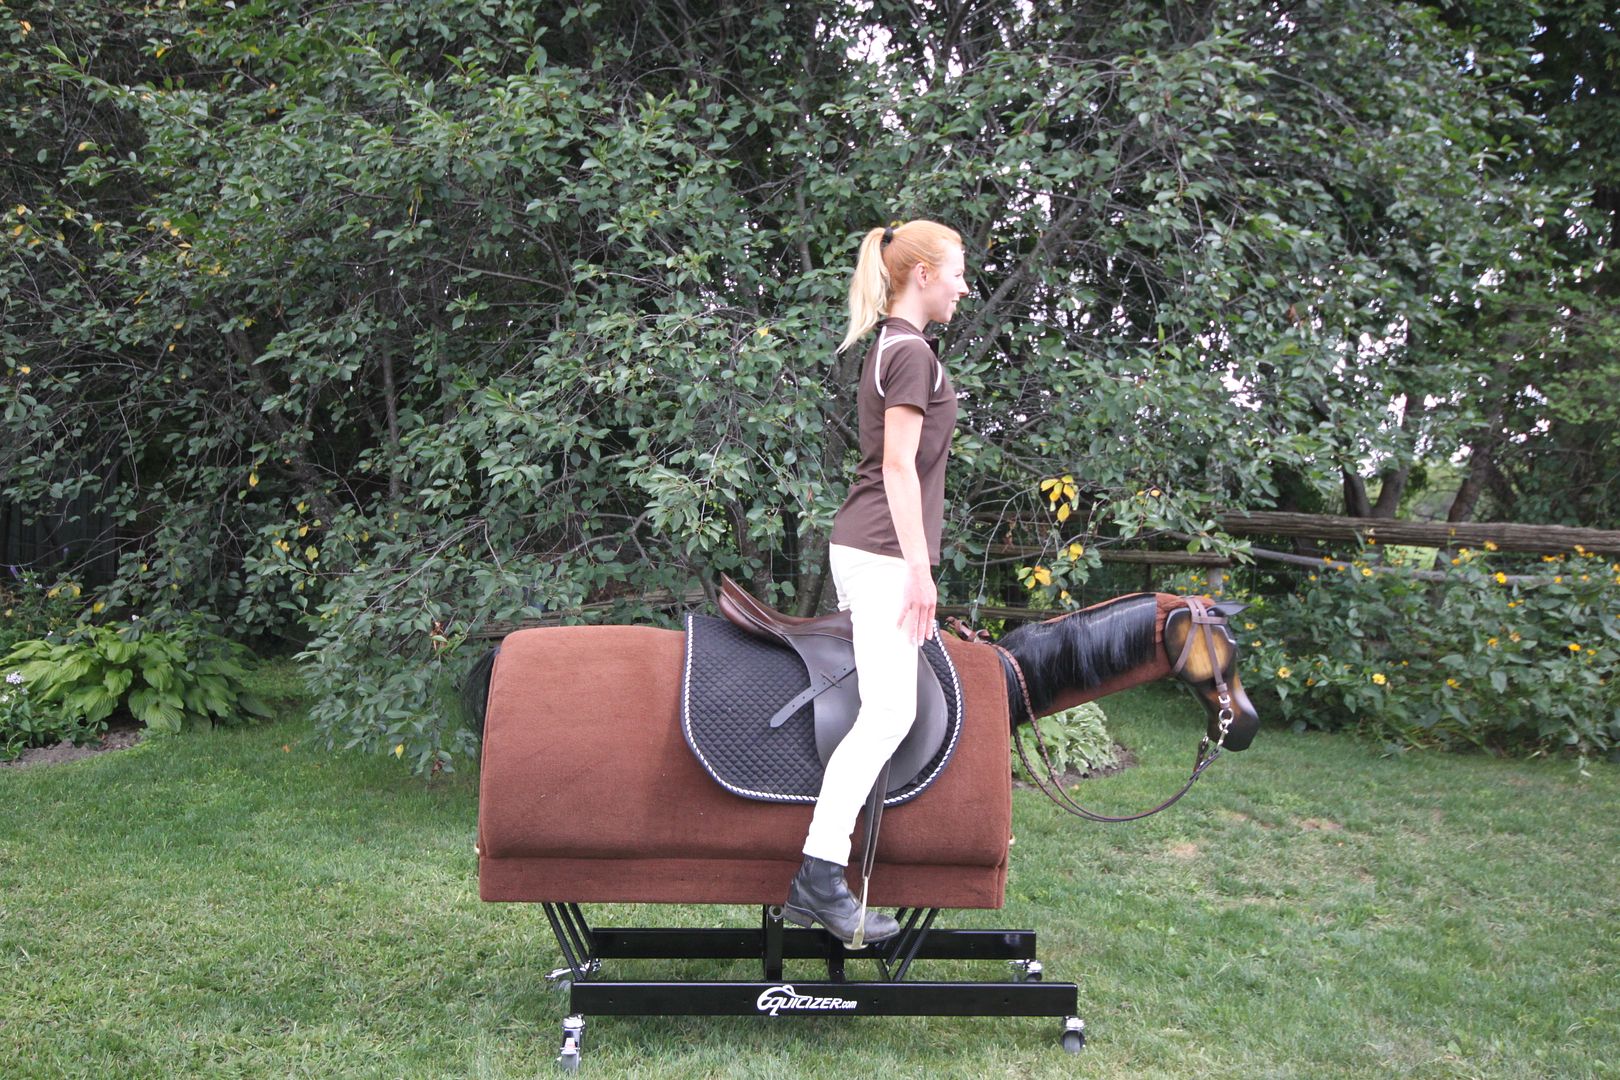
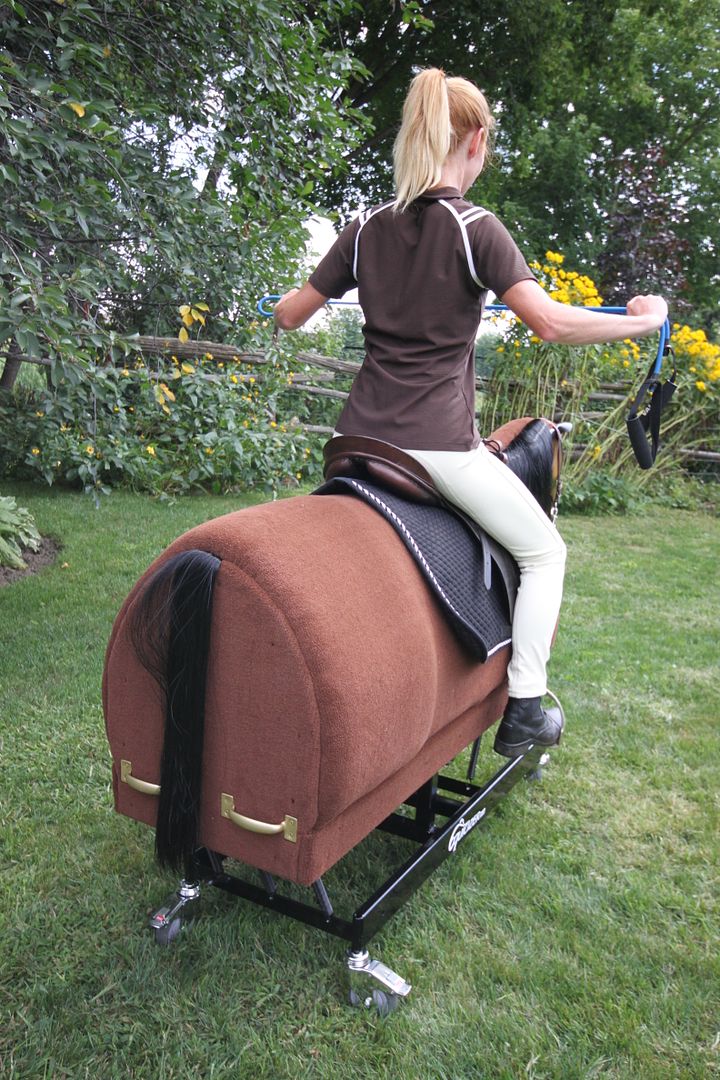
- Standing Tubing Forward Pull (balance, core strength and integration)
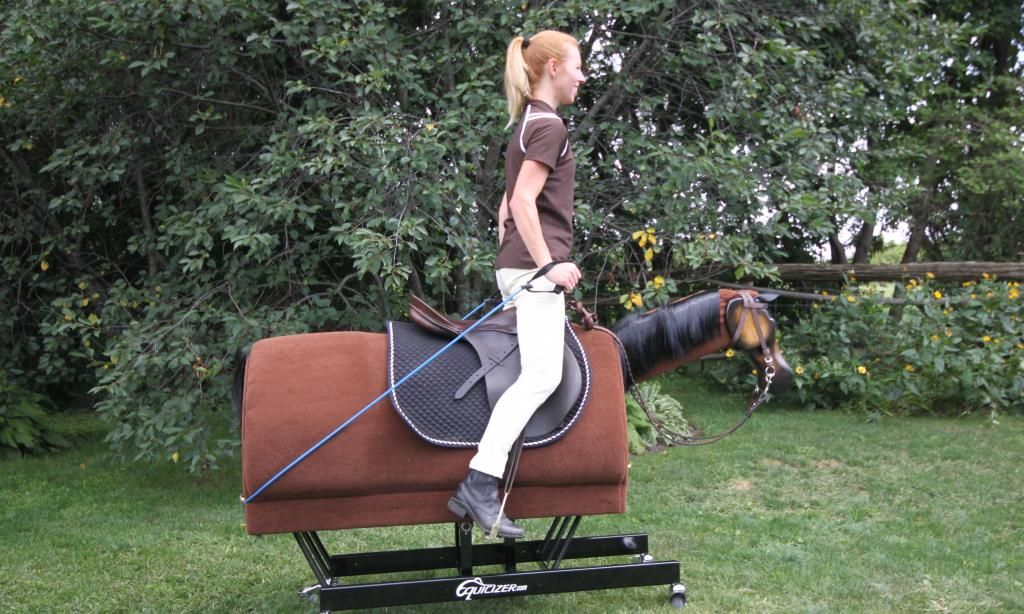
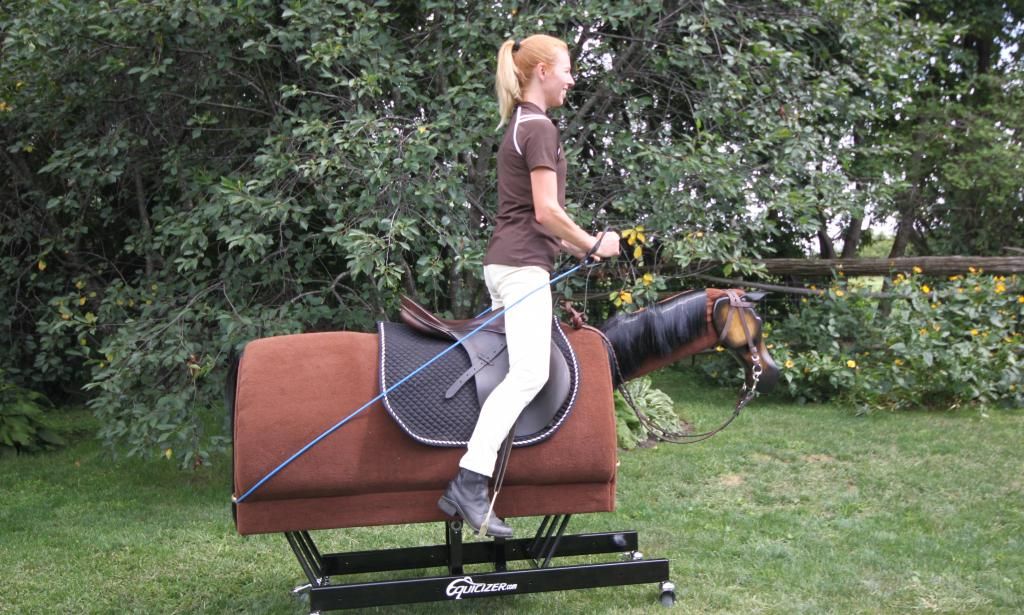
When you can stand comfortably in your stirrups without losing your balance, loop the resistance material around behind the Equicizer and into your hands. As you stand up, the resistance will increase. While standing, push forward to create even more resistance. You will notice a strong temptation to get flung back into a sitting position or to tip forward. Instead, lower your centre of gravity through your legs and get stronger through your thighs and hips. Make sure that your hands are pushing down and forward, so that your shoulder muscles do not activate by scrunching and getting tense.
- Rocking Fly (co-ordination, upper back strength, muscle isolation, core and posture)
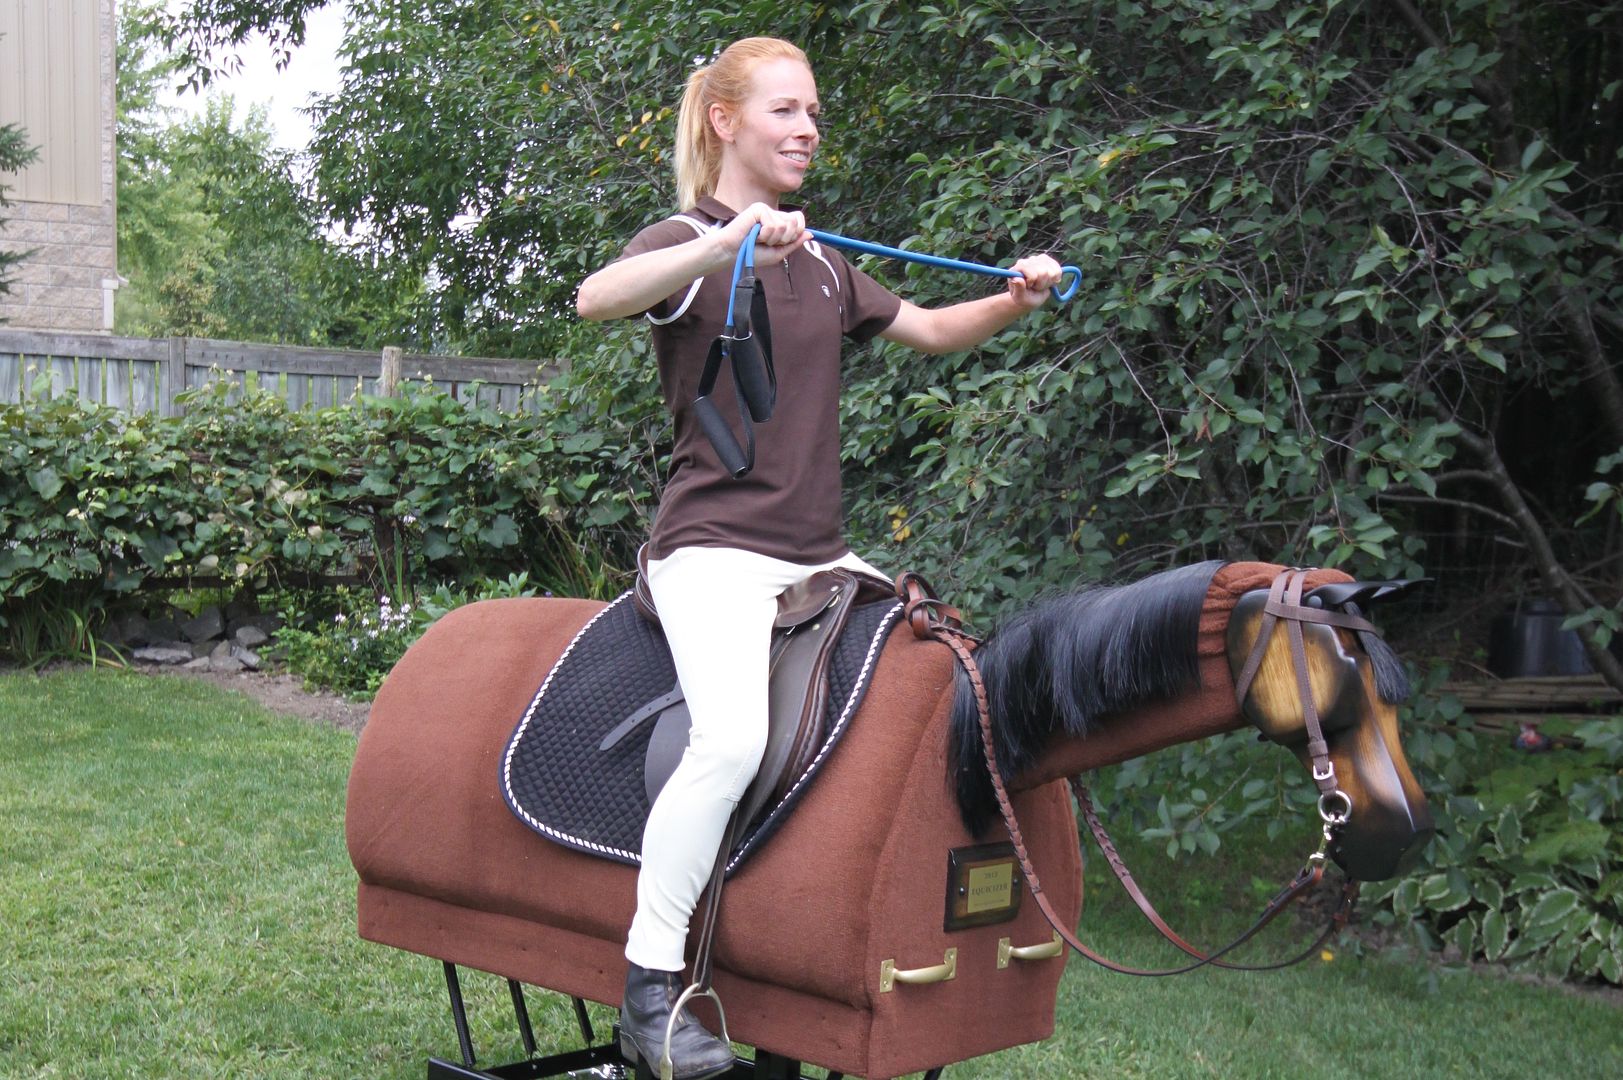
This exercise is a modification of a classic standing fly exercise used in a gym. In this case, you are seated. Hold the resistance material in front of you and lower your shoulders. Open your hands outward to increase the resistance. As you do, bring your shoulders down and shoulders blades in together behind you. Keep your center of gravity low, and use your core to maintain good torso posture.
- Kneeling Limbo (balance, core strength)
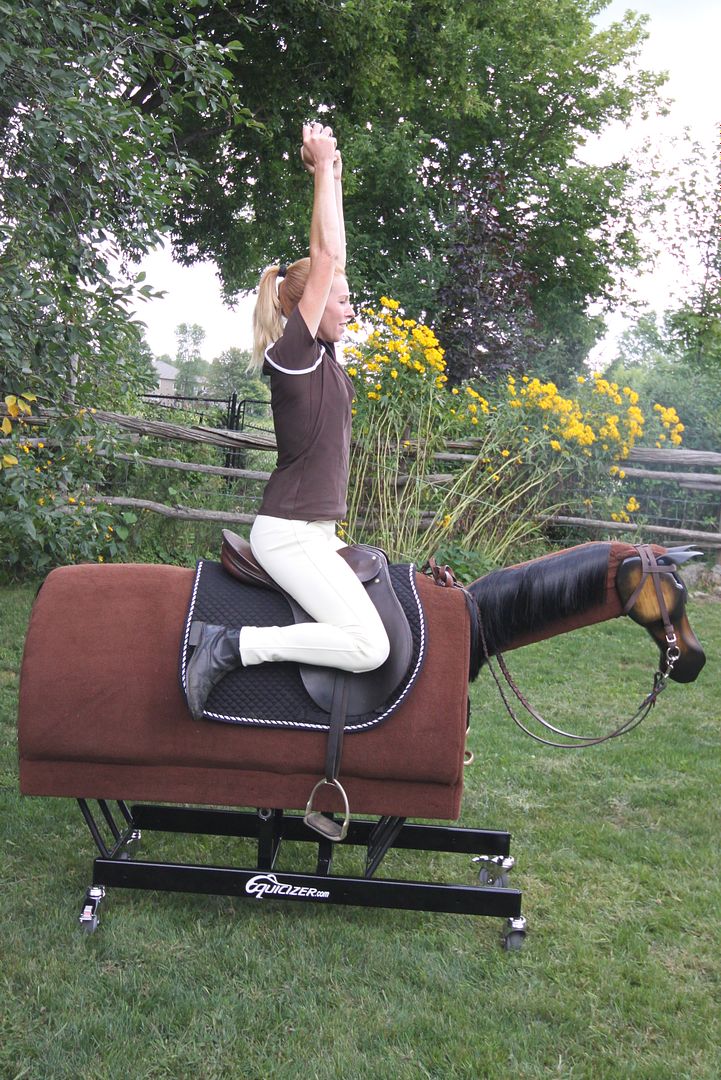
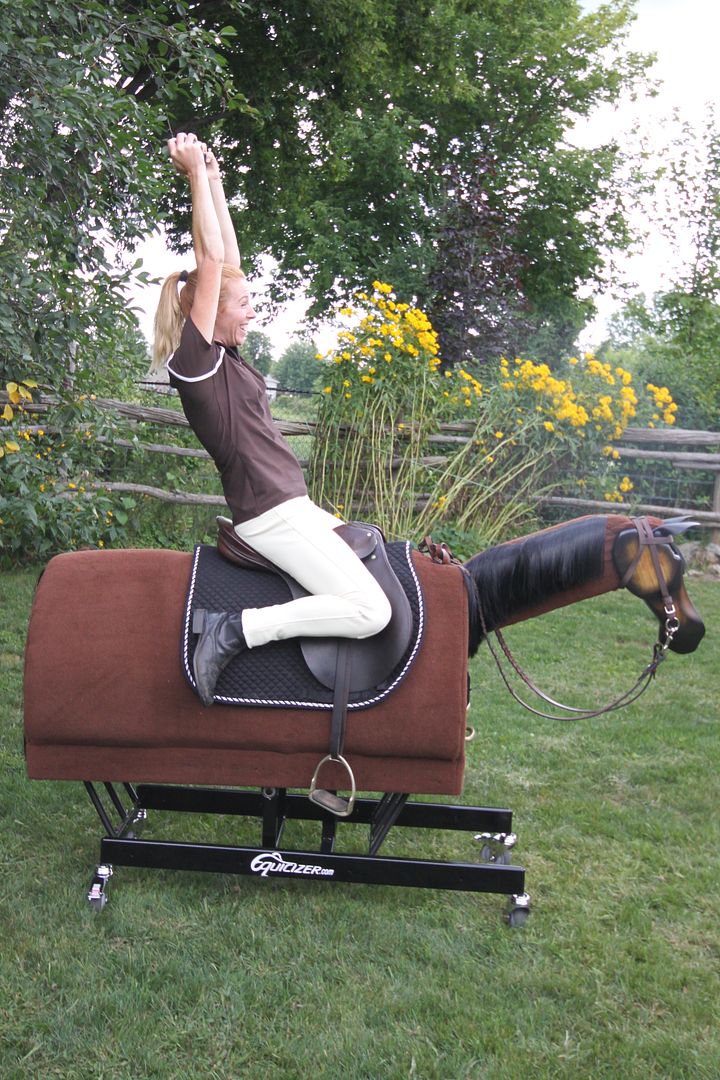
Start in a seated and neutral position holding a weight in front of you in both hands. Lift your feet up so that you are kneeling on the Equicizer. Raise the weight overhead and lean back. As you lean back, you will need to engage your abdominals to increasing degree. Only go as far back as you can while maintaining a supported lower spine. You should feel as if you are tucking your seat under you somewhat. The amount of weight you use and the degree you lean back will depend on your fitness level.
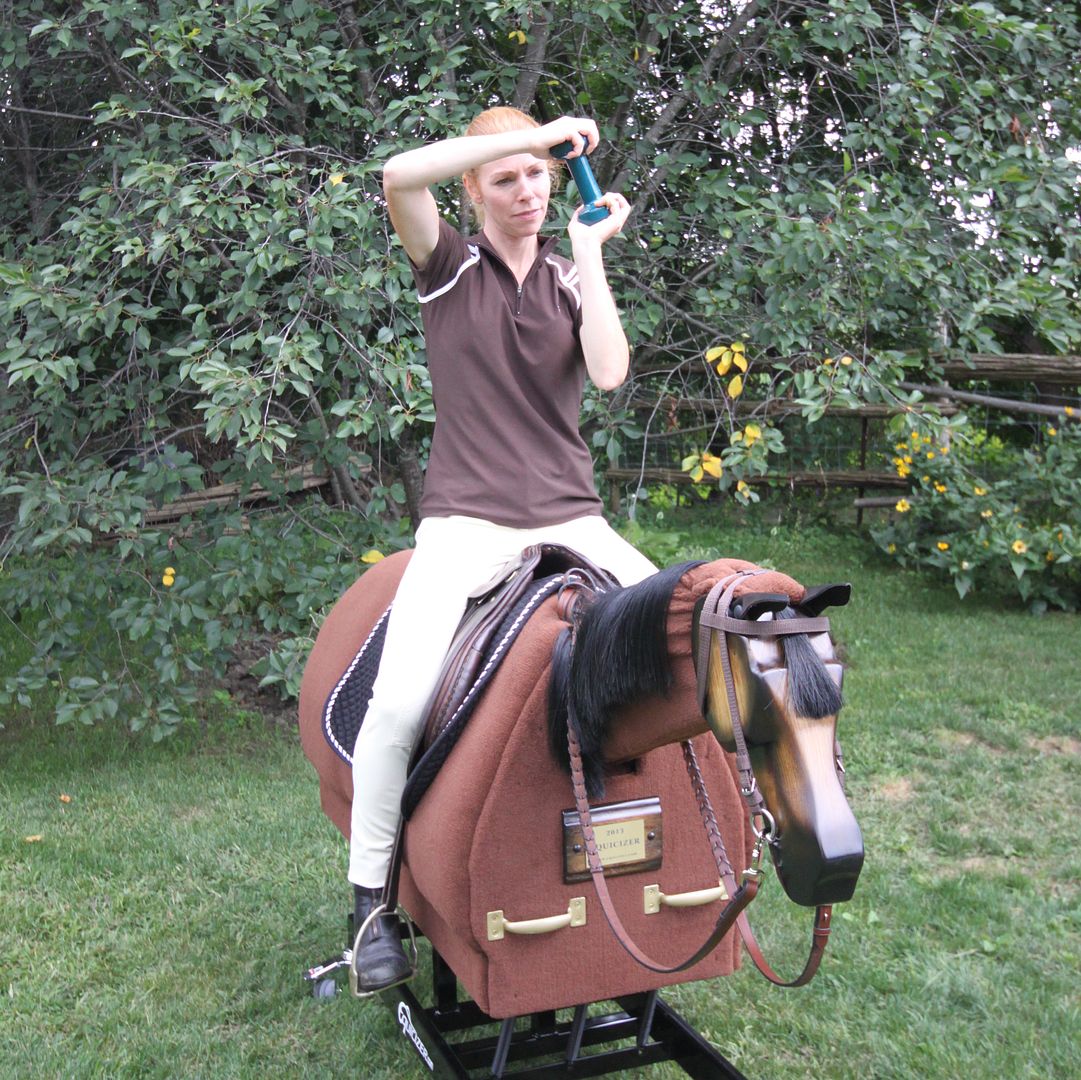
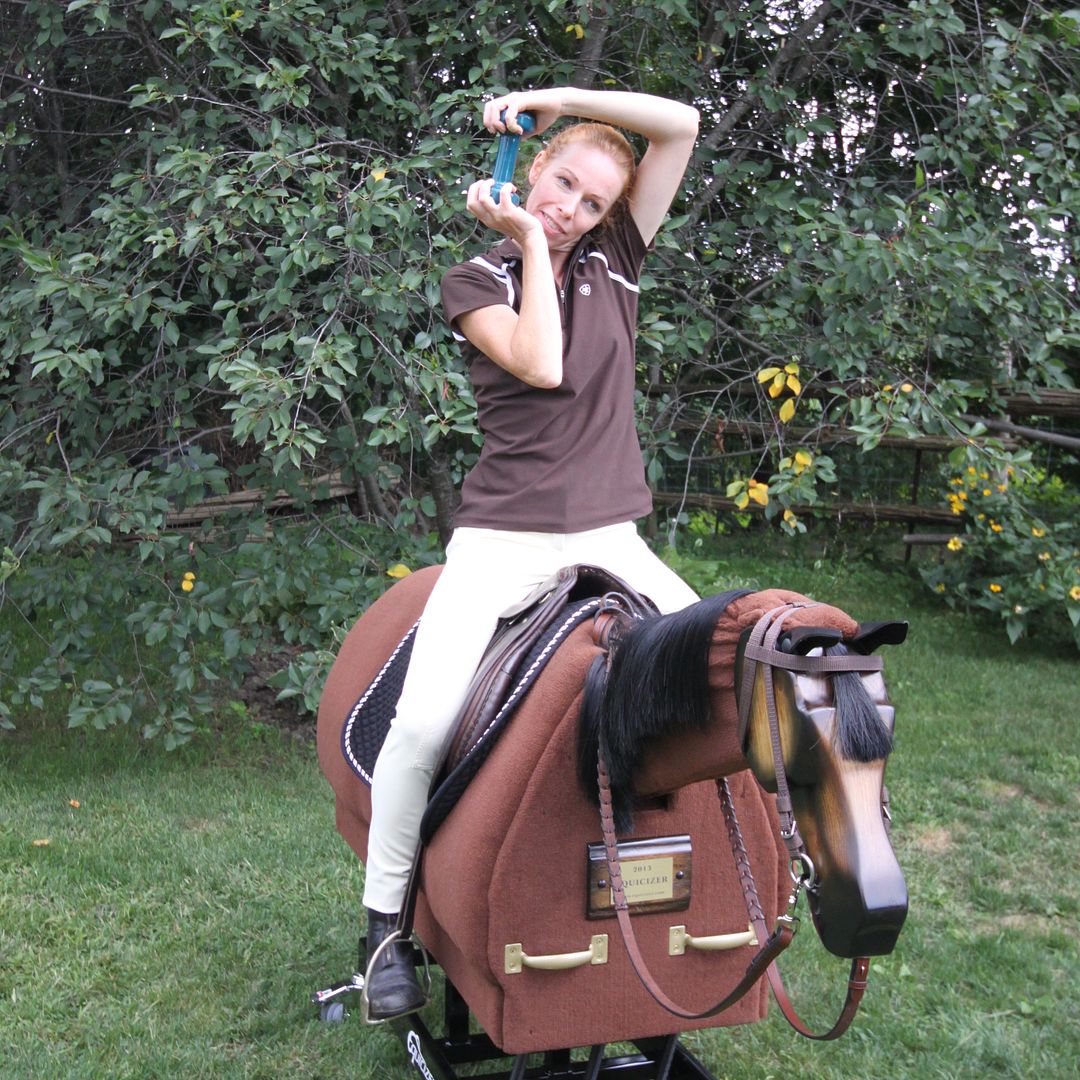
- Weighted Side Bends (balance, core strength)
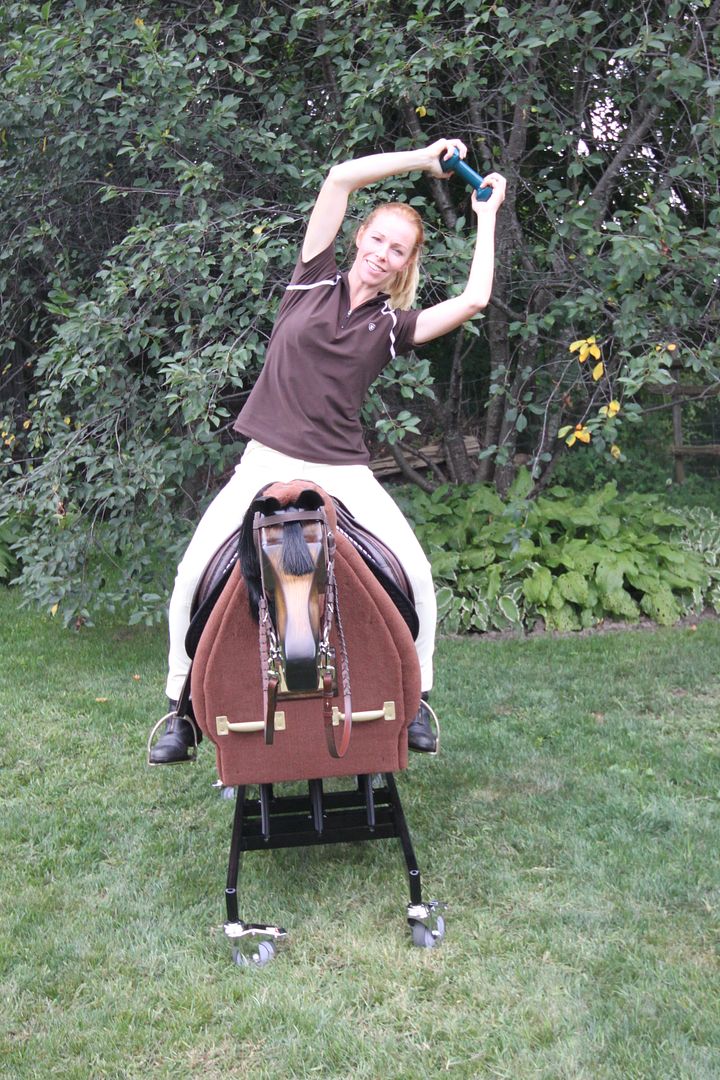
Start in a seated neutral position holding a weight just above your head. Make sure that you have good alignment from ear to shoulder to hip to heel. Do not tip forward or lean back. If you cannot hold the weight directly overhead because of shoulder impingement, hold it just in front of your forehead keeping good alignment in your body. Lean over to the side by curving your ribs and spine. You will reach a point where you need to engage your abdominals in order to lift your torso back to the upright position. Do all your repetitions on one side before switching to the other side so that you can build up endurance. This is an excellent exercise for building lateral strength. Although most riders do not have to lean sidways in their riding discipline. The horse’s movement will often put demands on your torso which come from the side of your hip and tempt your body to collapse. Building strength in these lateral muscles will help you resist collapsing as you tire in your ride or in moments of sudden demand such as a spook, gaming or cattle related move or motion over a jump course.
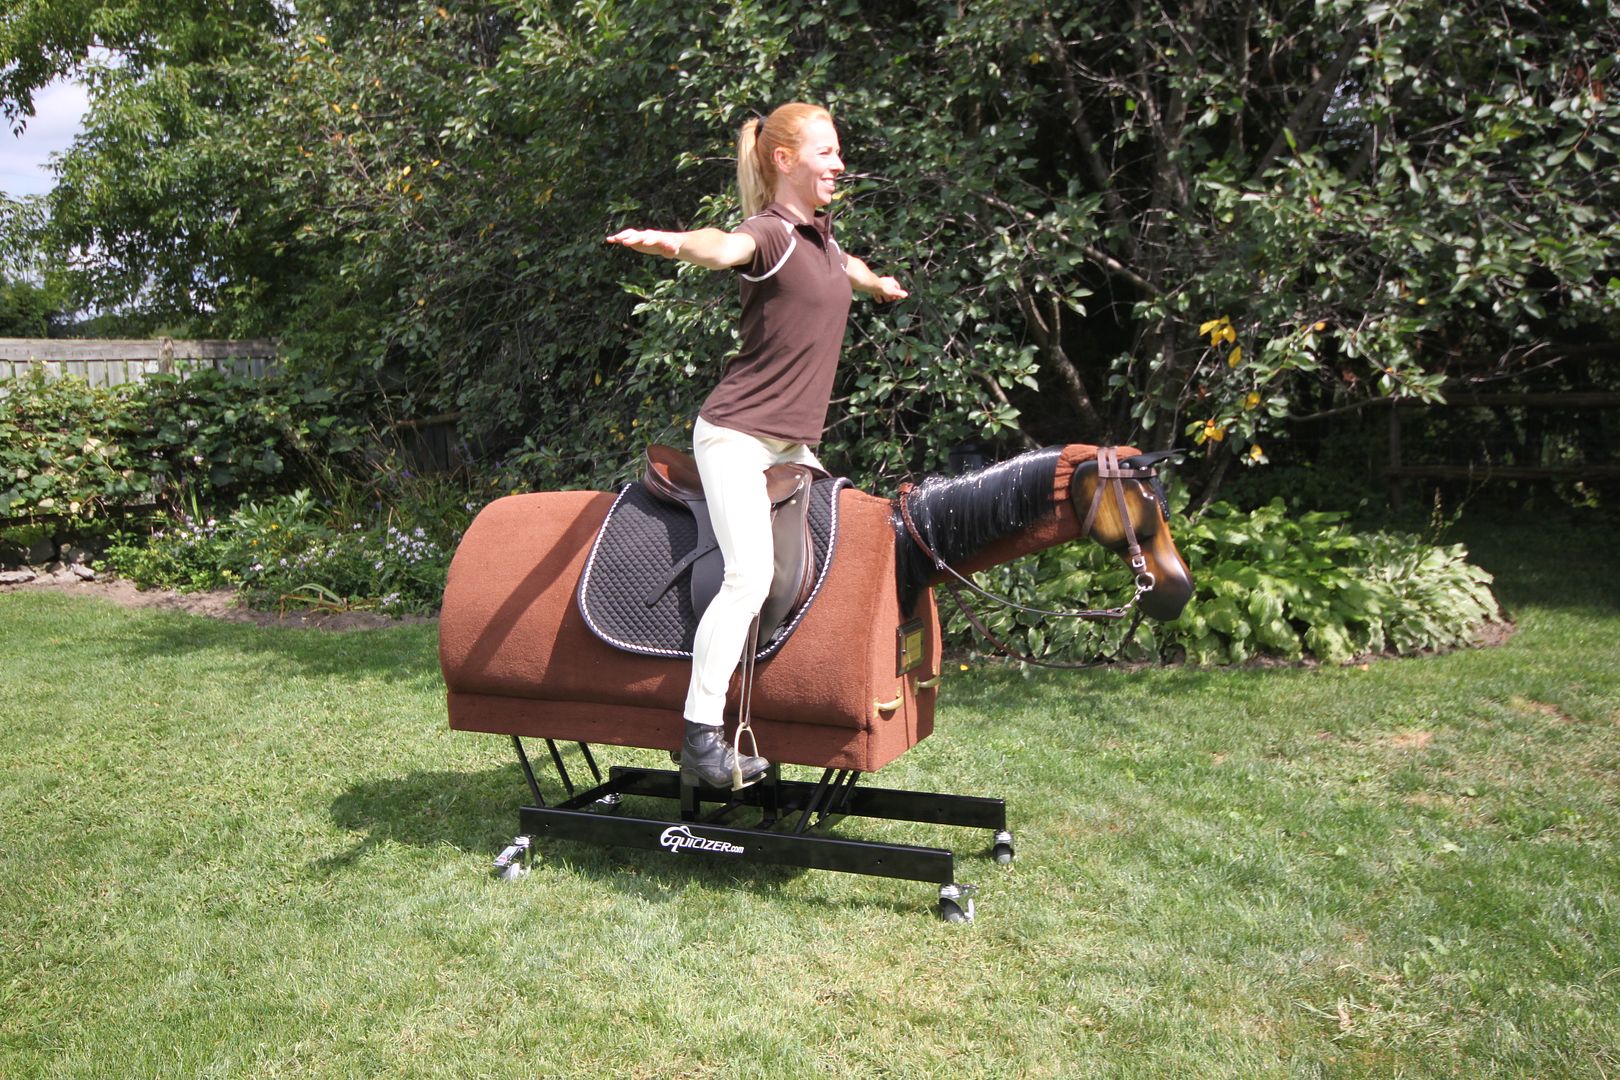
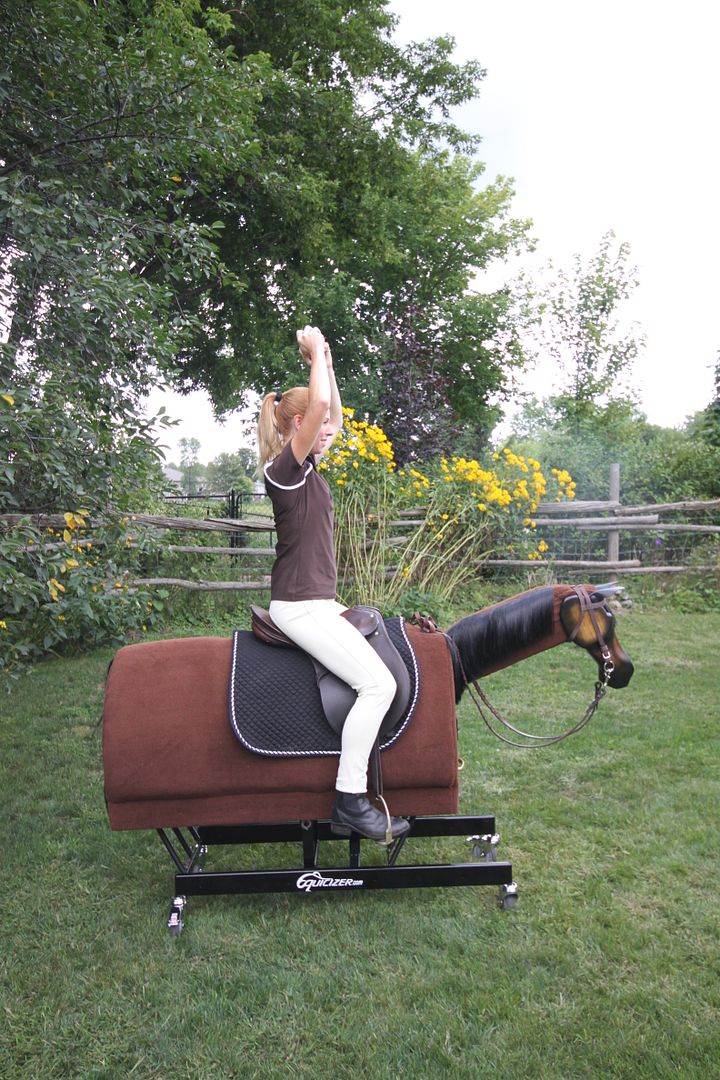
- Weighted Warrior Overpass (balance, co-ordination, posture, shoulder and back strength)
Start in a neutral seated position and reach one hand out in front and one behind you. Even though your torso will twist somewhat, maintain your hips, knees and toes facing straight forward. Raise your arms up overhead until they meet and your entire body is facing forward. As your arms cross, your torso will angle slightly the other side while the arms switch position. Do the exercise slowly to a count of about 6 for raising the arms, and another six for lowering them down on the opposite side. When you can do the exercise rhythmically and keeping good hip posture, add the challenge of a weight to build your core strength and balance. You can also add challenge by having someone rock the Equicizer, or seeing of you can rock it yourself while keeping a steady rhythm through the exercise.
Quote from rider fitness expert Heather Sansom, owner Equifitt.com
“I just love what the Equicizer can do to help riders with their fitness and preparedness for riding. I do a lot of work with riders on the ground, and sometimes the missing step is being able to take new ability back into the saddle. Yet, there are many exercises that are much more beneficial for a rider to practice without having to worry about steering on a moving horse, or the horse’s reactions. The great thing about the Equicizer is that a rider does not have to worry about safety issues that would come into play if you tried these exercises on a moving horse. The exercises in fact should not be done on a moving horse. The benefit of the Equicizer is that it is stable, but still gives you good practice with actual mounted muscle memory. It also helps you train rhythm and connection. I really think that its greatest strength is that it is not a ‘simulator’. Simulators attempt to mimic exactly what you would get with a real moving horse. You can sit on your horse for that. The Equicizer is much more affordable, and allows a rider to work on range of motion and muscle memory and strength building which are best done to full advantage without having to keep up with a real horse gait. Unlike a longe horse, Equicizer does not get tired, doesn’t need shoeing and is closer to the ground for mistakes to be safer.”